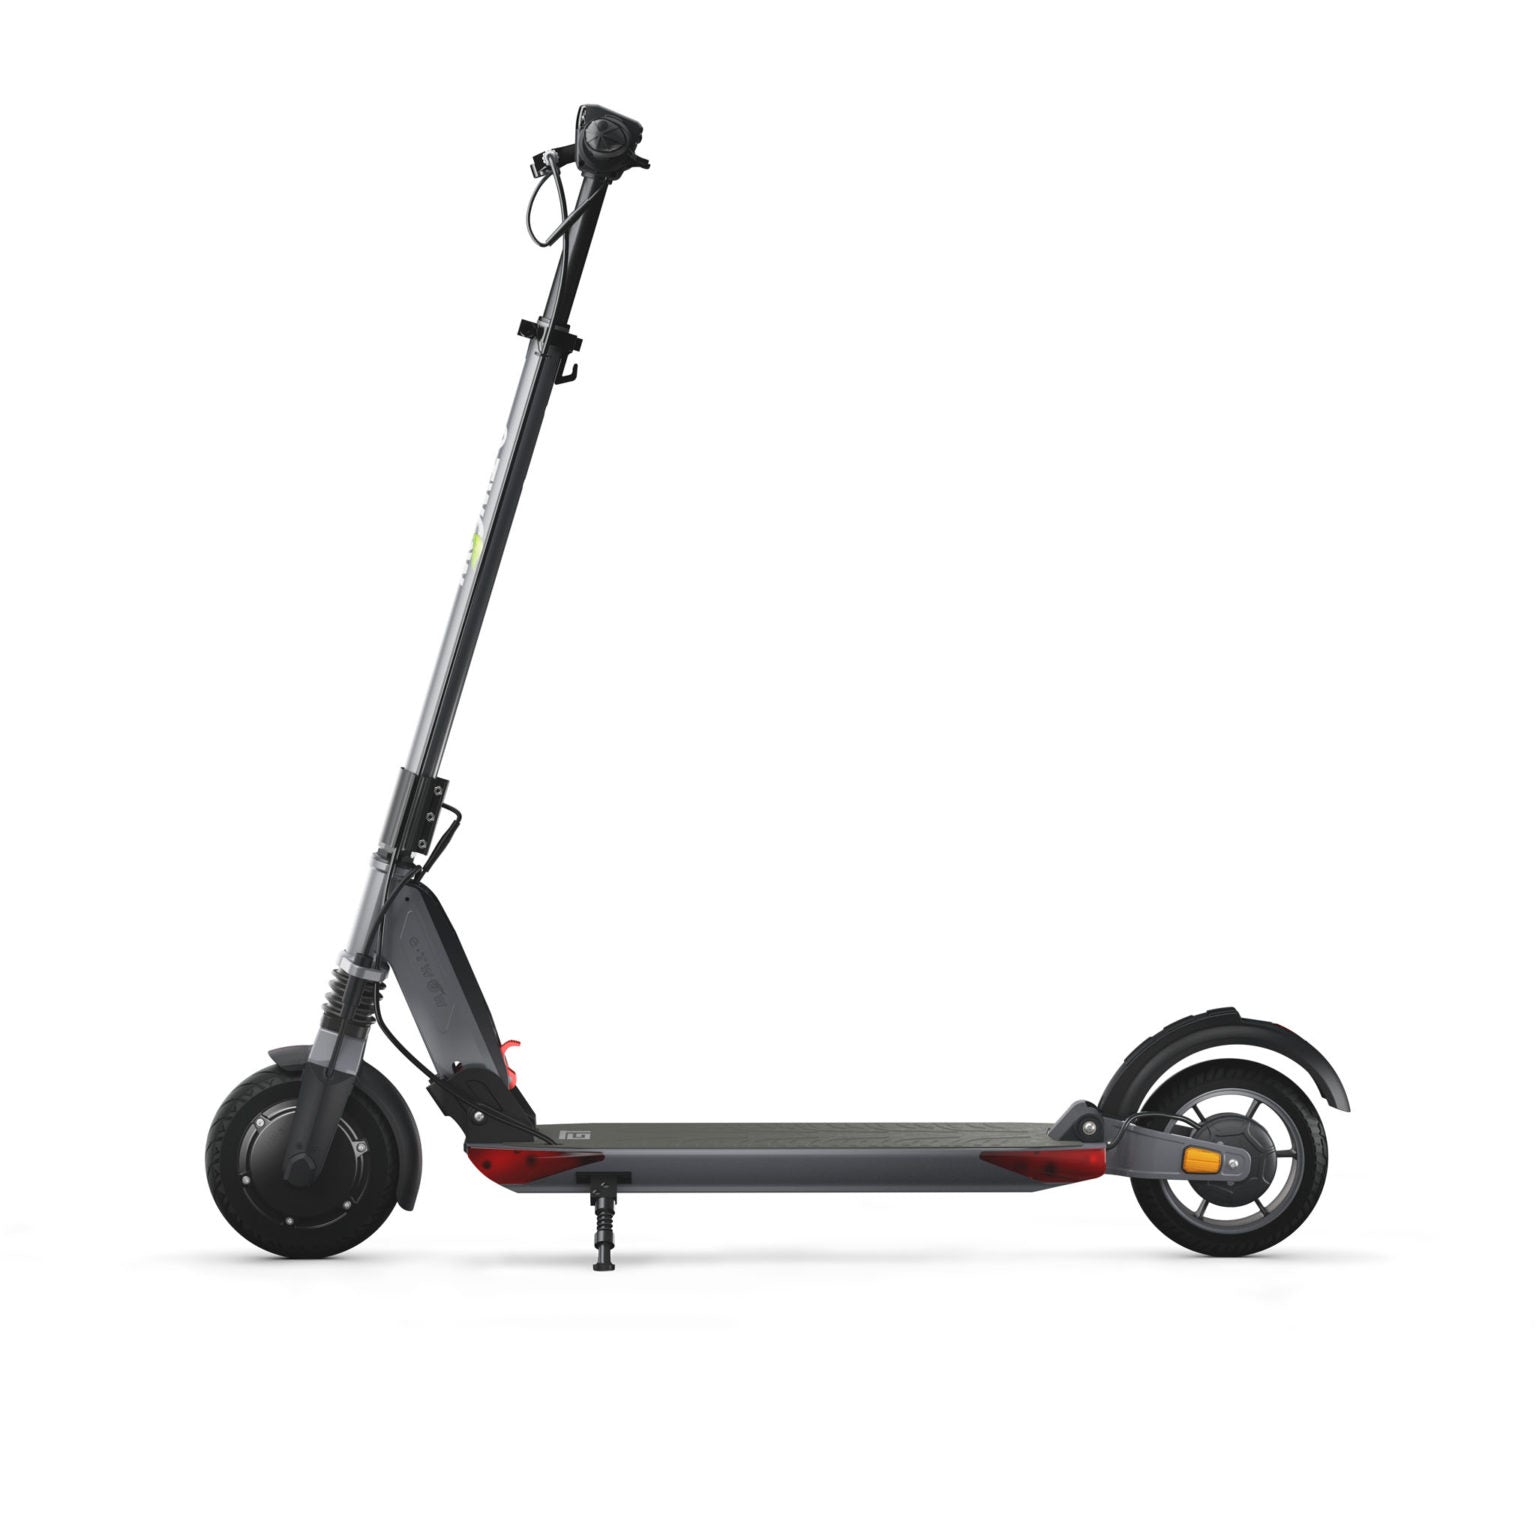
Where is the Reset Button on Electric Scooter?
The reset button on an electric scooter is usually located near the battery or under the deck. It might also be found on the control panel.
Resetting your electric scooter can resolve common issues like unresponsiveness or error messages. Knowing the location of the reset button is crucial for troubleshooting. Typically, manufacturers place this button in accessible areas like near the battery or under the deck.
Resetting often involves holding the button down for a few seconds. This simple action can restore your scooter to its default settings. Always consult your scooter’s manual for specific instructions. Regular maintenance and understanding basic functions like resetting can prolong the life of your electric scooter. It ensures a smoother and safer ride every time.

Credit: zjsugo.en.made-in-china.com
Introduction To Electric Scooter Maintenance
Regular check-ups keep your electric scooter in good condition. They prevent breakdowns and extend the scooter’s life. Checking the battery, brakes, and tires is essential. Regular maintenance also ensures safety while riding. It’s important to follow the manufacturer’s guidelines for maintenance.
Battery problems are common among scooter owners. Sometimes, the scooter won’t turn on. Check the wiring and connections for any issues. Flat tires can also occur. Brake malfunctions might happen if not maintained well. Another issue is the scooter losing power suddenly. Regular maintenance can prevent these problems.
Locating The Reset Button
The reset button on an electric scooter is often under the deck. Some models have it near the battery or inside the battery compartment. On others, it may be found under the footrest. Always check the user manual for exact placement.
A visual guide can help you find the reset button. Look for a small, red button. It may be labeled ‘Reset’. If you see a tiny hole, you might need a pin or paperclip to press the button. Sometimes, the button is hidden under a rubber cap or cover. Make sure to turn off the scooter before pressing the reset button.
When To Use The Reset Button
The scooter might stop working suddenly. Lights might flicker or not turn on. The motor might make strange noises. You might notice a drop in battery performance. The scooter might not respond to controls.
Perform regular checks on your scooter. Keep the battery charged. Clean the scooter to avoid dust buildup. Avoid overloading the scooter. Reset the scooter if issues persist.
Step-by-step Reset Process
Always wear protective gear before working on your electric scooter. Ensure the scooter is powered off. Keep the scooter on a flat surface to avoid accidents. Disconnect the battery to prevent electrical shock. Check for any loose wires before proceeding. Keep children and pets away from the working area.
Locate the reset button on your electric scooter. It is usually under the footboard or near the battery compartment. Press and hold the reset button for five seconds. Release the button and wait for the scooter to restart. Reconnect the battery if it was disconnected. Test the scooter to ensure it works properly. If problems persist, consult the user manual or contact customer support.
Troubleshooting Post-reset
Sometimes, the reset button won’t solve the problem. Check the battery first. Make sure it is fully charged. Inspect the wiring connections for any loose or damaged wires. Ensure the scooter’s fuse is not blown. Replace it if needed. Look at the brakes and make sure they are not engaged. Try restarting the scooter again.
If the scooter still doesn’t work, contact a professional. A technician can diagnose the problem. They have special tools and knowledge. Do not try to fix complex issues yourself. It could be dangerous. Always follow the manual’s advice. Look for a certified repair shop. They can help you get back on the road safely.
Understanding Error Codes
Electric scooters have error codes for different problems. Code E1 usually means a brake issue. Code E2 often points to a throttle issue. Code E3 can mean a motor problem. Code E4 might indicate a battery issue. Code E5 usually shows a controller issue.
Code E1: Check the brake lever and brake wires. Code E2: Inspect the throttle and its wires. Code E3: Examine the motor connections. Code E4: Check the battery connections and voltage. Code E5: Look at the controller and its wires.
Maintenance Tips To Avoid Frequent Resets
Keep your electric scooter clean. Use a soft cloth to wipe it. Avoid water on electrical parts. Check tires for any damage. Keep them inflated properly. Lubricate the moving parts like the chain. Inspect brakes regularly to ensure safety. Store in a dry place.
Always charge the battery fully. Do not let it drain completely. Store the scooter in a cool place. Extreme heat can damage the battery. Avoid overcharging it. Use the original charger only. Check the battery connectors for rust. Keep them clean.

Credit: tekkplay.com
Advanced Considerations For Electric Scooter Care
Firmware updates can improve your scooter’s performance. They can fix bugs and add new features. Always check for updates from the manufacturer. Regular updates can extend the scooter’s lifespan. Make sure to follow the update instructions carefully.
Customizing your scooter can make it unique. Some add LED lights for better visibility. Others upgrade the battery for longer rides. Be careful with modifications. They might void the warranty. Always use parts recommended by the manufacturer.
Faqs On Electric Scooter Resets
The reset button on an electric scooter is usually hidden. It can be found under the deck or near the battery compartment. Some models place it near the power button. Always check your scooter’s manual for exact locations. Resetting helps fix minor issues like speed problems or battery glitches.
Press and hold the reset button for a few seconds. This action reboots the system. If the scooter doesn’t reset, check the battery connections. Loose connections can cause issues. Consult a technician if problems persist. Regular maintenance keeps your scooter running smoothly.
Best Practices
Finding the reset button on an electric scooter typically involves checking the scooter’s manual or under the footboard. Always consult the manufacturer’s guide to ensure proper resetting and maintenance practices.
Summarizing Key Takeaways
Knowing where the reset button is on your electric scooter is important. The button is usually near the scooter’s battery or under the deck. Check the user manual for the exact location. Resetting helps solve many issues, like a scooter that won’t start. Always turn off the scooter before pressing the reset button. Wait a few minutes after resetting for the scooter to start working again. If problems persist, consult a professional for help.
Adopting A Proactive Approach To Scooter Maintenance
Regular maintenance keeps your electric scooter in top condition. Clean the scooter regularly to avoid dirt buildup. Check tire pressure weekly for a smooth ride. Lubricate moving parts monthly to prevent wear and tear. Inspect the brakes to ensure they work properly. Charge the battery fully to extend its life. Store the scooter in a cool, dry place to avoid damage. Routine checks can prevent bigger issues later.

Credit: tekkplay.com
Conclusion
Finding the reset button on your electric scooter is crucial for troubleshooting. It is usually located near the battery or on the scooter’s control panel. Always refer to your user manual for precise instructions. Regular maintenance and knowing these basics ensure a smooth ride and extend your scooter’s lifespan.

