How to Take Apart Dyson Stick Vacuum: Step-by-Step Guide
Taking apart a Dyson stick vacuum can seem daunting. But it’s simpler than you think.
Dyson stick vacuums are popular for their power and convenience. Sometimes, though, they need a bit of maintenance. Learning to take them apart can help you clean and fix them. This guide will walk you through the process step-by-step. You don’t need advanced skills or special tools.
Just follow along, and you’ll have your Dyson disassembled and reassembled in no time. Whether you need to clear a clog, replace a part, or give it a thorough clean, this tutorial will make it easy.
Tools Needed
To take apart a Dyson stick vacuum, you need a few tools. The right tools make disassembly smooth and easy. Below are the essential and optional tools you might need.
Essential Tools
The essential tools are necessary for taking apart a Dyson stick vacuum. Having these tools on hand will make the process easier and faster.
- Philips Head Screwdriver: This is used to remove screws.
- Flat Head Screwdriver: Useful for prying apart parts gently.
- Small Brush: Helps to clean out dust and debris.
- Needle-Nose Pliers: Essential for gripping small components.
Optional Tools
Optional tools can make the job easier, but they are not strictly necessary. These tools are helpful but not essential.
- Compressed Air Can: Blows out dust from hard-to-reach areas.
- Tweezers: Useful for picking up tiny parts.
- Magnetic Tray: Keeps screws and small parts organized.
- Flashlight: Provides better visibility in dark areas.
Using the right tools ensures a smooth disassembly process. Gather these tools before starting to take apart your Dyson stick vacuum.
Preparation Steps
Before taking apart your Dyson stick vacuum, prepare your workspace. Proper preparation ensures a smooth process. Follow these steps to get started.
Unplugging And Cleaning
Ensure safety by unplugging the vacuum. This prevents electric shocks. Clean the vacuum’s exterior. Use a damp cloth to remove dust and debris. This step keeps your working environment tidy.
Gathering Necessary Tools
Gathering the right tools is crucial. Here’s what you’ll need:
- Screwdriver (Phillips and flathead)
- Small brush
- Soft cloth
- Container for screws
Arrange these tools within reach. A well-organized workspace helps maintain focus. This ensures you don’t lose any parts during disassembly.
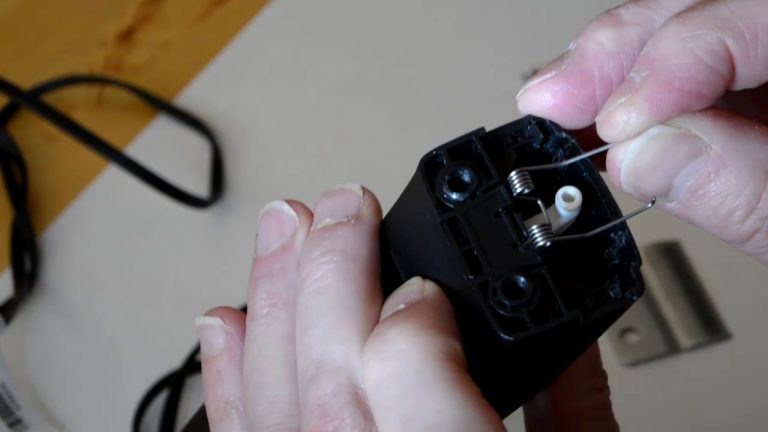
Removing The Battery
Removing the battery from your Dyson stick vacuum is a crucial step in its disassembly. This process ensures safety and prepares the vacuum for other maintenance tasks. Let’s break down the steps to make this easy and straightforward.
Locating The Battery
The battery is usually at the handle’s base. Look for a rectangular section with screws. This section is often distinct from the rest of the vacuum.
Detaching The Battery
Ensure the vacuum is turned off and unplugged. Use a screwdriver to remove the screws holding the battery in place. Carefully pull the battery out, avoiding any sudden movements.
Once the screws are out, gently slide the battery away from the vacuum. Handle the battery with care to avoid damage.
Detaching The Main Body
Taking apart a Dyson stick vacuum may seem challenging. But with the right steps, it is easy. This guide focuses on detaching the main body. Follow these steps carefully to avoid damage.
Separating The Wand
Turn off and unplug the vacuum. This ensures safety. Next, locate the wand release button. It is usually near the handle. Press the button firmly. Then, pull the wand away from the main body. You may need to wiggle it a bit to loosen it.
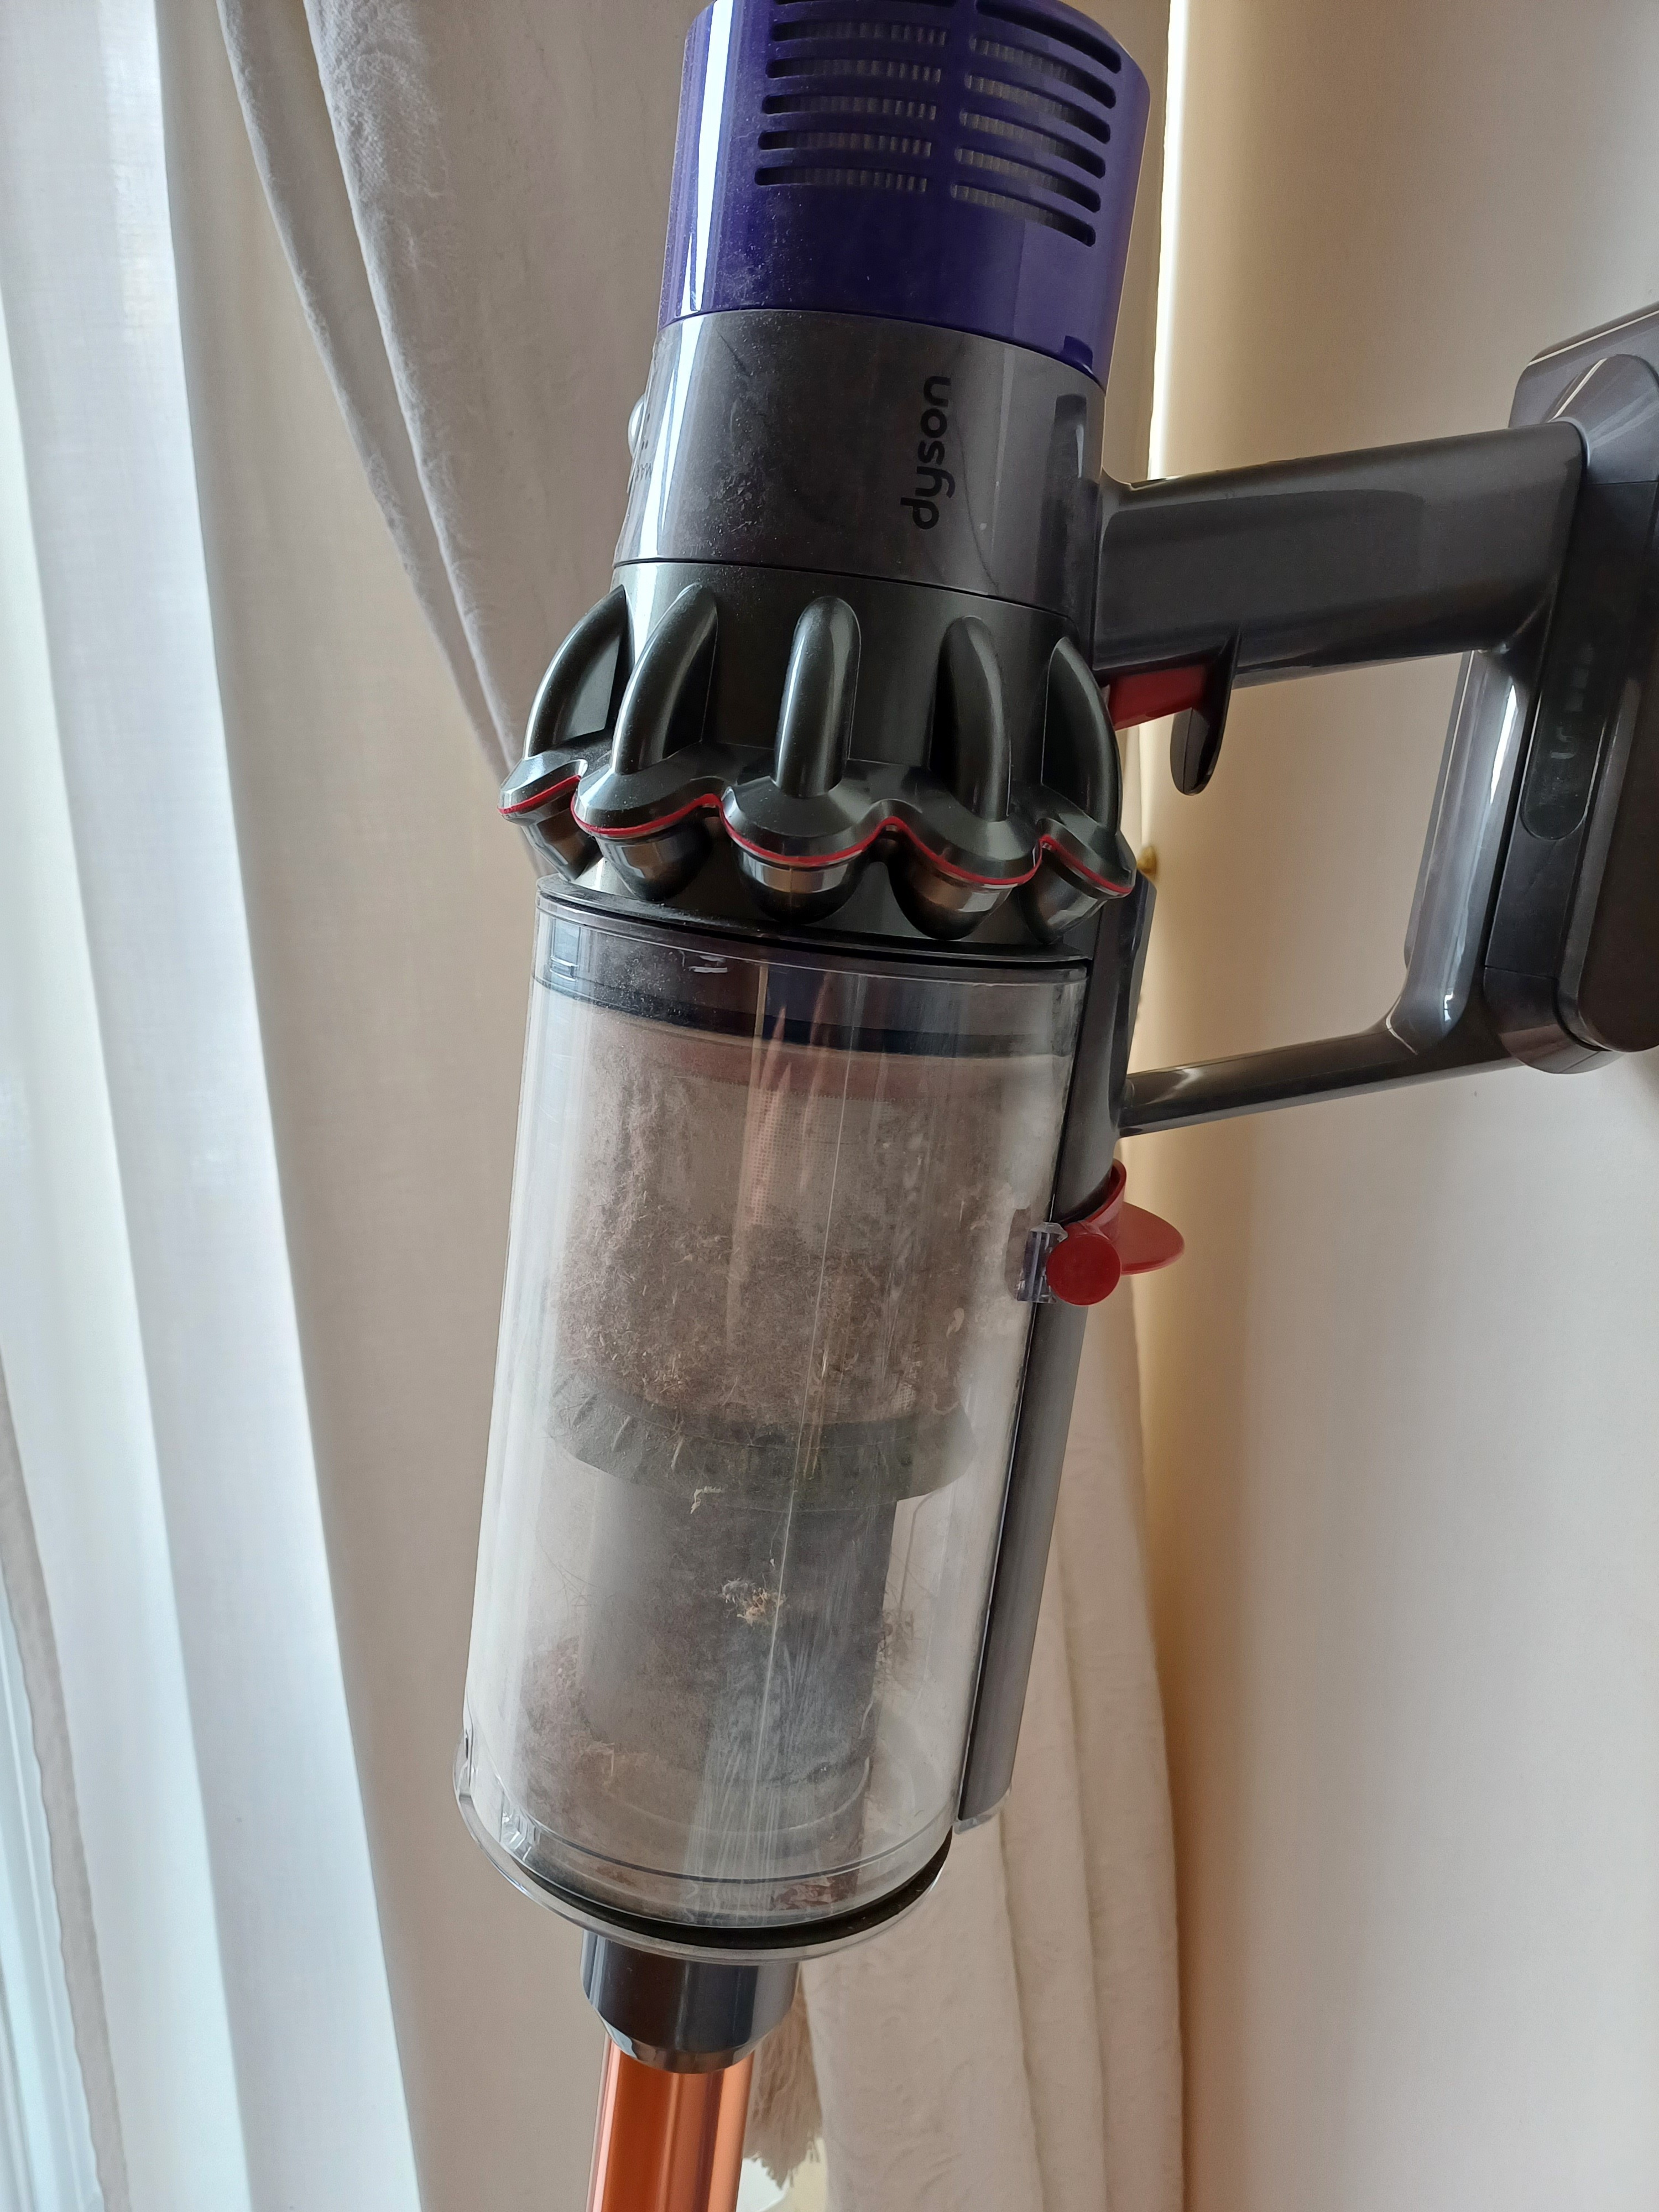
Removing The Dust Bin
Now, focus on the dust bin. Find the dust bin release button. It is often near the base of the bin. Hold the vacuum over a trash can. Press the button and release the bin. Be careful to avoid spilling dust.
To fully detach the bin, look for a small clip or latch. Press or lift it to remove the bin completely. Clean the bin thoroughly before reattaching it.
Cleaning The Filters
Keeping your Dyson stick vacuum clean ensures it works efficiently. Cleaning the filters is essential. This task helps maintain suction power and extends the vacuum’s lifespan. Follow these steps for a thorough cleaning.
Accessing The Filters
First, turn off and unplug your Dyson stick vacuum. Find the filter compartment. It’s usually near the dust canister. Press the release button to open the compartment. Gently pull out the filters. Be careful not to damage them.
Cleaning And Replacing Filters
Rinse the filters under cold water. Don’t use detergent or hot water. Squeeze the filters gently to remove excess water. Let them air dry for 24 hours. Make sure they are completely dry before reinserting. If the filters are damaged, replace them with new ones. Reinsert the dry filters into the compartment. Close the filter compartment securely. Your Dyson stick vacuum is now ready to use.
Credit: www.youtube.com
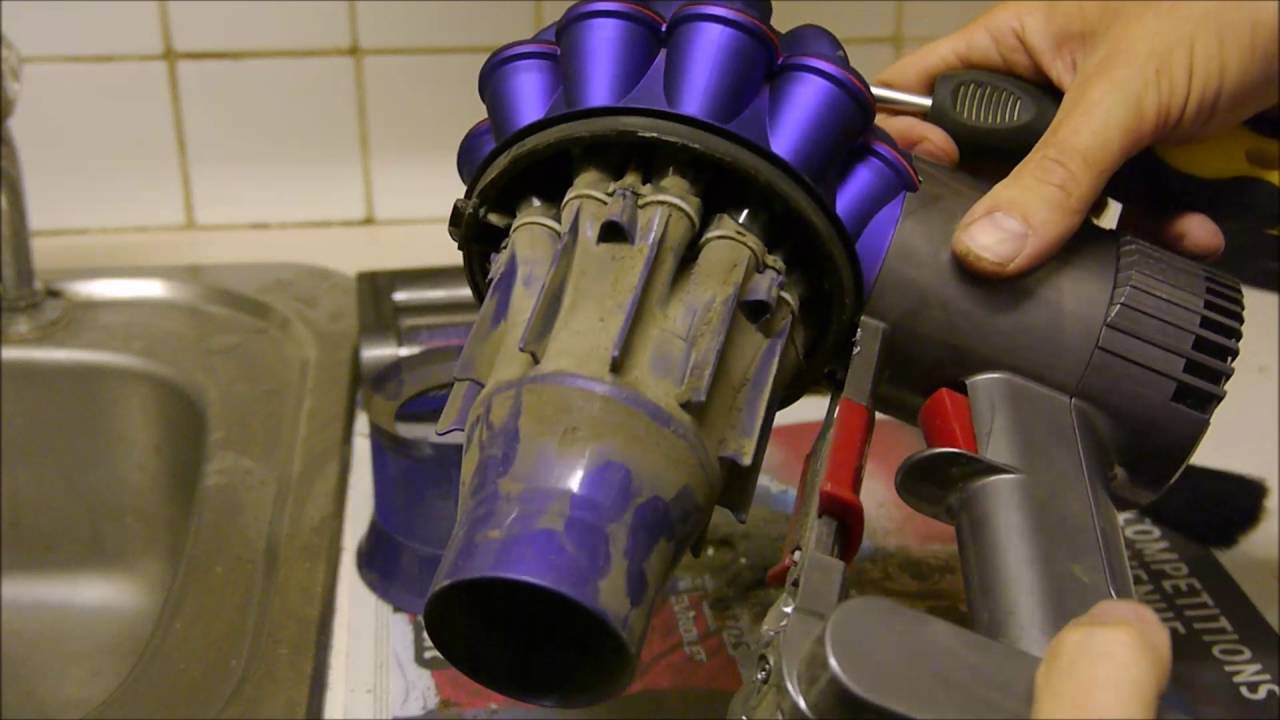
Disassembling The Motorhead
Disassembling the motorhead of your Dyson stick vacuum can seem daunting. But with a few simple steps, you can do it easily. This guide will walk you through the process. You’ll need a few basic tools and a clean workspace. Let’s start with removing the brush bar and cleaning the motorhead.
Removing The Brush Bar
First, ensure your vacuum is turned off and unplugged. Locate the release button on the side of the motorhead. Press the button to unlock the brush bar. Gently pull the brush bar out of the motorhead. If it feels stuck, wiggle it slightly to loosen it.
Check for any debris wrapped around the brush bar. Use scissors or a knife to cut away hair and string. Be careful not to damage the bristles. Once cleaned, set the brush bar aside for reassembly later.
Cleaning The Motorhead
With the brush bar removed, you can now access the inside of the motorhead. Use a damp cloth to wipe away dust and dirt. Avoid using too much water, as this can damage the motor. For stubborn dirt, use a soft brush to loosen it before wiping.
Inspect the internal components for any blockages. Clear out any debris you find. This ensures smooth operation and prolongs the life of your vacuum. Once clean, allow the motorhead to dry completely before reassembling.
Reassembling The Vacuum
Learn how to take apart a Dyson stick vacuum easily. Follow these steps to clean or fix your vacuum. Keep your Dyson running smoothly.
Once you have taken apart your Dyson stick vacuum for cleaning or maintenance, it’s time to put it back together. Reassembling the vacuum correctly ensures it works efficiently. Follow these steps to reattach the main body and reinstall the battery.
Reattaching The Main Body
Take the main body of the vacuum. Align it with the wand. Make sure the connectors line up. Push the main body into the wand until you hear a click. This sound confirms that it is securely attached. Double-check the connection by giving it a gentle tug. This ensures it is locked in place.
Reinstalling The Battery
Next, grab the battery. Slide it into the slot at the bottom of the main body. Push it in until it clicks. This click means the battery is properly installed. Make sure the battery is fully charged. A charged battery ensures the vacuum runs smoothly.
Following these steps will help you reassemble your Dyson stick vacuum with ease.

Credit: www.youtube.com
Maintenance Tips
Maintaining your Dyson stick vacuum ensures it performs well and lasts longer. Regular care can prevent issues and keep your vacuum in top shape. Follow these maintenance tips to keep your Dyson stick vacuum running smoothly.
Regular Cleaning
Regular cleaning of your Dyson stick vacuum is essential. Start by emptying the dust bin after each use. This prevents blockages and keeps the suction strong. Clean the filter every month. Rinse it under cold water and let it dry for 24 hours. A clean filter ensures the vacuum works efficiently. Check the brush bar for tangled hair or debris. Use scissors to cut away any buildup. This helps the vacuum pick up dirt effectively.
Proper Storage
Proper storage of your Dyson stick vacuum can extend its lifespan. Store the vacuum in a cool, dry place. Avoid areas with high humidity. This prevents damage to the internal components. Keep the vacuum upright. This prevents the brush bar from bending. If you have limited space, use the wall mount provided. This keeps the vacuum off the floor and organized. Ensure the battery is charged before storing. A fully charged battery lasts longer.
Troubleshooting
Taking apart a Dyson stick vacuum can help fix many issues. Troubleshooting is key when your vacuum isn’t working right. Let’s look at common issues and when to seek professional help.
Common Issues
Sometimes, your Dyson stick vacuum might lose suction. This often happens when the filter is clogged. Cleaning the filter can restore suction power.
Another common issue is a jammed brush bar. Check for tangled hair or debris. Removing these can solve the problem.
Battery problems can also occur. If the vacuum doesn’t hold a charge, the battery might need to be replaced.
When To Seek Professional Help
Some issues need professional help. If the motor makes strange noises, it might be damaged. A technician can diagnose and fix this.
Electrical problems also require expert attention. If your vacuum won’t turn on, the wiring might be faulty. A professional can safely check and repair it.
Seek help if you’re unsure how to fix the vacuum. Professionals can prevent further damage and extend your vacuum’s life.
Credit: community.dyson.com
Conclusion
Taking apart your Dyson stick vacuum is simple with the right steps. Remember to unplug it first for safety. Follow each step carefully to avoid damage. Clean each part gently and thoroughly. Regular maintenance ensures your vacuum works efficiently. Now, you’re ready to tackle any cleaning task with ease.