How to Remove the Battery from a Dyson Stick Vacuum Easily
Removing the battery from a Dyson stick vacuum is straightforward. Follow a few steps, and you’ll have it out in no time.
Dyson stick vacuums are popular for their convenience and efficiency. But sometimes, you need to remove the battery, whether for replacement or maintenance. Knowing how to do this can save you time and money. In this guide, we’ll walk you through the process.
No need for professional help—just a few simple tools and a bit of patience. By the end, you’ll be comfortable handling your Dyson vacuum’s battery like a pro.

Credit: www.youtube.com
Tools Needed
Removing the battery from a Dyson stick vacuum requires some basic tools. These tools ensure you can safely and efficiently perform the task. Below, we will list the necessary tools.
Screwdriver Types
Different Dyson models may require different screwdrivers. Typically, a Phillips screwdriver is needed. A flathead screwdriver might also be necessary. Check your model’s manual for specific details.
Protective Gear
Wearing protective gear is crucial for safety. Gloves protect your hands from sharp edges. Safety glasses protect your eyes from dust and debris. Always ensure you use the proper protective equipment.
Safety Precautions
Before you remove the battery from your Dyson stick vacuum, it’s important to follow some safety precautions. These steps will ensure that you complete the process safely and efficiently.
Power Off
First, make sure the vacuum is powered off. This prevents accidental operation while you work. Unplug the vacuum from any power source to avoid electric shock. Double-check that the device is completely off before proceeding.
Work In A Clean Area
Choose a clean, well-lit area to work. A clutter-free space helps you keep track of small parts and tools. Lay down a mat or cloth to protect surfaces from scratches. Ensure there’s enough light to see all components clearly.
| Step | Action |
|---|---|
| 1 | Power off the vacuum |
| 2 | Unplug from power source |
| 3 | Choose a clean area |
| 4 | Lay down a protective mat |
- Always power off the vacuum before any work.
- Unplug to avoid electric shock.
- Work in a clean, bright area.
- Use a mat to protect surfaces.
Following these precautions ensures a safe and smooth battery removal process. Pay attention to each step to avoid damage or injury.
Accessing The Battery Compartment
Accessing the battery compartment of your Dyson stick vacuum is a straightforward process. Knowing how to do it can save you time and effort. Follow these steps to locate and remove the battery safely.
Locate Battery Cover
First, identify where the battery cover is on your Dyson stick vacuum. It is usually found at the bottom or back of the vacuum handle. Look for a small panel or cover that can be opened.
Remove Cover Screws
Next, you need to remove the screws that hold the battery cover in place. Use a Phillips screwdriver for this task. Carefully unscrew each one and keep them in a safe place. Once the screws are out, gently lift the cover to expose the battery.
Detaching The Battery
Removing the battery from your Dyson stick vacuum can seem tricky. But with the right steps, it’s simple. This guide will walk you through the process.
Unscrew Battery
First, find the screws holding the battery. They are at the bottom of the handle. Use a screwdriver to loosen these screws. Turn counterclockwise until the screws come out. Set them aside in a safe place. You will need them later.
Disconnect Battery Cables
Next, locate the battery cables. They connect the battery to the vacuum. Gently pull the cables to disconnect them. Be careful not to pull too hard. The cables might be fragile. Once disconnected, you can remove the battery. Hold the battery and pull it out from the vacuum.
Now, you have successfully detached the battery from your Dyson stick vacuum. Follow these steps in reverse to reattach the battery.
Handling The Old Battery
Handling the old battery from your Dyson stick vacuum is crucial. Proper disposal and recycling are vital. They protect the environment and ensure safety.
Proper Disposal
Always handle the old battery with care. Batteries contain harmful chemicals. They can leak if damaged. Place the old battery in a non-metallic container. This prevents short circuits. Avoid storing it with other batteries. Keep it away from flammable materials.
Recycling Options
Recycling batteries helps reduce waste. Many local recycling centers accept old batteries. Check online for the nearest location. Some retailers also offer battery recycling services. They ensure the safe handling and processing of the battery. Contact your local waste management facility for guidance. They can provide specific instructions for safe disposal.

Credit: www.reddit.com
Installing A New Battery
Installing a New Battery in your Dyson stick vacuum can extend its life and improve performance. This process is simple and only requires a few tools. Follow these steps to ensure your vacuum runs smoothly with its new battery.
Align New Battery
Start by aligning the new battery with the vacuum’s battery slot. Ensure the connectors on the battery match the ones on the vacuum. This alignment is crucial for a proper fit.
Gently slide the battery into place. You should feel a slight click when the battery is fully inserted. Ensure it is flush with the vacuum body to avoid any issues.
Secure With Screws
Once the battery is in place, locate the screws that hold the battery. Use a screwdriver to tighten these screws. This step is important for keeping the battery secure during use.
Tighten each screw evenly to ensure the battery is firmly attached. Avoid overtightening to prevent damage to the screw threads or the battery casing.
Double-check that the battery is secure and does not move. This ensures that the vacuum operates safely and efficiently.
Testing The Vacuum
After removing and reinstalling the battery, it’s essential to test the vacuum. This step ensures the device functions correctly. Follow these simple steps to test your Dyson stick vacuum.
Reattach Battery Cover
First, ensure the battery is securely in place. Align the battery with the vacuum’s slot. Gently push until you hear a click. This sound confirms that the battery is locked in. Next, reattach the battery cover.
Here’s a step-by-step guide to reattaching the cover:
- Place the cover over the battery compartment.
- Align the screw holes with the screws.
- Use a screwdriver to tighten the screws.
Do not over-tighten. This could damage the cover.
Power On And Test
Now, it’s time to power on your Dyson stick vacuum. Press the power button. The vacuum should start without any issues.
Follow these steps to ensure everything works:
- Check the battery indicator lights. These should show a full charge.
- Test the suction power. Move the vacuum over a small area.
- Listen for unusual noises. The vacuum should sound normal.
If any issues arise, double-check the battery installation. Ensure all connections are secure.
Maintenance Tips
Maintaining your Dyson Stick Vacuum ensures optimal performance and a longer lifespan. Following a few maintenance tips can keep your vacuum in top shape and your home clean. Here are some essential tips for maintaining your Dyson Stick Vacuum:
Regular Cleaning
Regular cleaning prevents dust build-up and keeps the vacuum functioning efficiently. Follow these steps:
- Empty the dust bin after each use. A full bin reduces suction power.
- Wash the filter at least once a month. Use cold water and let it air dry completely.
- Check for blockages in the brush bar and hose. Remove any debris that could obstruct airflow.
Battery Care
The battery is crucial for your Dyson Stick Vacuum’s performance. Proper care can extend its life:
- Charge the battery fully before first use. This helps calibrate the battery.
- Do not leave the vacuum plugged in continuously. Overcharging can reduce battery life.
- Store the vacuum in a cool, dry place. Avoid extreme temperatures that could damage the battery.
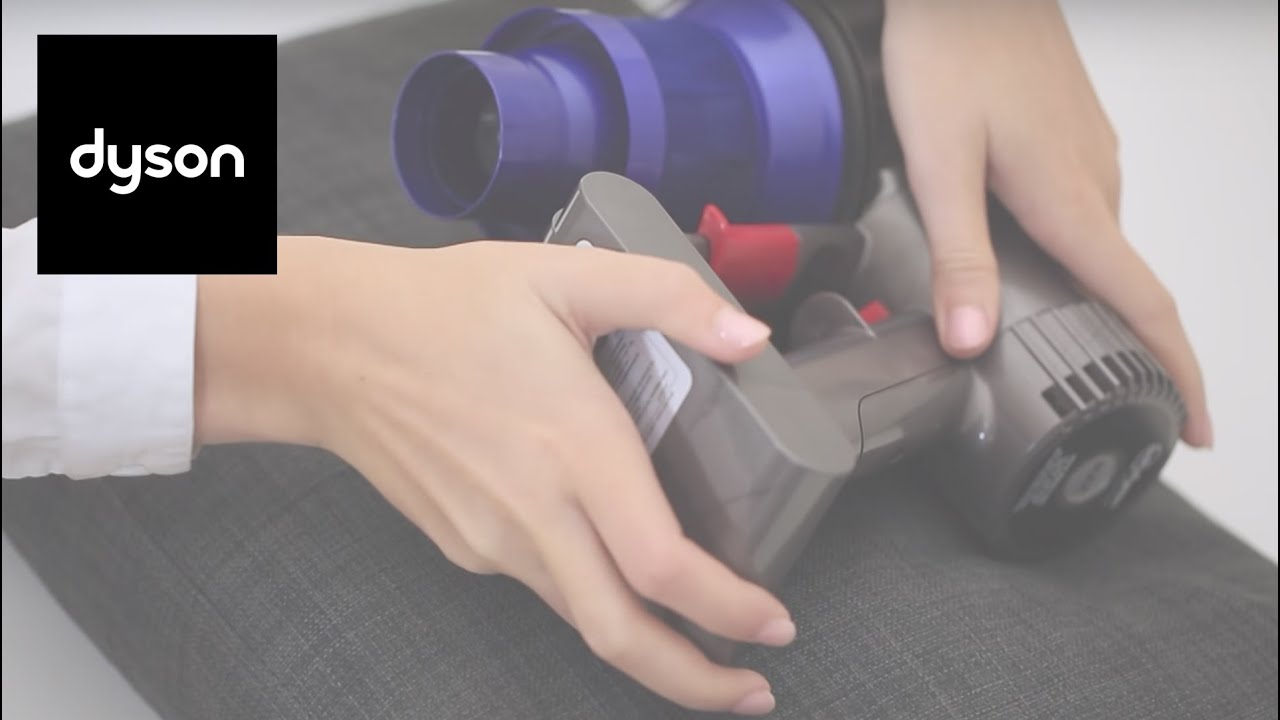
If you need to remove the battery, follow these steps:
- Turn off the vacuum and unplug it from the charger.
- Locate the battery release button. It is usually on the handle or near the base.
- Press the release button and gently slide the battery out.
Store the removed battery in a safe place. Ensure it is away from metal objects to prevent short circuits.
Credit: www.nytimes.com
Conclusion
Removing the battery from a Dyson stick vacuum is simple. Follow the steps carefully. Always ensure the vacuum is unplugged before starting. Use the right tools for the job. Handle the battery gently to avoid damage. Replace the battery if necessary.
Regular maintenance helps keep your vacuum running smoothly. Now, you’re ready to tackle this task with confidence.