How to Remove Battery from Dyson V8 Stick Vacuum
Removing the battery from your Dyson V8 Stick Vacuum is a simple process. You can do it at home with minimal tools.
The Dyson V8 Stick Vacuum is known for its powerful suction and cordless convenience. But, like any device, it may need maintenance. The battery is an essential component, and knowing how to remove it can be useful. Maybe you need to replace it, or perhaps you are troubleshooting a problem.
This guide will walk you through the steps to safely and easily remove the battery. By the end of this post, you will have the confidence to handle this task on your own. Whether you’re a seasoned DIY enthusiast or just starting, this guide is for you.
Tools Needed
Removing the battery from your Dyson V8 Stick Vacuum requires some basic tools. Having the right tools will make the process smooth and safe. Below are the essential tools and optional accessories you may need.
Required Equipment
Start by gathering the necessary equipment. You will need a Phillips head screwdriver. This tool is crucial for removing the screws that secure the battery. Ensure your screwdriver fits the screws properly.
A clean, flat workspace is also important. This prevents losing any small parts during the process. A small container for holding screws can help keep everything organized.
Optional Accessories
There are a few optional accessories that might make the job easier. A flashlight can help you see the screws better, especially in low light. If you have trouble gripping small tools, a screwdriver with an ergonomic handle can be useful.
Another helpful tool is a soft cloth. Use it to clean any dust or debris from the vacuum. This keeps the internal parts clean when you reassemble the vacuum.
Preparation Steps
Before you remove the battery from your Dyson V8 Stick Vacuum, follow these preparation steps. Doing so will ensure your safety and the vacuum’s proper functioning.
Power Off The Vacuum
Make sure to power off the vacuum. This step is crucial to avoid any electrical hazards. Locate the power button on your Dyson V8. Press it to turn off the device. Confirm that the vacuum is completely off before moving to the next step.
Disconnect From Charger
Next, disconnect the vacuum from the charger. Unplug the charger from the electrical outlet. Then, detach the charger plug from the vacuum. This ensures there is no live current running through the device, making it safe to handle.
Accessing The Battery
Removing the battery from your Dyson V8 Stick Vacuum is a simple task. Follow these easy steps to access the battery. This will help you replace or maintain it properly. Let’s start by locating the battery compartment and removing the dust bin.
Locate Battery Compartment
The battery compartment is at the bottom of the vacuum handle. First, unplug your vacuum. This ensures safety. Next, flip the vacuum upside down. Look for the small screws holding the battery in place. These screws are usually Phillips head screws. You will need a screwdriver to remove them.
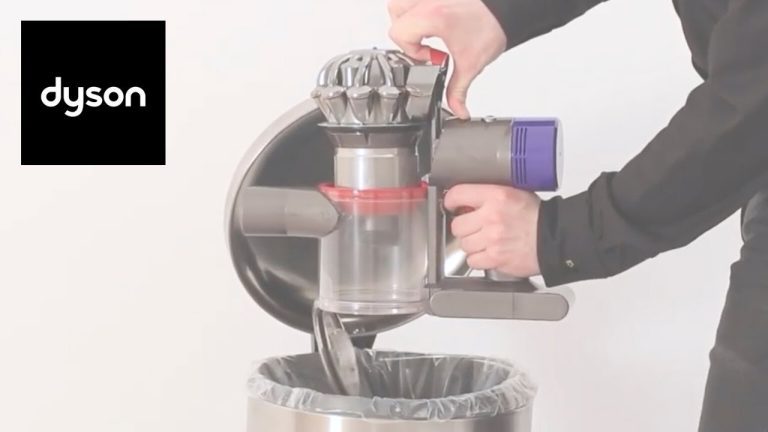
Remove Dust Bin
To reach the battery, remove the dust bin first. Press the red button located near the dust bin. This releases the bin from the vacuum. Once released, pull the bin away gently. This exposes the battery area. Now you can proceed to remove the battery.

Credit: www.youtube.com
Removing The Battery
Removing the battery from your Dyson V8 Stick Vacuum is a simple process. This guide will help you take out the battery safely. Follow these steps to avoid any damage to the vacuum.
Unscrew Battery Screws
Find the screws holding the battery in place. These screws are located near the handle of the vacuum. Use a screwdriver to remove these screws carefully. Make sure to keep the screws in a safe place. You will need them later to put the battery back.
Gently Detach Battery
Once the screws are out, gently pull the battery away from the vacuum. Be careful not to force it. Pulling too hard might damage the connectors. Hold the vacuum steady with one hand while you detach the battery with the other.
If the battery does not come out easily, check for any hidden screws. Ensure all screws are fully removed before trying again. Once detached, set the battery aside in a safe place.
Inspecting The Battery
Ensure the battery contacts are clean. Dust or debris on the contacts can affect performance. Use a dry cloth to wipe the contacts gently. Avoid using water or cleaning solutions. Clean contacts help maintain a good connection and improve battery life.
Installing A New Battery
Installing a new battery in your Dyson V8 Stick Vacuum can extend its life. This process is simple and requires minimal tools. Follow the steps below to ensure your vacuum runs smoothly with its new battery.
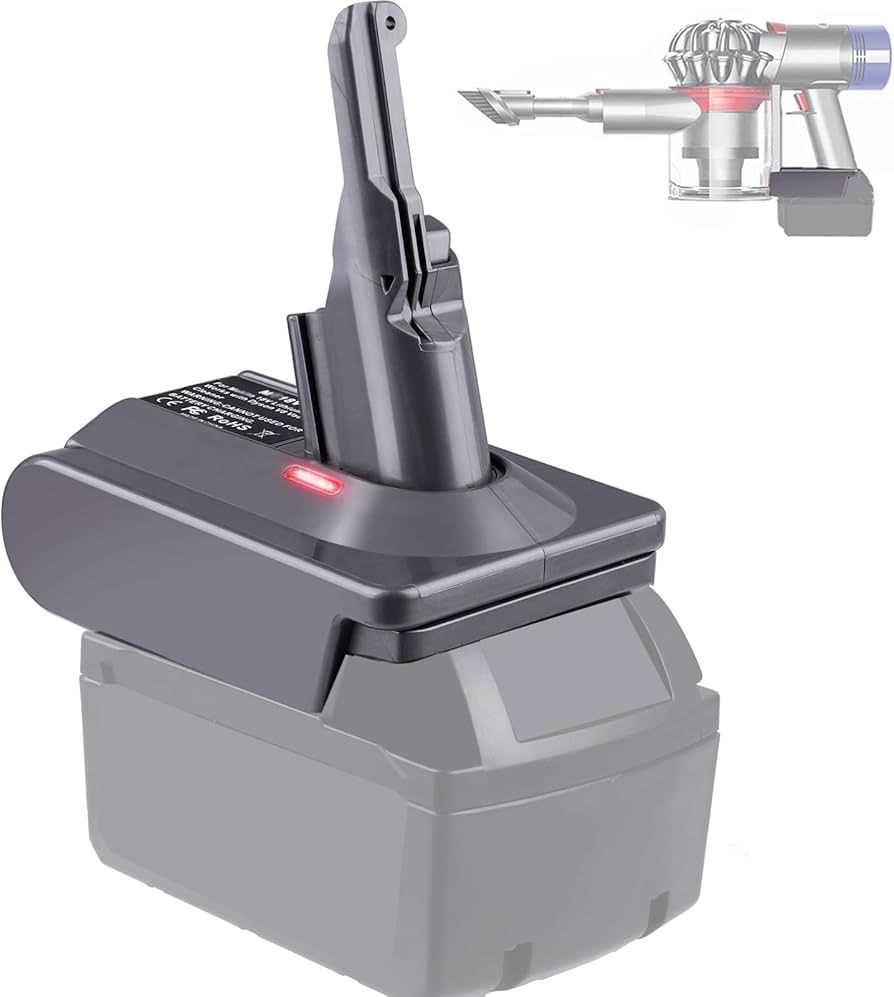
Align New Battery
Ensure the vacuum is off and unplugged. Hold the new battery in your hand. Align the connectors of the new battery with the vacuum. The connectors should match up easily.
Secure Screws
Once aligned, use a screwdriver to secure the screws. Ensure each screw is tight. This prevents the battery from moving during use. Your new battery is now installed and ready for use.
Post-installation Steps
After successfully installing the new battery in your Dyson V8 Stick Vacuum, it is important to follow some post-installation steps. These steps ensure that your vacuum functions correctly and efficiently. Let’s walk through these necessary steps.
Reconnect Dust Bin
Reconnect the dust bin to the vacuum. This is essential for the vacuum to operate properly. Follow these steps:
- Align the dust bin with the main body of the vacuum.
- Slide the dust bin until it clicks into place.
- Make sure the dust bin door is securely closed.
Ensuring the dust bin is properly connected helps avoid any operational issues. A securely attached dust bin means efficient dirt collection and disposal.
Test The Vacuum
Test the vacuum to confirm everything is working as it should. Here’s how:
- Press the power button to turn on the vacuum.
- Listen for any unusual noises.
- Check if the suction is strong and consistent.
- Test the vacuum on different surfaces like carpet and hardwood.
If everything is in order, your Dyson V8 Stick Vacuum is ready for use. Regular testing and maintenance keep your vacuum in top shape.
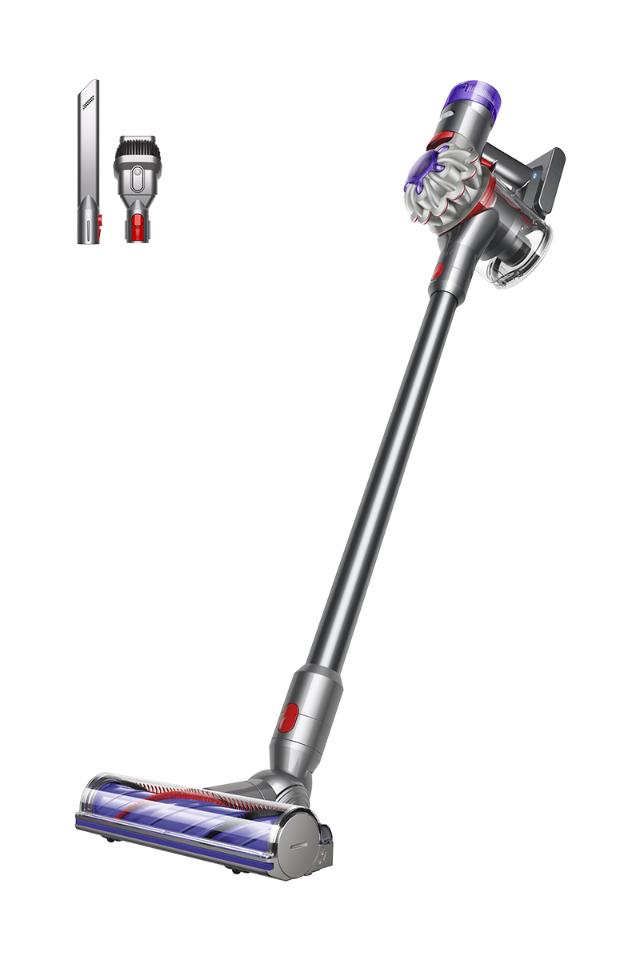
Credit: www.dyson.com
Maintenance Tips
Maintaining your Dyson V8 Stick Vacuum ensures its longevity and efficiency. Proper care can help you avoid potential issues and keep your vacuum working optimally. Let’s dive into some essential maintenance tips to keep your device in top shape.
Regular Cleaning
Regular cleaning is vital. Dust and debris can accumulate in the vacuum’s components. Remove and clean the dustbin after each use. Rinse it with water and let it dry completely. Clean the filter at least once a month. Wash it under cold water and let it dry for 24 hours. Inspect the brush bar for tangled hair and debris. Use scissors to cut away any hair or threads. Wipe down the exterior with a damp cloth.
Battery Care
Proper battery care extends your vacuum’s life. Avoid letting the battery completely drain. Charge it when the power drops to 20%. Store the vacuum in a cool, dry place. Avoid exposing the battery to extreme temperatures. If you notice a decrease in performance, consider replacing the battery. Follow the manufacturer’s instructions for safe removal and replacement. Disconnect the vacuum from the charger before removing the battery.

Credit: www.youtube.com
Conclusion
Removing the battery from your Dyson V8 stick vacuum is simple. Follow the steps carefully. Always ensure the vacuum is off before starting. Use the right tools to avoid damage. Regular maintenance can extend your vacuum’s life. A new battery can improve performance.
Remember to dispose of the old battery properly. With these tips, your Dyson V8 will keep working efficiently.