How to Fix Electric Scooter Brakes: Quick & Safe Solutions

To fix electric scooter brakes, first, check the brake pads and cables for wear. Adjust or replace them as needed.
Electric scooters provide a convenient and eco-friendly mode of transportation. Ensuring their brakes function properly is crucial for safety. Worn-out brake pads or loose cables can compromise your scooter’s stopping power. Regularly inspecting these components helps maintain optimal performance. Simple adjustments often solve minor issues, while more severe wear might require replacements.
By keeping your brakes in good condition, you enhance your riding experience and safety. Regular maintenance extends the lifespan of your electric scooter, making it more reliable. Always prioritize brake checks in your routine maintenance schedule to avoid unexpected problems.

Credit: www.youtube.com
Introduction To Electric Scooter Brake Issues
Electric scooters can have several brake problems. The brakes may feel too loose or tight. Sometimes, the brake pads wear out quickly. Brake cables can also get damaged. These issues can make riding unsafe. It’s important to check your brakes often.
Always put safety first. Check your brakes before every ride. Look for any visible damage. Test the brakes by squeezing them gently. Make sure they respond quickly. If the brakes feel weak, avoid riding. Fix any issues right away.
Tools And Materials Needed
A good toolkit is important. You’ll need screwdrivers and wrenches. Make sure to have pliers and a set of Allen keys. These tools help fix different parts. A tire lever is also useful. Don’t forget a small hammer and some rags. A flashlight helps you see better.
Brake pads are very important. You need a brake cable cutter. A disc brake cleaner helps a lot. Brake fluid is needed for hydraulic brakes. A rotor truing fork is useful for straightening discs. Brake grease helps parts move better. A torque wrench makes sure bolts are tight enough.
Preparation Steps Before Repair
Before fixing electric scooter brakes, gather necessary tools and ensure the scooter is turned off for safety. Verify brake components for wear or damage to identify necessary replacements.
Ensuring Scooter Stability
Place your scooter on a flat and even surface. Use a kickstand to keep it upright. You can also use a bike repair stand if you have one. Check that the scooter does not wobble. This will make it easier to work on.
Powering Down And Safety Measures
Turn off the scooter before you start. Remove the battery if possible. Wear safety gloves to protect your hands. Keep a clean workspace to avoid accidents. Make sure you have all the tools ready. This includes a wrench, screwdriver, and pliers.
Adjusting The Brake Cable Tension
Adjusting the brake cable tension on your electric scooter ensures optimal braking performance. Regularly check and tighten the cable to maintain safety.
Loosening The Brake Cable
First, locate the brake cable adjuster. It is near the brake lever. Turn the adjuster counterclockwise. This will loosen the brake cable. Check if the brakes feel less tight. If not, turn it a bit more. Test the brakes by squeezing the lever. Ensure it moves smoothly. The brakes should not be too tight or too loose.
Fine-tuning For Optimal Performance
After loosening, test the scooter brakes. Ride slowly and squeeze the brakes. If they are still too tight, loosen a bit more. If too loose, tighten the cable. Repeat until you get the right tension. The scooter should stop smoothly. Proper brake tension ensures safety. Always test before riding fast.
Replacing Brake Pads
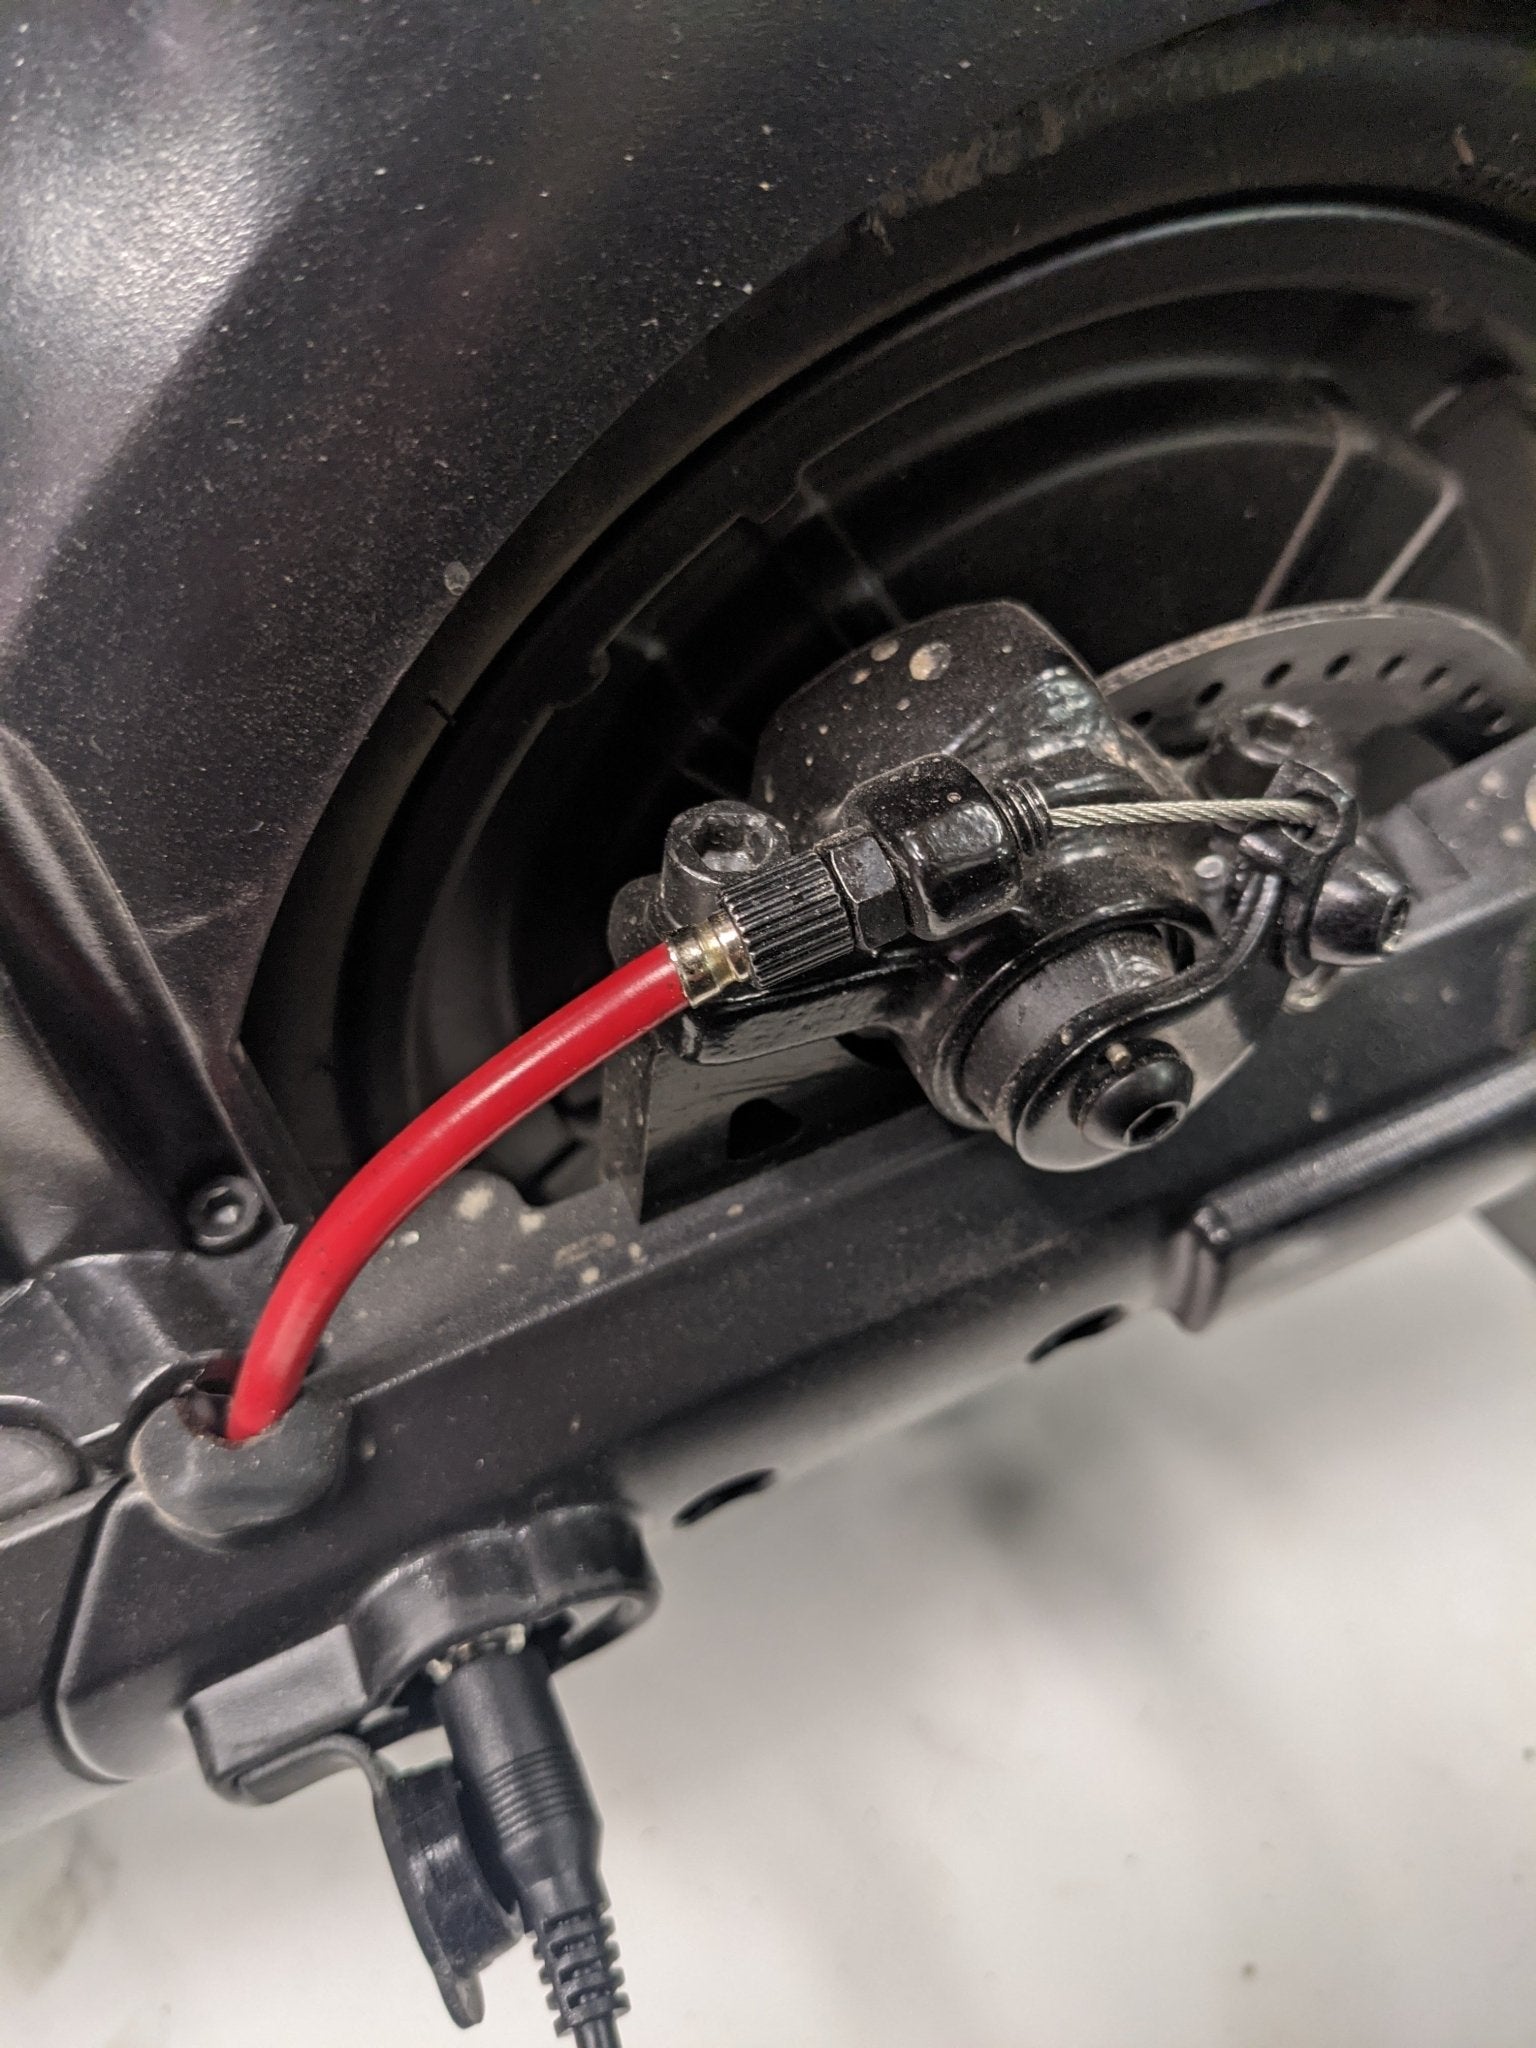
First, locate the brake pads on your scooter. Use a screwdriver to remove the screws holding the pads. Carefully pull the worn pads out. Inspect the brake caliper for any damage. Clean the caliper with a soft cloth. This ensures no debris affects the new pads. Keep the screws safe; you will need them later.
Take the new brake pads out of the package. Align them with the caliper slots. Slide the new pads into the caliper. Make sure they fit snugly. Use the saved screws to secure the new pads. Tighten the screws firmly but not too tight. Check the alignment of the brake pads. Spin the wheel to ensure it moves freely. Test the brakes by pressing the brake lever.

Credit: gotrax.com
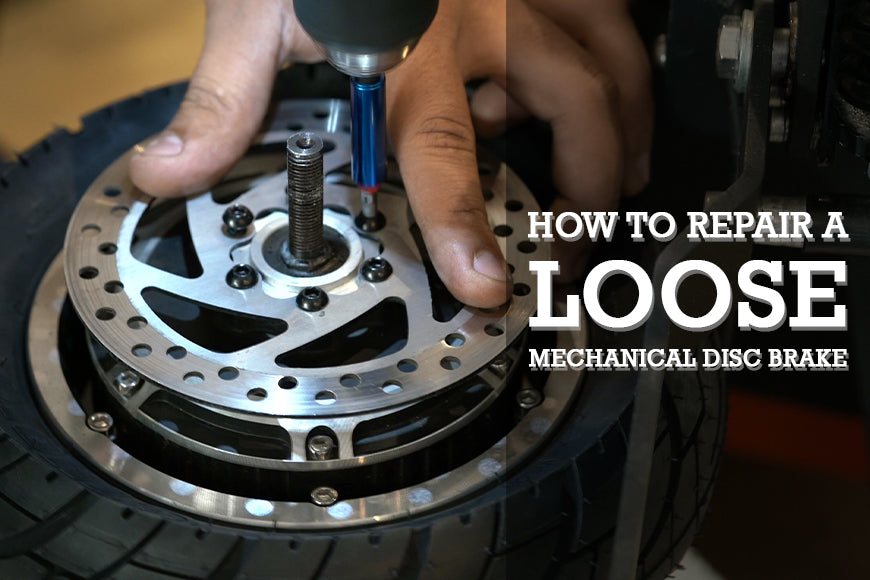
Fixing Disc Brake Alignment
Check if the brake pads touch the disc evenly. Spin the wheel and listen for rubbing noises. Look for gaps between the disc and pads. Misaligned brakes can cause uneven wear. This affects braking performance.
Loosen the bolts holding the brake caliper. Adjust the caliper until the disc is centered. Tighten the bolts to secure the caliper. Spin the wheel again to check the alignment. If rubbing persists, repeat the adjustment process. Ensure the disc is straight by checking with a ruler. A bent disc needs replacement.
Dealing With Electronic Brake Systems
Check the brake connections. Make sure all wires are secure and tight. Examine the brake pads for wear and tear. Replace them if they are worn out. Inspect the brake lever. Ensure it moves smoothly. Test the electronic brake system by riding the scooter slowly. Listen for any unusual sounds.
Seek help if the brakes are not working after troubleshooting. If you hear strange noises, consult a professional. Get help if you notice burning smells. Call a technician if the brake system feels loose. Seek assistance if you are unsure about any steps.
Testing After Repairs
Check the brakes while the scooter is not moving. Squeeze the brake handles and feel for any resistance. The brakes should feel firm and smooth. Inspect the brake pads and ensure they touch the wheels evenly. Listen for any unusual sounds like scraping or squeaking. Adjust the brake cables if the brakes feel loose. Make sure all bolts are tight and secure.
Start with a slow ride in a safe area. Gradually increase speed and apply the brakes. The scooter should stop quickly and smoothly. Test both the front and rear brakes. They should work independently and together. Pay attention to any unusual noises or vibrations. Adjust the brakes if needed for better performance.
Maintenance Tips To Avoid Future Issues
Keep the scooter clean to avoid brake problems. Dirt and debris can damage the brakes. Use a soft cloth to wipe the brakes often. Inspect the brake pads for wear. If they look thin, replace them. Check the brake cables for any signs of wear. Tighten any loose bolts you find. This helps keep the brakes working well.
Upgrading brake parts can improve safety. Install high-quality brake pads for better performance. Consider hydraulic brakes for smoother stopping. These brakes need less force to use. Upgraded brake levers can also help. They give more control over braking. Always use parts that fit your scooter model.

Credit: www.mearth.com.au
Conclusion
Fixing your electric scooter brakes can be straightforward with the right guidance. Regular maintenance ensures safety and performance. Follow the steps mentioned and consult your scooter’s manual. Always prioritize safety and use the correct tools. Keep your scooter in top shape for a smooth, enjoyable ride.


