How to Fix Dyson Stick Vacuum: Quick and Easy Solutions
Is your Dyson stick vacuum not working as it should? Don’t worry, you can fix it yourself.
Dyson stick vacuums are known for their power and convenience. But like any device, they can face issues over time. From blockages to battery problems, these vacuums can encounter several common problems. Understanding how to troubleshoot and fix these issues can save you time and money.
We’ll walk you through the steps to get your Dyson stick vacuum back in top shape. Whether it’s a minor clog or a more serious issue, you’ll find clear, easy-to-follow instructions here.

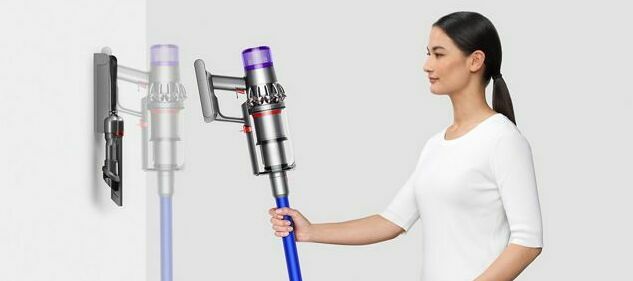
Credit: www.reddit.com
Common Issues
Dyson stick vacuums are known for their efficiency and ease of use. But, like all appliances, they can have problems. Understanding these issues can help you fix them quickly. Below are some common issues you may face.
Power Problems
Power problems are common in Dyson stick vacuums. These issues can range from the vacuum not turning on to it shutting down unexpectedly. Here are some steps to diagnose and fix these problems:
- Check the battery: Ensure the battery is charged. Replace it if necessary.
- Inspect the power cord: Look for any signs of wear or damage.
- Examine the power button: Make sure it is not stuck or broken.
If these steps do not resolve the issue, you may need to contact Dyson support for further assistance.
Suction Loss
Suction loss is another common problem with Dyson stick vacuums. This issue can make cleaning less effective. Here are some steps to address suction loss:
- Empty the dust bin: A full dust bin can reduce suction power. Make sure to empty it regularly.
- Check the filters: Dirty filters can block airflow. Clean or replace them as needed.
- Inspect the brush bar: Hair and debris can get tangled in the brush bar. Remove any obstructions.
- Look for blockages: Check the vacuum hose and other parts for blockages.
Regular maintenance can prevent many of these issues. Always follow the user manual for best practices.
Tools Needed
Fixing your Dyson Stick Vacuum can seem daunting, but it’s manageable with the right tools. Here, we outline the tools you’ll need for a smooth repair process. Having these tools ready will make your task easier and quicker.
Basic Tools
You’ll need some basic tools that are commonly found in most households. These tools are essential for disassembling and cleaning your Dyson Stick Vacuum.
- Screwdrivers: A set of Philips and flathead screwdrivers.
- Brush: A small, stiff brush to clean debris.
- Scissors: To cut away tangled hair and threads.
- Cloth: A soft cloth for wiping down parts.
Specialized Tools
Sometimes, basic tools are not enough. You might need specialized tools for specific Dyson Stick Vacuum models. These tools ensure that you can perform more detailed repairs.
| Tool | Purpose |
|---|---|
| Torx Screwdriver Set | For removing specific screws in the vacuum. |
| Compressed Air Canister | To blow out dust from hard-to-reach areas. |
| Replacement Filters | To replace old or clogged filters. |
| Multimeter | To check electrical connections. |
With these tools, you can confidently tackle any issue with your Dyson Stick Vacuum. Keep them handy, and you’ll be prepared for any repair job.
Initial Checks
Before diving into complex fixes, start with some initial checks. These simple steps can often resolve many issues with your Dyson stick vacuum. Regular maintenance is key to keeping your vacuum in top shape.
Battery Inspection
First, check the battery. Ensure it is fully charged. A weak or dead battery can cause the vacuum to stop working. If the battery doesn’t hold a charge, consider replacing it. Make sure the battery contacts are clean and free of debris. A dirty contact can prevent proper charging.
Filter Examination
Next, examine the filter. A clogged filter can reduce suction power. Remove the filter and check for dirt or debris. Clean the filter if necessary. Rinse it under cold water and let it dry completely. A clean filter helps the vacuum run smoothly. Ensure the filter is seated properly when reinstalled.

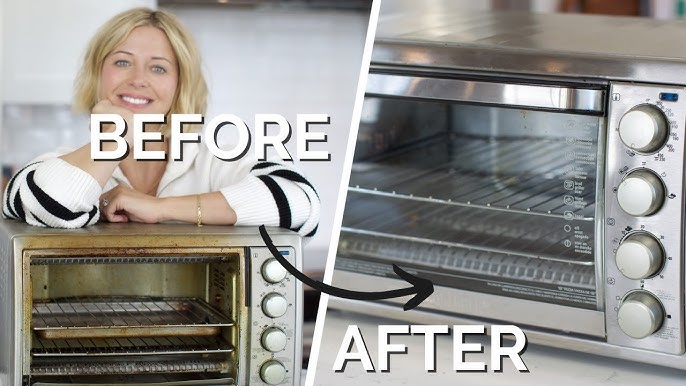
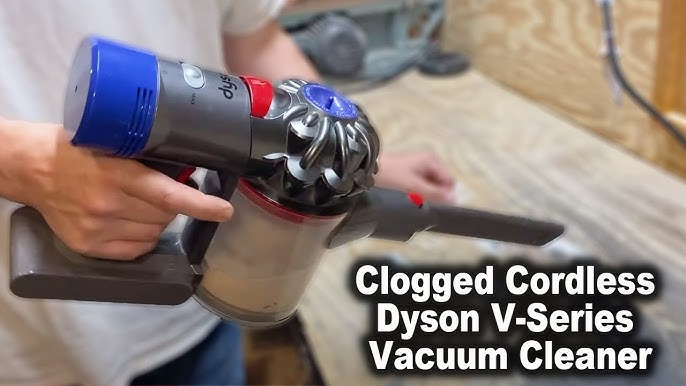
Credit: www.youtube.com
Cleaning The Filter
To ensure your Dyson stick vacuum works efficiently, regular cleaning of the filter is essential. A clean filter helps maintain suction power and prolongs the vacuum’s life. Follow these steps to clean the filter of your Dyson stick vacuum properly.
Removing The Filter
First, locate the filter in your Dyson stick vacuum. Typically, it is found near the cyclone assembly or in the handle.
- Turn off and unplug your vacuum.
- Remove the bin from the vacuum.
- Twist the filter counterclockwise to release it.
- Gently pull the filter out of the vacuum.
Washing And Drying
Once the filter is removed, it’s time to wash it. Follow these steps:
- Rinse the filter under cold water until the water runs clear.
- Squeeze out excess water gently.
- Repeat rinsing and squeezing if needed.
| Step | Description |
|---|---|
| Rinsing | Rinse under cold water until clear. |
| Squeezing | Gently squeeze out excess water. |
| Repeating | Repeat if necessary. |
After washing, the filter needs to dry thoroughly before being put back. Place the filter in a warm area for at least 24 hours. Ensure it is completely dry to prevent any damage.
Clearing Blockages
Clearing blockages in your Dyson stick vacuum can greatly improve its performance. Blockages can occur in various parts of the vacuum, affecting its suction power. Here’s a step-by-step guide to help you clear these blockages and keep your Dyson vacuum running efficiently.
Checking The Wand
The wand can easily get clogged with debris. Follow these steps to check and clear it:
- Detach the wand from the main body of the vacuum.
- Look through the wand to see if there is any obstruction.
- If you see a blockage, use a long stick or similar tool to push it out.
- Check both ends of the wand to ensure it’s clear.
Examining The Brush Bar
The brush bar often gets entangled with hair and other debris. To clean it:
- Turn off and unplug the vacuum.
- Flip the vacuum over to access the brush bar.
- Use a coin to turn the lock and remove the brush bar.
- Clear any hair, string, or debris wrapped around the bar.
- Replace the brush bar and secure it back in place.
| Common Blockages | Clearing Method |
|---|---|
| Wand | Use a long stick to push out debris. |
| Brush Bar | Remove and clean hair and string. |
By regularly checking and clearing blockages in the wand and brush bar, your Dyson stick vacuum will maintain its strong suction power and perform effectively. Routine maintenance ensures a longer lifespan for your vacuum.
Maintaining The Motor
Keeping your Dyson stick vacuum motor in top shape is crucial. A well-maintained motor ensures your vacuum works efficiently. Regular checks and some simple maintenance tasks can extend its life. Here’s how to keep your vacuum’s motor running smoothly.
Motor Inspection
Inspecting the motor regularly helps spot issues early. First, unplug the vacuum. Then, open the motor housing. Look for dust or debris around the motor. Clean it gently with a soft brush or cloth.
Check the motor’s fan for any blockages. A blocked fan can overheat the motor. Make sure all parts are intact and not worn out. If you notice any damage, consider replacing the part.
Lubricating Parts
Lubrication is key to a smooth-running motor. Use a light machine oil to lubricate moving parts. Focus on the motor’s bearings and shaft.
Here’s a simple guide:
- Unplug the vacuum.
- Open the motor housing.
- Apply a few drops of oil to the bearings.
- Rotate the shaft to spread the oil evenly.
- Wipe off any excess oil to prevent dirt build-up.
Regular lubrication reduces friction and wear. This helps the motor run smoothly and quietly.
Reassembling The Vacuum
After cleaning and fixing any issues with your Dyson stick vacuum, the next step is to reassemble it. Proper reassembly ensures the vacuum operates effectively. Follow these steps to put the parts back together correctly.
Proper Alignment
Ensure all parts are properly aligned. Misalignment can cause the vacuum to malfunction. Check the user manual for specific alignment instructions.
- Align the main body with the handle.
- Make sure the filter fits snugly.
- Check the dust bin alignment.
Proper alignment prevents damage and ensures the vacuum runs smoothly.
Securing Components
Next, secure all components firmly. Loose parts can lead to decreased suction power. Secure components in the following order:
- Attach the handle to the main body.
- Secure the dust bin in place.
- Lock the filter into its housing.
Double-check each part to ensure it is firmly attached. This guarantees optimal performance and prolongs the life of your Dyson stick vacuum.
Testing The Vacuum
Testing the vacuum is a crucial step in fixing your Dyson Stick Vacuum. It helps you understand the problem and ensures the vacuum works correctly after repair. Let’s break down the testing process into two main steps: Power On and Performance Check.
Power On
Ensure the vacuum is fully charged. Plug it in if needed. Turn the vacuum on. Listen for any unusual sounds. A smooth start indicates no major electrical issues. If it doesn’t start, check the battery connection.
Performance Check
Next, test the vacuum’s suction. Place it on a hard floor. Run it for a few minutes. See if it picks up dirt effectively. Check if the brush roll spins freely. Look for any blockages in the tube. Ensure the filters are clean and correctly in place. If the vacuum runs smoothly, your repair was successful. If not, further inspection might be needed.
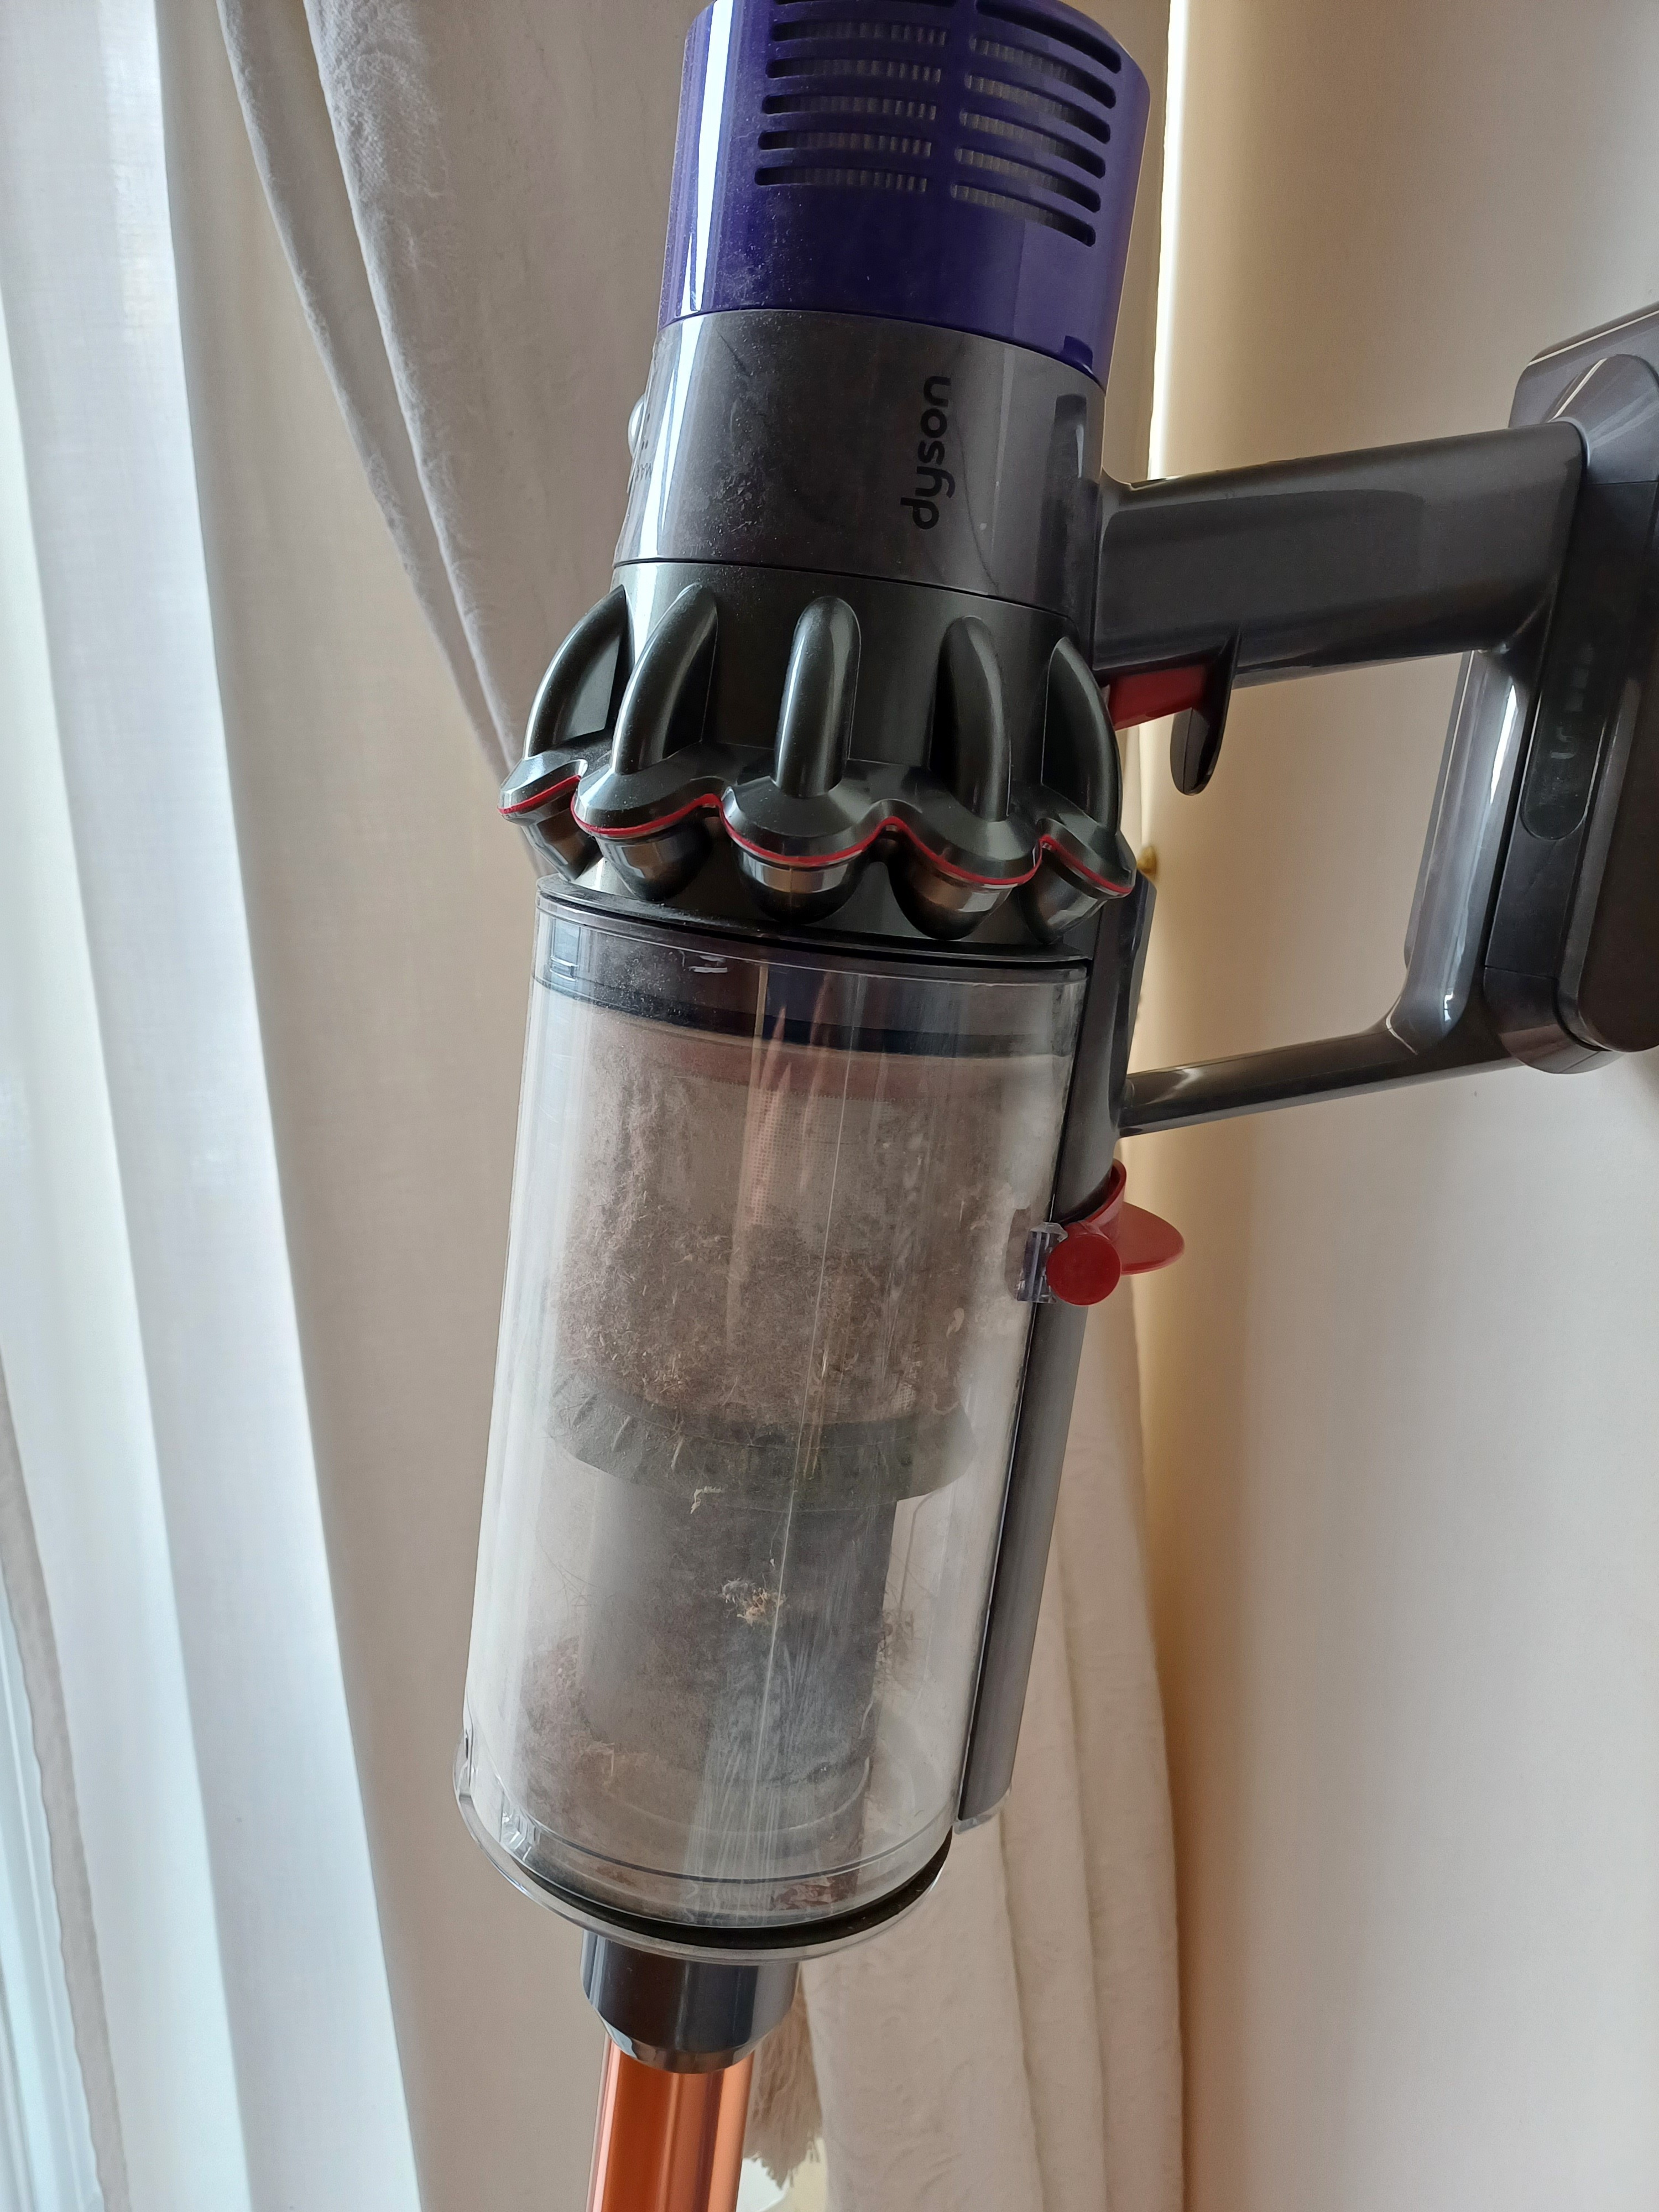
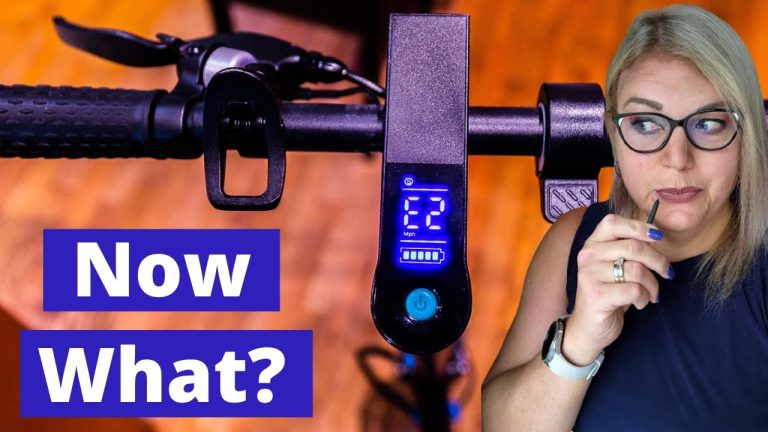
Credit: community.dyson.com
Conclusion
Fixing your Dyson stick vacuum can be simple. Follow basic troubleshooting steps. Clean the filters regularly. Check for blockages in the wand and brush head. Replace worn-out parts promptly. Keep the battery charged and maintained. With these tips, your vacuum will run smoothly.
Maintain it well for longevity. A little care goes a long way. Enjoy a clean home with a well-functioning Dyson vacuum.