How to Empty the Dyson Stick Vacuum: Quick and Easy Steps
Emptying a Dyson stick vacuum is simple and quick. With a few steps, you can keep your vacuum in top shape.
A Dyson stick vacuum is known for its powerful suction and sleek design. But like any vacuum, it needs regular maintenance. Emptying the dustbin keeps it running efficiently and ensures a longer lifespan. This process is crucial for maintaining optimal performance.
It helps avoid blockages and keeps your home clean. Don’t worry if you’re new to this; it’s easier than you think. This guide will walk you through each step. You’ll be able to empty your Dyson stick vacuum in no time.
Preparation Steps
Before you empty your Dyson Stick Vacuum, follow these preparation steps. This will make the process smooth and safe.
Gather Necessary Tools
Collect the tools you need. A trash bag or bin is essential. You may also need gloves for hygiene. Keep a cloth handy for any spills.
- Trash bag or bin
- Gloves
- Cloth
Ensure Vacuum Is Off
Make sure the vacuum is off. This prevents accidents. Unplug the charger if it’s connected. Safety comes first.
Follow these steps to turn off your Dyson Stick Vacuum:
- Press the power button
- Wait for the motor to stop
- Unplug the charger
Credit: support.dyson.co.nz
Locate The Dust Bin
Emptying your Dyson Stick Vacuum is essential for maintaining its performance. The first step in this process is to locate the dust bin. Properly identifying and understanding the dust bin ensures a smoother cleaning experience. Let’s dive into how you can easily locate and manage the dust bin on your Dyson Stick Vacuum.
Identify Dust Bin Position
The dust bin is a transparent container attached to the main body of the vacuum. It is usually placed below the handle or near the base of the vacuum. Look for a clear plastic container. This is where all the dust and debris are collected.
Make sure the vacuum is turned off. This prevents any accidental spills or messes. Carefully examine your vacuum to spot the dust bin. It should be easy to identify due to its see-through design.
Understand Bin Mechanism
The dust bin mechanism is simple but effective. Most Dyson Stick Vacuums have a release button near the bin. This button allows you to detach the bin from the vacuum.
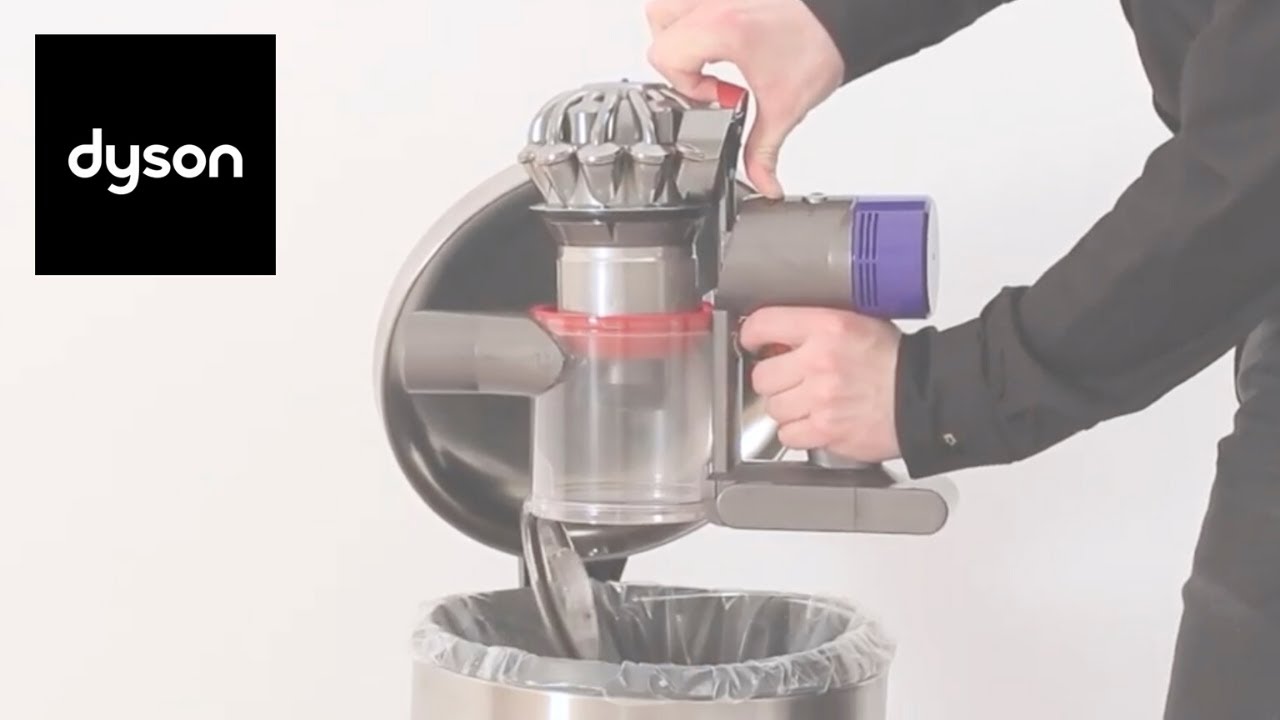
Press the button to release the bin. Once detached, you can easily empty the contents into a trash can. Make sure to hold the bin over the trash can to avoid spilling dust and debris.
After emptying, reattach the bin by aligning it with the vacuum body. Listen for a click to ensure it is securely attached.
Detach The Dust Bin
To keep your Dyson Stick Vacuum running efficiently, you must regularly empty the dust bin. This process is simple and quick. Follow these steps to detach the dust bin and keep your vacuum in top condition.
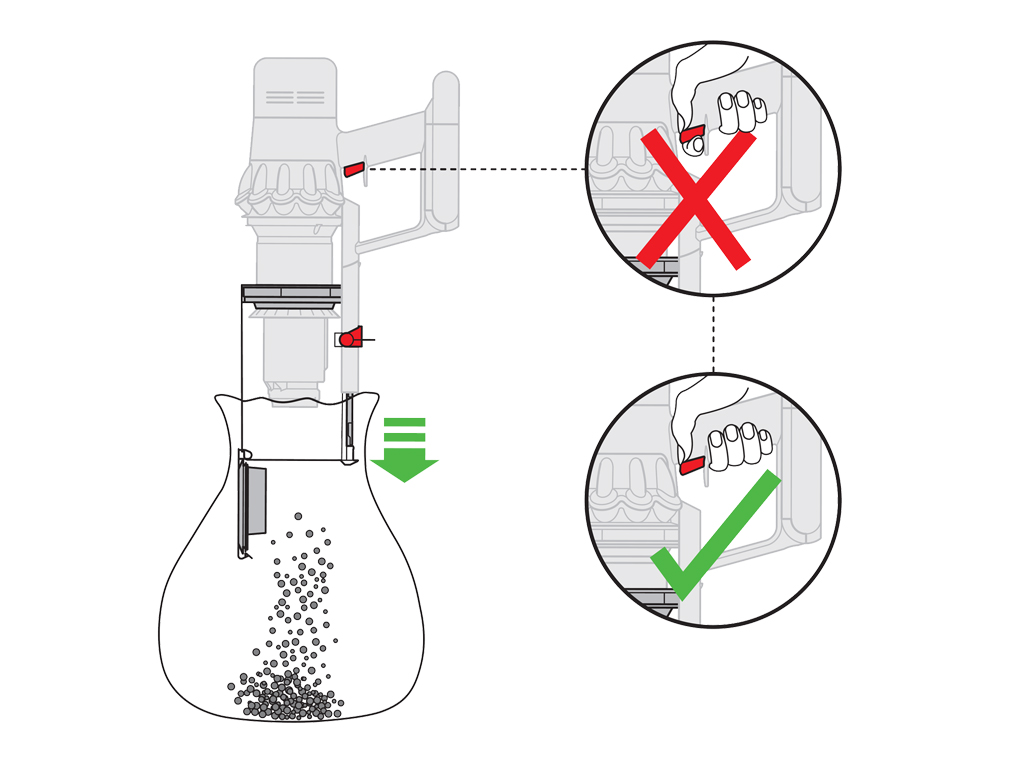
Press Release Button
First, locate the release button on your Dyson Stick Vacuum. It is usually near the dust bin. Press the button firmly to unlock the bin.
Remove Bin Carefully
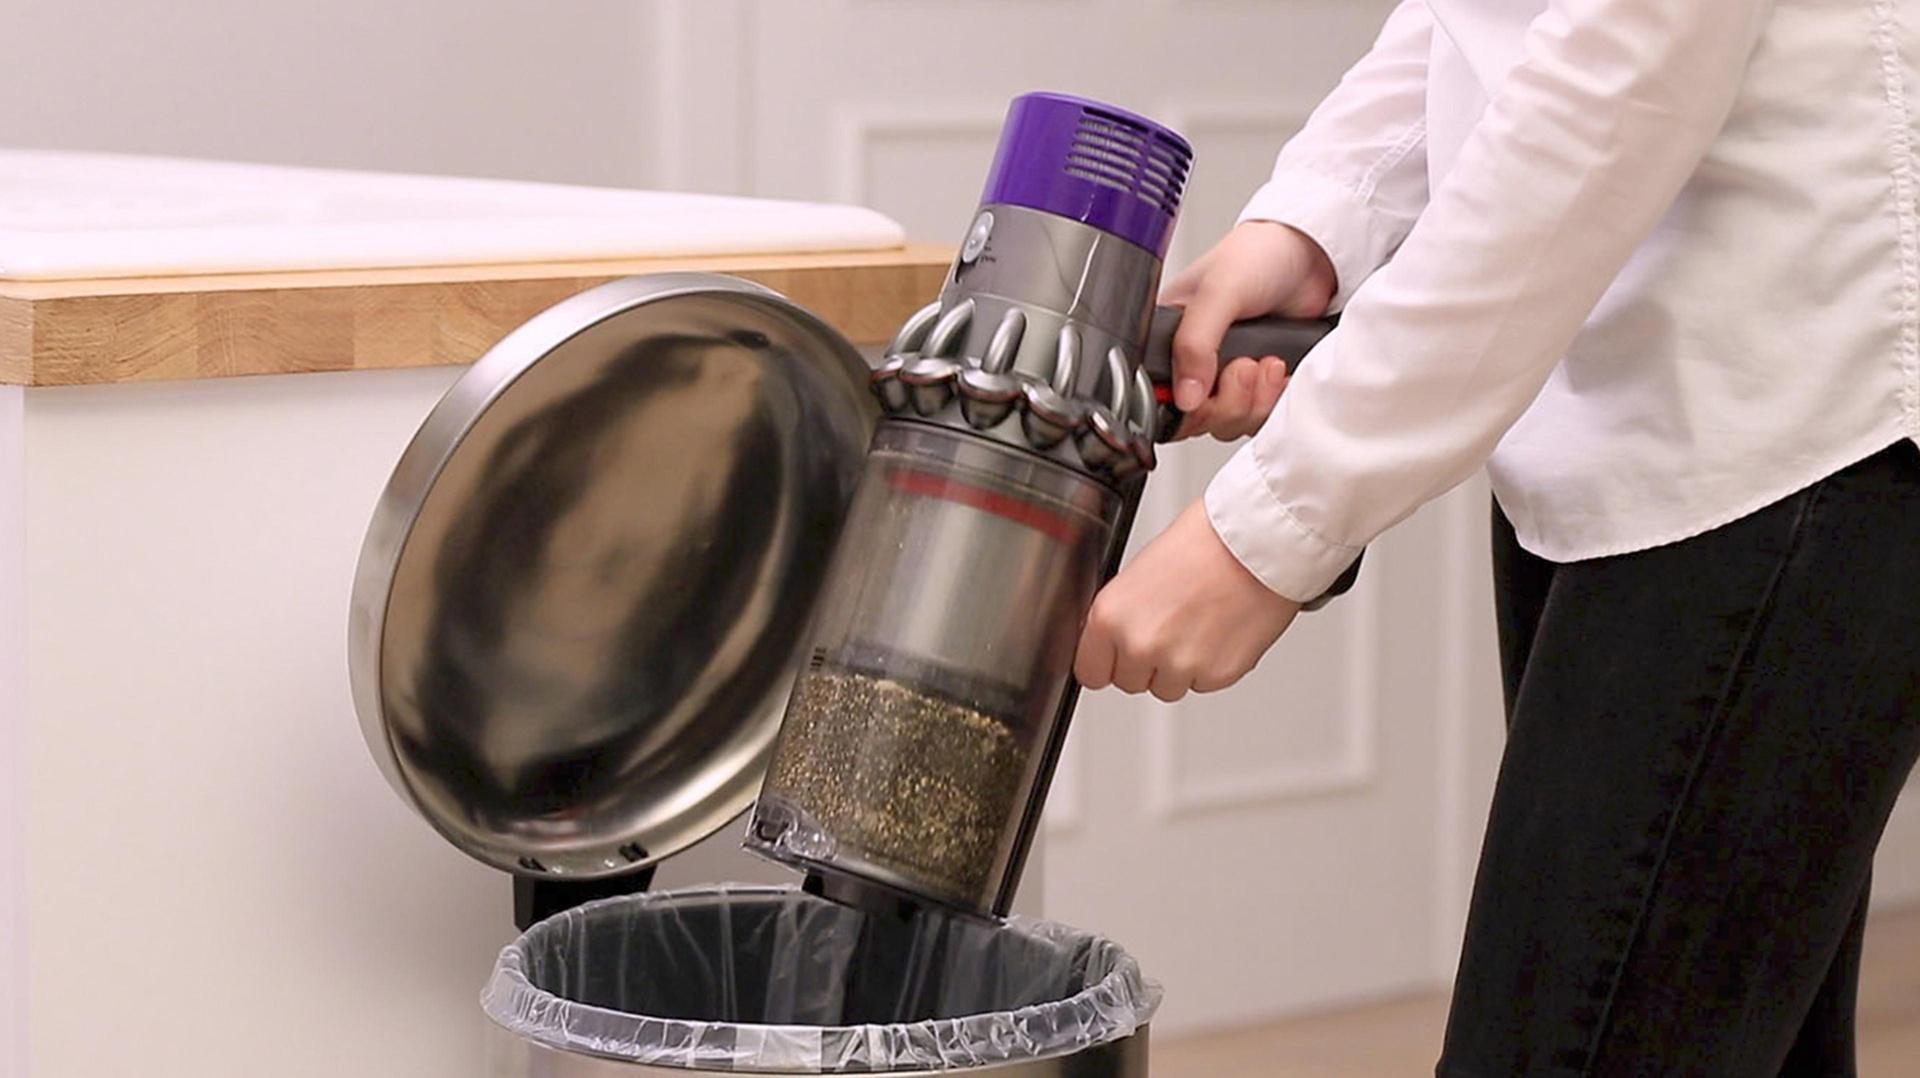
After pressing the release button, pull the dust bin away from the vacuum. Do this gently to avoid spilling dust and debris. Hold the bin over a trash can before opening it.
Empty The Dust Bin
Emptying the dust bin of your Dyson stick vacuum is a simple task. This ensures your vacuum works efficiently. It also helps maintain a clean home. Follow these steps to empty the dust bin easily.
Open Bin Lid
First, locate the bin release button. It is usually near the handle. Press the button to release the bin. The bin lid should pop open. Hold the bin over a trash can to avoid spills.
Dispose Of Debris
Once the bin lid is open, let the debris fall out. Gently tap the bin if needed. Make sure all dust and dirt are removed. Close the bin lid securely. Your Dyson stick vacuum is now ready to use again.
Clean The Dust Bin
Keeping your Dyson stick vacuum in top shape involves regular maintenance. One crucial task is to clean the dust bin. This ensures the vacuum works at its best. Let’s go through the steps to clean the dust bin effectively.
Wipe Bin Interior
After emptying the dust bin, it’s time to wipe the interior. Use a damp cloth to clean the inside walls of the bin. This helps remove fine dust and dirt sticking to the bin.
Avoid using harsh chemicals as they can damage the bin. A simple, damp cloth is enough. Ensure the bin is completely dry before reattaching it to the vacuum.
Check For Blockages
While cleaning the dust bin, also check for blockages. Sometimes, debris can get stuck in the bin or the inlet. Use a soft brush to remove any stuck particles.
Look for any obstructions in the bin’s pathway. Removing blockages ensures the vacuum performs well.
Regular cleaning and checking for blockages can extend your vacuum’s life. Follow these steps, and your Dyson stick vacuum will stay in top shape.
Credit: www.dyson.co.nz
Reattach The Dust Bin
Reattaching the dust bin to your Dyson Stick Vacuum is crucial for optimal performance. It ensures that your vacuum is ready for the next cleaning session. This section will guide you through the necessary steps to reattach the dust bin correctly.
Align Bin Correctly
First, ensure the bin aligns with the vacuum body. Look for the guiding grooves on both parts. They help you position the bin correctly. Misalignment can cause the vacuum to malfunction.
| Step | Description |
|---|---|
| 1 | Locate the guiding grooves on the bin. |
| 2 | Align these grooves with the vacuum body. |
Secure Bin In Place
Once aligned, push the bin towards the vacuum until you hear a click. This sound indicates that the bin is securely attached. A loose bin can lead to dust leakage.
- Push the bin firmly into place.
- Listen for the clicking sound.
Tip: Always check if the bin is securely attached before using the vacuum.
Check For Proper Attachment
Emptying your Dyson Stick Vacuum properly ensures its longevity and efficiency. One critical step is to check for proper attachment. This ensures that everything stays secure and the vacuum operates optimally. Here’s how to do it:
Ensure Bin Is Locked
Before you start vacuuming, always ensure the bin is locked in place. An improperly locked bin can cause dust and debris to leak. Follow these steps:
- Remove the bin from the vacuum.
- Empty the contents into a trash can.
- Reattach the bin to the vacuum.
- Listen for a click to confirm it’s locked.
Test Vacuum Function
After securing the bin, it’s important to test the vacuum to ensure it functions well. Here’s how:
- Turn on the vacuum.
- Run it over a small area with debris.
- Check if the vacuum is picking up dirt effectively.
- If not, recheck the bin and attachments.
These simple steps can save you time and keep your vacuum working like new.
Maintenance Tips
Keeping your Dyson Stick Vacuum in top condition is essential for optimal performance. Regular maintenance ensures that your vacuum runs efficiently and lasts longer. Follow these tips to maintain your Dyson Stick Vacuum and keep it running like new.
Regular Cleaning Schedule
To maintain your Dyson Stick Vacuum, establish a regular cleaning schedule. This helps prevent clogs and keeps the suction power strong. Here’s a simple guide:
- Empty the bin after every use.
- Wipe the brush bar weekly.
- Check for blockages monthly.
By following these steps, your vacuum will perform better and last longer.
Inspect Filters
Inspecting and cleaning the filters is crucial for maintaining your Dyson Stick Vacuum. Dirty filters can reduce suction power. Follow these steps:
- Remove the filter from the vacuum.
- Rinse it under cold water until the water runs clear.
- Let the filter dry completely for at least 24 hours.
- Reinstall the filter into the vacuum.
Clean the filters at least once a month. This will ensure your vacuum operates at its best.

Credit: www.youtube.com
Conclusion
Emptying your Dyson stick vacuum is simple and quick. Follow these steps regularly to keep your vacuum working efficiently. Always ensure the vacuum is unplugged before cleaning. Dispose of the dust and debris properly. Check for any blockages and clean the filter if needed.
Maintaining your Dyson stick vacuum will prolong its life and ensure top performance.