How to Deep Clean a Toaster Oven: Step-by-Step Guide

Cleaning a toaster oven can seem like a tough job. But it’s simpler than you think.
A clean toaster oven not only looks better but works better too. Over time, crumbs, grease, and food bits can build up. This affects performance and can even be a fire hazard. Regular cleaning keeps your toaster oven safe and efficient.
You’ll learn simple steps to deep clean your toaster oven. By the end, your toaster oven will look and function like new.

Credit: www.reddit.com
Preparation
Preparation is the key to a successful deep clean of your toaster oven. Start by making sure you have everything you need. A well-prepared cleaning session saves time and ensures a thorough job. Let’s look at the first steps.
Unplug The Toaster Oven
Always unplug your toaster oven before cleaning. This is crucial for your safety. Electricity and water do not mix. By unplugging, you avoid any risk of electric shock. Ensure the toaster oven is completely cool before you start cleaning.
Gather Cleaning Supplies
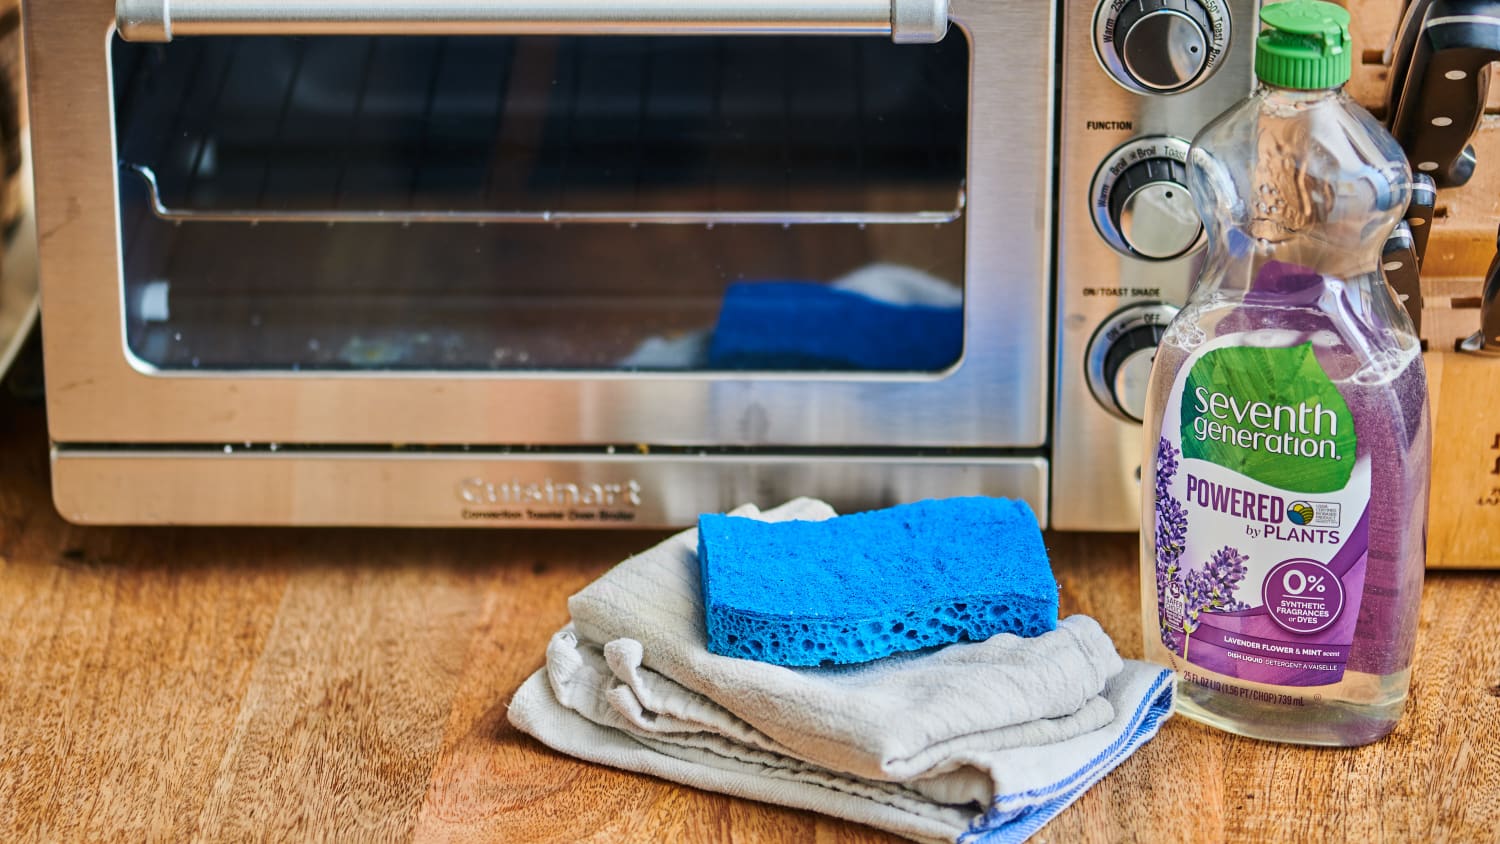
Next, gather all the necessary cleaning supplies. You will need a soft cloth, a sponge, dish soap, baking soda, and white vinegar. Also, have a small brush ready for tough spots. A toothpick can help clean hard-to-reach areas. With everything on hand, you are ready to begin deep cleaning.
Initial Cleaning
Before deep cleaning your toaster oven, start with an initial clean. This step ensures a smooth process and removes superficial dirt and grime. Follow these simple steps for a fresh start.
Remove Crumbs And Debris
Begin by unplugging your toaster oven. Safety first! Remove the crumb tray and shake out the crumbs. Use a small brush or a vacuum to get rid of any hidden debris. Make sure to reach the corners and crevices.
- Unplug toaster oven
- Remove crumb tray
- Shake out crumbs
- Use a brush or vacuum for corners
Wipe Down The Exterior
Next, focus on the exterior. Use a damp cloth with a mild detergent. Wipe down the outside of the toaster oven. Pay attention to knobs and buttons. Dry with a clean cloth to avoid water spots.
- Use a damp cloth with mild detergent
- Wipe down exterior surfaces
- Clean knobs and buttons
- Dry with a clean cloth
Remember, keeping the exterior clean helps maintain your toaster oven’s appearance. Regular cleaning prevents buildup and keeps your appliance looking new.
Disassembly
Disassembling your toaster oven is the first step to deep cleaning it. This ensures you can clean every nook and cranny. Follow these steps to safely and effectively take apart your toaster oven.
Take Out Racks And Trays
Begin by removing all racks and trays from the toaster oven. These parts often collect crumbs and grease. To remove them:
- Open the toaster oven door fully.
- Slide out the racks and trays carefully.
- Place them in a sink filled with warm soapy water.
Allow them to soak while you move on to the next steps.
Detach Removable Parts
Next, focus on the removable parts of the toaster oven. Some models have additional parts that can be taken out for cleaning. These may include:
- Crumb tray
- Heating elements (if they are detachable)
- Thermostat knob
To detach these parts:
- Consult your toaster oven’s manual for specific instructions.
- Carefully remove the crumb tray by sliding it out.
- If the heating elements are removable, gently detach them as per the manual.
- Remove any knobs or additional parts by unscrewing them.
Place all these parts in the sink with the racks and trays to soak.
Now that your toaster oven is disassembled, you can clean it thoroughly. This process ensures no part is left uncleaned.
Cleaning Racks And Trays
Cleaning the racks and trays of your toaster oven is essential. It ensures your appliance stays in top condition. A clean toaster oven also cooks food more efficiently. Follow these simple steps to make your racks and trays sparkle.
Soak In Warm Soapy Water
First, remove the racks and trays from the toaster oven. Fill a sink or a large basin with warm water. Add a few drops of dish soap to the water. Submerge the racks and trays in the soapy water. Let them soak for at least 15 minutes. This helps loosen any stuck-on food or grease.
Scrub And Rinse
After soaking, use a soft brush or sponge to scrub the racks and trays. Focus on areas with stubborn stains or food residue. Avoid using metal brushes, which can scratch the surfaces. Once the racks and trays are clean, rinse them thoroughly with clean water. Ensure all soap is removed to avoid any residue.
Dry the racks and trays with a clean towel. Ensure they are completely dry before placing them back in the toaster oven. This prevents any rust or water damage.
Interior Cleaning
Cleaning the interior of your toaster oven is essential for its longevity and performance. It helps remove burnt food particles and prevents unpleasant odors. To ensure a thorough clean, focus on two key areas: the walls and ceiling, and the heating elements.
Clean Walls And Ceiling
Start with the walls and ceiling of your toaster oven. Unplug the toaster oven and let it cool. Remove any large crumbs or debris with a soft brush or cloth. Use a damp cloth with mild dish soap to wipe down the interior walls and ceiling. Avoid using abrasive cleaners that could damage the surface. Rinse the cloth with clean water and wipe again to remove any soap residue.
Scrub The Heating Elements
The heating elements are crucial for the toaster oven’s function. Gently scrub them with a soft, damp cloth. Do not use harsh chemicals or abrasive materials. These could damage the elements and affect the oven’s performance. If there are stubborn stains, mix baking soda with water to create a paste. Apply it to the stains and let it sit for a few minutes. Then, wipe it off with a damp cloth. Ensure the elements are completely dry before using the toaster oven again.

Credit: www.apartmenttherapy.com
Reassembling
Once your toaster oven is sparkling clean, the next step is reassembling it. This process is crucial for ensuring your appliance works perfectly. Proper reassembly also extends its lifespan. Follow these simple steps to get your toaster oven back in action.
Dry And Reattach Parts
Make sure all parts are completely dry before reattaching. Use a clean, dry cloth to wipe down each piece. This prevents any moisture from causing damage or rust.
Start with the removable crumb tray. Slide it back into its slot at the bottom of the oven. Then, reattach any other removable parts you took out, like knobs or screws. Ensure each part is securely in place.
Insert Racks And Trays
Next, insert the racks and trays back into the toaster oven. Place the wire racks in their designated slots. Make sure they are level and secure.
If you have baking trays or other accessories, slide them into their respective positions. Double-check that everything fits snugly and correctly. This ensures even cooking and prevents items from falling out.
Your toaster oven is now ready for use. Enjoy your clean and well-functioning appliance!
Final Touches
After scrubbing and cleaning your toaster oven, it’s time for the final touches. These last steps will make sure your toaster oven looks great and smells fresh. Take a few extra minutes to finish the job right.
Polish The Exterior
Grab a clean cloth and some stainless steel cleaner. Spray a small amount of cleaner on the cloth. Wipe the exterior of the toaster oven in circular motions. This will remove any smudges or fingerprints. Your toaster oven will shine like new.
If your toaster oven is not stainless steel, use a damp cloth. Wipe down the exterior to remove any dust or grime. Dry it with a soft cloth to avoid water spots. A clean exterior makes a big difference in the overall look.
Check For Residual Odors
Open the toaster oven door and take a sniff. If you notice any leftover odors, place a small dish of baking soda inside. Leave it overnight to absorb smells. Baking soda is great for neutralizing odors.
If odors persist, try wiping the interior with a mixture of water and white vinegar. Vinegar helps to remove lingering smells. Let the interior dry completely before using the toaster oven again.
With these final touches, your toaster oven will be clean, fresh, and ready for use. Enjoy cooking in your spotless appliance!

Credit: www.youtube.com
Maintenance Tips
Maintaining your toaster oven is crucial for its longevity and performance. Regular cleaning and proper care can prevent malfunctions and keep your toaster oven looking new. Here are some essential maintenance tips to keep your toaster oven in top condition.
Regular Cleaning Schedule
Set a regular cleaning schedule to ensure your toaster oven stays clean. Aim to clean it at least once a week. This prevents buildup of crumbs and grease.
- Remove crumbs after each use.
- Wipe down the exterior weekly.
- Clean the interior with a damp cloth.
Regular cleaning helps avoid bad smells and potential fire hazards. It also keeps your food tasting fresh.
Avoid Common Mistakes
Avoid these common mistakes to keep your toaster oven in good shape:
- Using harsh chemicals: They can damage the interior. Use mild soap and water instead.
- Forgetting to unplug: Always unplug the toaster oven before cleaning. This prevents electric shock.
- Not cleaning the trays: Remove and clean trays and racks separately. They can collect grease and crumbs.
Following these tips can help your toaster oven last longer. Proper maintenance ensures better performance and safety.
| Task | Frequency |
|---|---|
| Remove crumbs | After each use |
| Wipe exterior | Weekly |
| Clean interior | Weekly |
Conclusion
A clean toaster oven works better and lasts longer. Regular deep cleaning prevents food build-up and odors. Follow these steps to keep your toaster oven spotless. Your kitchen will smell fresher, and your food will taste better.


