How to Clean Toaster Oven Drip Pan: Expert Tips and Tricks

Cleaning the toaster oven drip pan is essential for its maintenance. It keeps the appliance functioning well and ensures food safety.
Toaster ovens are convenient kitchen gadgets. They toast, bake, and reheat food quickly. Over time, crumbs and spills collect in the drip pan. This can cause smoke and even fires if not cleaned. Regular cleaning keeps your toaster oven in good condition.
It also helps avoid unpleasant smells and improves the taste of your food. Whether you’re a busy parent or a cooking enthusiast, a clean drip pan is crucial. In this guide, you’ll learn simple and effective methods to clean your toaster oven drip pan.
Gather Cleaning Supplies
To clean your toaster oven drip pan effectively, you need the right supplies. Having the correct tools and cleaners will make the process easier and more efficient. Here’s a guide to help you gather everything you need.
Essential Tools
- Soft Scrub Brush: This helps remove stuck-on food without scratching the surface.
- Non-abrasive Sponge: Ideal for gentle scrubbing.
- Microfiber Cloth: Perfect for wiping and drying the pan.
- Gloves: Protects your hands from cleaning agents.
Recommended Cleaners
- Dish Soap: A mild detergent is effective for general cleaning.
- Baking Soda: Useful for tackling tough stains.
- White Vinegar: Great for cutting through grease.
- Lemon Juice: Helps remove odors and adds a fresh scent.
With these tools and cleaners, you can tackle any mess in your toaster oven drip pan. Choose supplies that work best for you and get ready for a clean kitchen appliance.
Unplug And Cool Down
Unplug and let your toaster oven cool down. Remove the drip pan and wash it with warm, soapy water. Scrub gently to avoid scratches.
Cleaning your toaster oven drip pan is important. But safety comes first. Before you start, make sure the toaster oven is unplugged and has cooled down. This step prevents burns and electric shocks. It’s easy to overlook. Let’s dive into why it’s crucial.
Safety Precautions
Always start by unplugging the toaster oven. This simple step ensures no electric current is flowing. It keeps you safe while cleaning. Remove the plug from the wall socket. Double-check it’s unplugged. This reduces the risk of electric shock.
Cooling Time
After unplugging, allow the toaster oven to cool. Cooling time is vital. Wait at least 30 minutes. The drip pan and other parts remain hot for a while. Touching hot surfaces can cause burns. Patience is key. Use this time to gather your cleaning supplies. Once the toaster oven is cool, proceed with your cleaning task.
Remove Drip Pan
To keep your toaster oven working well, cleaning the drip pan is a must. This guide will show you how to remove the drip pan step by step. Follow these easy instructions to ensure a spotless drip pan.
Accessing The Pan
First, unplug your toaster oven. Safety is important. Next, open the toaster oven door. This will give you a clear view inside. Look for the drip pan at the bottom of the oven. It usually sits under the heating elements.
Detaching The Pan
Slide the drip pan out gently. It might have some crumbs or grease. Be careful not to spill. If the pan is stuck, wiggle it slightly. This should loosen it up. Once free, lift it out completely.

Credit: www.amazon.com
Pre-soak The Drip Pan
Soak the drip pan in warm, soapy water for 15-20 minutes. This helps loosen stubborn stains and grease. After soaking, scrub gently with a non-abrasive sponge.
Before starting to scrub, it’s important to pre-soak the drip pan. Soaking helps loosen the baked-on grime. This makes cleaning much easier.
Soaking Solution
First, choose the right soaking solution. Warm water and dish soap work well. Fill a sink or a large basin with warm water. Add a few drops of dish soap. Mix until sudsy. If the drip pan is very dirty, add a bit of baking soda. Baking soda boosts the cleaning power.
Duration Of Soaking
Next, place the drip pan in the solution. Make sure it is fully submerged. Let it soak for at least 15 minutes. For stubborn stains, soak for up to an hour. This gives the solution time to loosen the grime. Check the pan occasionally. If the grime comes off easily, it’s ready to clean.
Soaking is a crucial step. It saves time and effort during scrubbing. Always pre-soak for the best results.
Scrub The Drip Pan
Cleaning the drip pan of your toaster oven is essential for maintaining its performance and hygiene. Over time, grease and food particles can accumulate, causing unpleasant odors and even affecting the taste of your food. Here’s a step-by-step guide to effectively scrub the drip pan and keep it spotless.
Scrubbing Tools
Using the right tools makes the scrubbing process easier. Here are some effective tools:
- Sponge: A soft sponge is ideal for light cleaning.
- Scrubbing brush: Use a brush with firm bristles for tougher stains.
- Steel wool: Effective for stubborn grime but can scratch surfaces.
- Toothbrush: Great for getting into small crevices.
Effective Scrubbing Techniques
Follow these techniques to ensure thorough cleaning:
- Soak: Soak the drip pan in warm, soapy water for 15 minutes.
- Scrub: Use the scrubbing brush to remove loose debris.
- Focus on corners: Use a toothbrush to reach the corners.
- Stubborn stains: Apply baking soda paste on stains, then scrub with steel wool.
- Rinse: Rinse the drip pan thoroughly with warm water.
- Dry: Wipe dry with a clean cloth to avoid water spots.
Regular cleaning of your toaster oven’s drip pan ensures a longer lifespan and better cooking results. By using the right tools and techniques, you can easily keep your drip pan clean and ready for use.
Credit: cooksinnovations.com
Rinse And Dry
Cleaning your toaster oven drip pan is not complete without a proper rinse and dry. This step ensures all soap residue and grime are completely removed. It also prevents any lingering moisture that could lead to rust or other damage.
Rinsing Methods
Rinse the drip pan under warm running water. Use your fingers to rub off any remaining soap. For stubborn spots, use a soft sponge or cloth. Ensure all soap is rinsed off.
Alternatively, you can fill a basin with warm water. Submerge the pan and swish it around. This helps remove soap and any loose debris. You can also use a spray bottle filled with water. Spray the pan thoroughly, making sure to cover all areas.
Drying Tips
After rinsing, shake off excess water from the drip pan. Pat it dry with a clean towel. This prevents water spots and reduces drying time. Place the pan in a well-ventilated area. You can also prop it up to allow air to circulate underneath.
For a quicker dry, you can use a hairdryer on a low setting. Keep the dryer moving to avoid overheating any spot. Make sure the pan is completely dry before placing it back in the toaster oven. This helps prevent rust and keeps your appliance in top shape.
Reinstall The Drip Pan
Reinstalling the drip pan into your toaster oven is a simple task. Ensuring it is properly aligned and secured is essential for optimal performance. Follow these steps to get your toaster oven back in working order.
Proper Alignment
Start by holding the drip pan with both hands. Make sure the pan is clean and dry. Position it at the entrance of the toaster oven.
Align the drip pan with the grooves or tracks inside the oven. These tracks are designed to guide the pan into place. Ensure the pan is level and straight. A misaligned pan can cause uneven cooking or drips.
Securing The Pan
Once aligned, gently slide the drip pan into the oven. Push it back until it clicks into place. Ensure it sits snugly without any gaps.
Double-check the pan’s position. It should not move or shift easily. A securely placed drip pan ensures efficient operation and makes future cleaning easier.

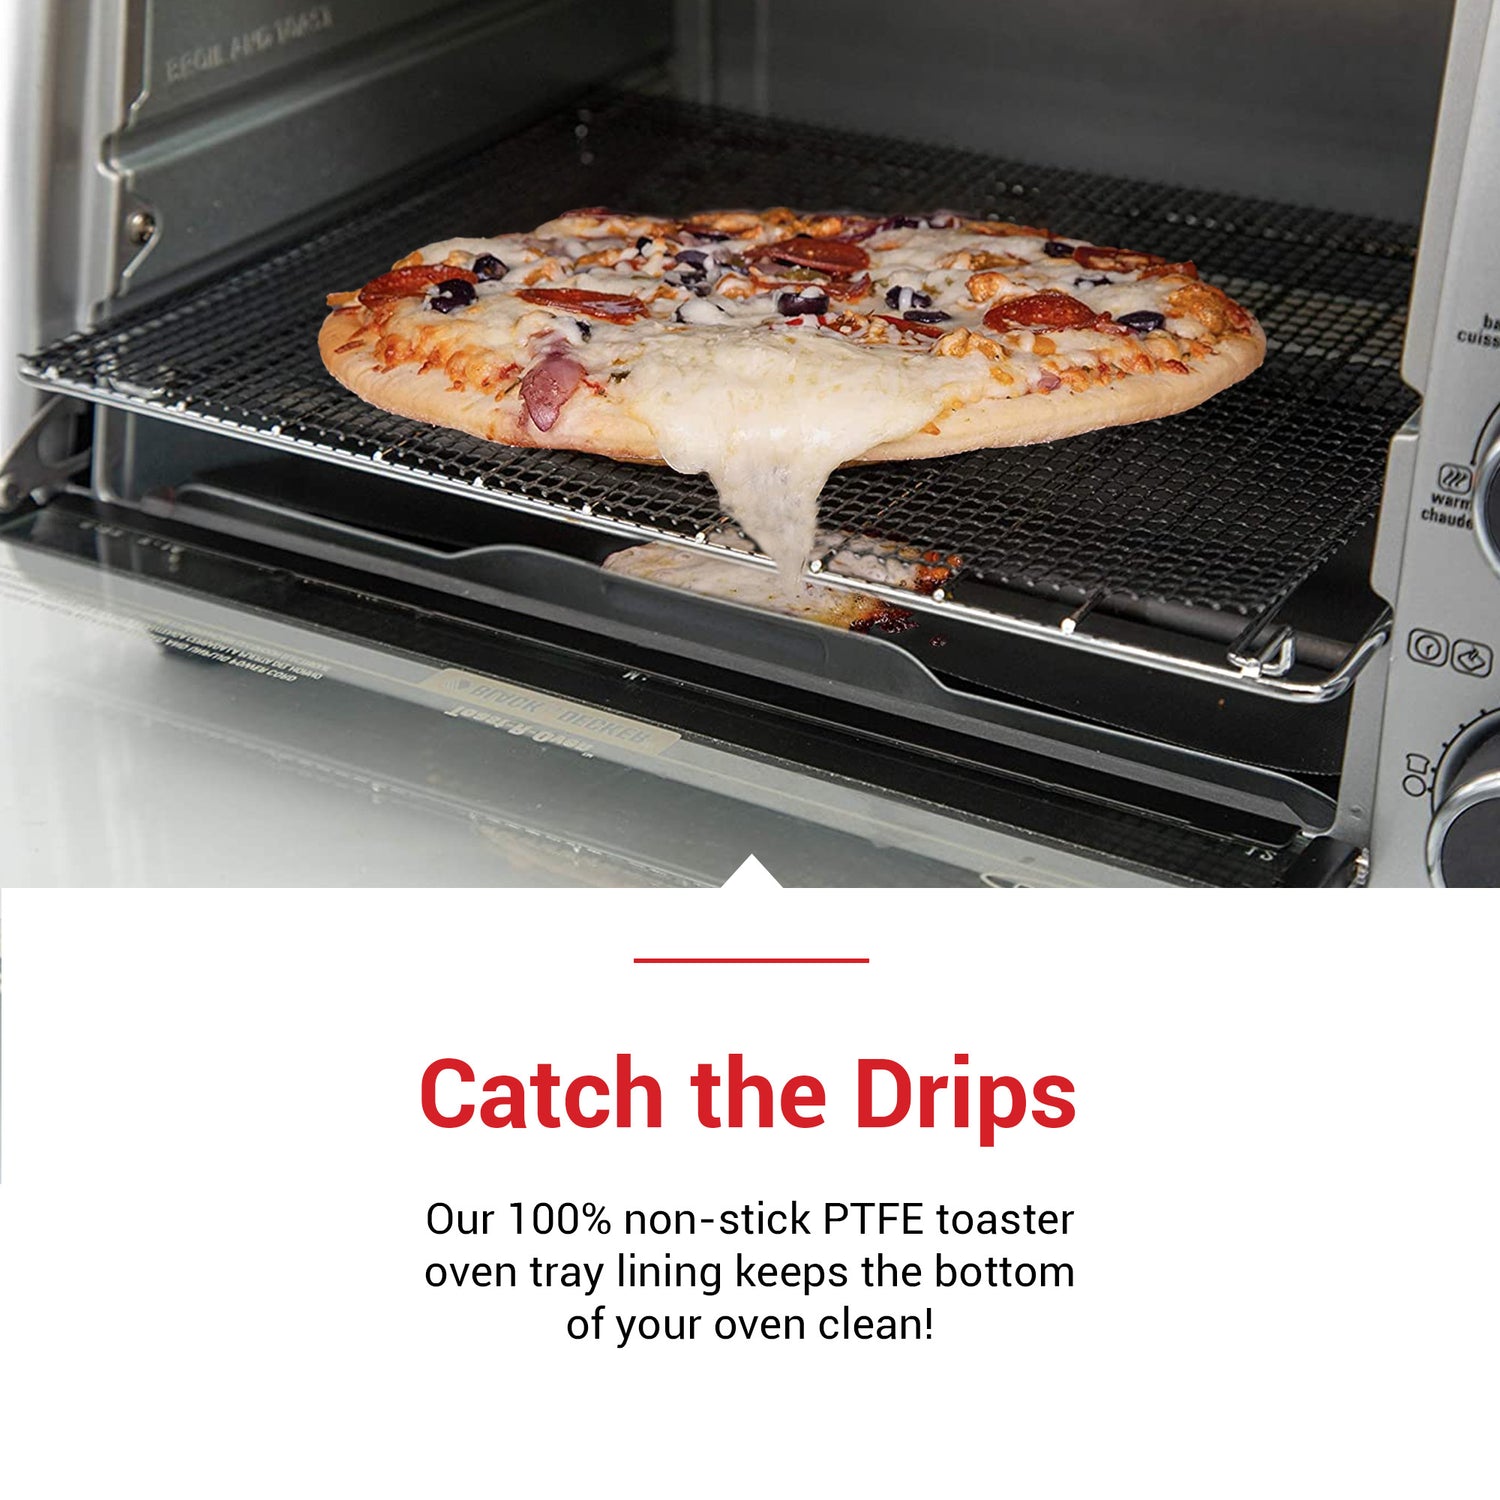
Credit: www.youtube.com
Prevent Future Build-up
Keeping your toaster oven drip pan clean is essential. It prevents unpleasant odors and ensures the appliance works efficiently. To make this task easier, adopting habits to prevent future build-up is key.
Regular Maintenance
Regular maintenance of your toaster oven drip pan can save you time and effort. Aim to clean the drip pan weekly. This prevents stubborn stains and grease build-up.
- Remove crumbs and debris after each use.
- Wipe the pan with a damp cloth.
- Use mild soap for deeper cleaning once a week.
If you notice burnt-on food, soak the pan in warm, soapy water. Scrub gently with a non-abrasive pad.
Protective Measures
Taking protective measures can significantly reduce grime on your drip pan.
- Line the drip pan with aluminum foil. This catches spills and makes cleaning easier.
- Use a baking sheet or tray under the food. This prevents direct contact with the drip pan.
- Spray the pan with a non-stick cooking spray. This reduces food sticking and build-up.
These steps help keep the drip pan in good condition. They also extend its lifespan.
Conclusion
Cleaning your toaster oven drip pan is simple and essential. Regular maintenance keeps your toaster oven efficient. Remove and soak the pan in soapy water. Scrub gently with a non-abrasive sponge. Rinse thoroughly and dry completely before replacing. This practice ensures no food residue or bacteria remains.
Keeping your drip pan clean prolongs the life of your toaster oven. A clean appliance also means healthier meals. Make cleaning a regular habit for optimal performance.