How to Clean the Oven Toaster: Ultimate Step-by-Step Guide

Cleaning the oven toaster can seem like a daunting task. But it doesn’t have to be.
With the right steps, you can make your oven toaster look like new again. An oven toaster can gather crumbs, grease, and burnt food over time. These build-ups can affect how it works and even change the taste of your food.
Regular cleaning keeps it running well and makes it safer to use. In this guide, you will learn simple and effective steps to clean your oven toaster. No special tools are needed, just items you probably already have at home.
Preparation
Cleaning your oven toaster might seem like a chore, but with proper preparation, it becomes a breeze. This section focuses on getting ready for a thorough clean. Let’s dive into the essential steps to make your oven toaster look brand new.
Unplugging The Toaster
Before starting, always ensure safety first. Unplug the toaster from the power outlet. This step is crucial to avoid any electrical hazards. It also makes it easier to handle and clean the appliance without any risks.
Gathering Supplies
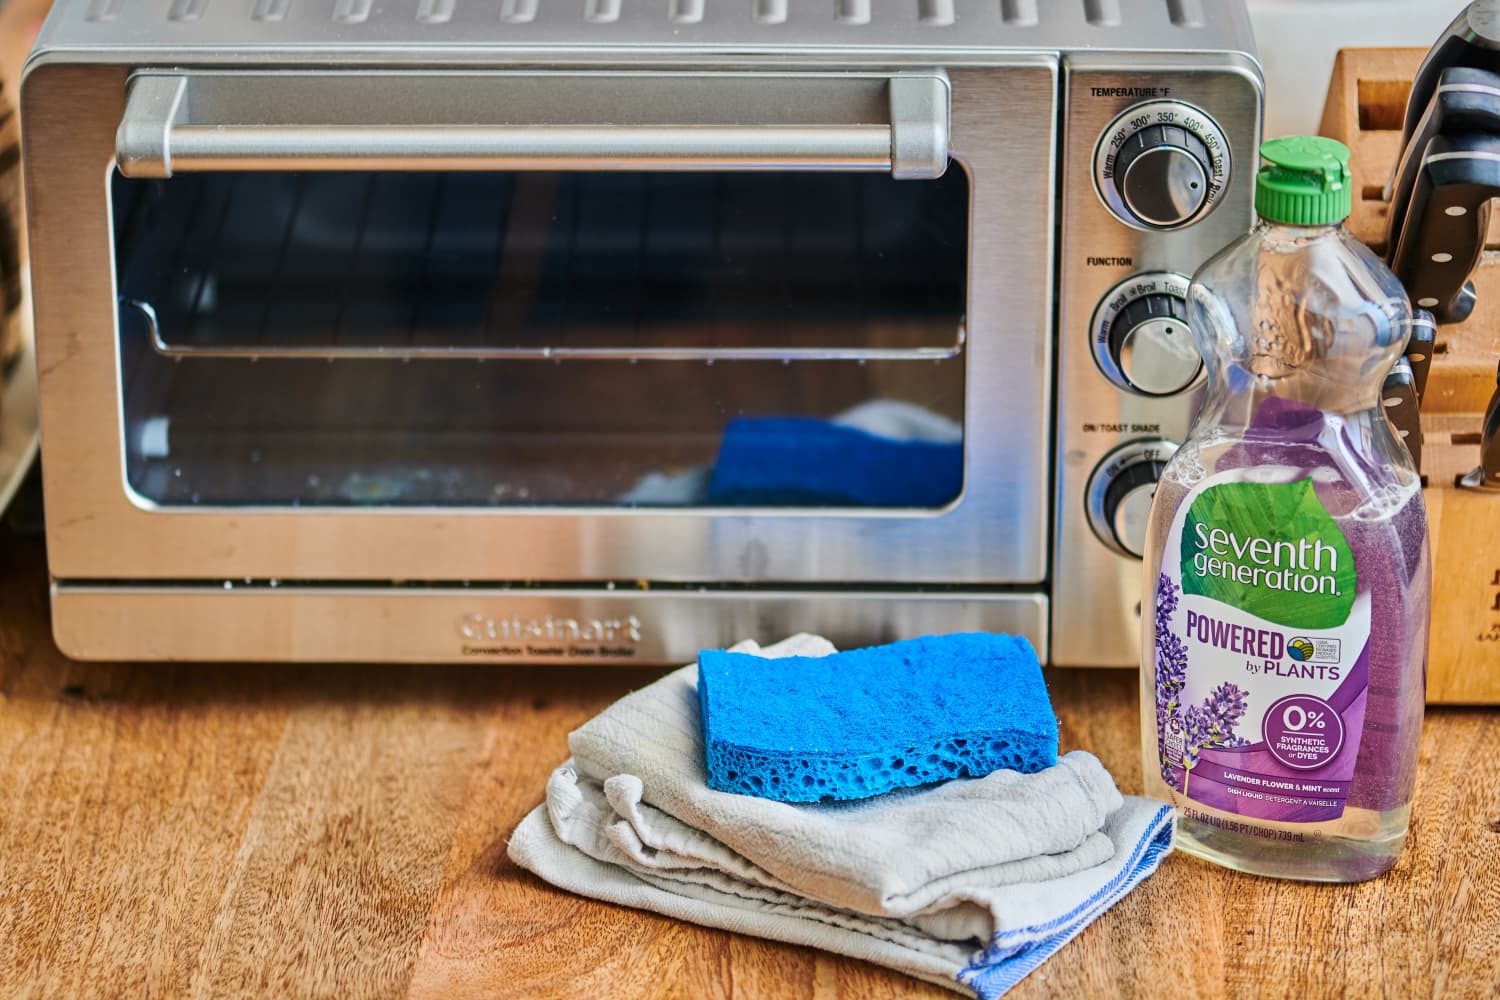
Next, gather all the necessary supplies. Having everything at hand will make the cleaning process smoother and faster. Here’s a list of items you’ll need:
- Soft cloth or sponge
- Mild detergent or dish soap
- Vinegar (optional, for tougher stains)
- Baking soda (optional, for deodorizing)
- Old toothbrush (for scrubbing hard-to-reach areas)
- Paper towels or a dry cloth
Having these supplies ready will ensure you are well-prepared to tackle any grime or residue inside the toaster. Remember, using mild cleaning agents helps maintain the appliance’s quality and prevents damage to its surfaces.
Removing Components
Cleaning your oven toaster is easier when you remove its components. This helps in reaching all the hidden spots. Plus, it ensures a thorough clean. Let’s break down the process.
Taking Out Racks
First, make sure the oven toaster is unplugged and completely cool. Open the oven door. Locate the racks inside. Carefully slide the racks out. If they’re greasy or have food stuck on them, soak them in warm soapy water. Scrub off the residue with a sponge or brush. Rinse well and let them dry.
Removing Crumb Tray
Next, find the crumb tray at the bottom of the oven toaster. Slide it out gently. Empty the crumbs into a trash bin. If the tray has stubborn grime, soak it in warm soapy water. Use a brush to scrub off any tough spots. Rinse it thoroughly and dry it. Keeping the crumb tray clean prevents bad odors and smoke.
Cleaning The Interior
Cleaning an oven toaster involves removing crumbs and wiping down surfaces with a damp cloth. Use a mild cleaner for stubborn stains. Regular upkeep keeps it in good condition.
Cleaning the interior of your oven toaster is crucial. It ensures your appliance stays in top condition. A clean oven toaster cooks food evenly. It also prevents bad odors. Follow these steps for a spotless interior.
Scraping Off Debris
Start by unplugging the oven toaster. Let it cool down. Remove any trays or racks inside. Use a plastic scraper to remove large debris. Be gentle to avoid scratching surfaces. Collect all the loose debris. Wipe it away with a paper towel.
Using Baking Soda Paste
Mix baking soda with water. Make a thick paste. Apply the paste to the interior surfaces. Focus on areas with stubborn stains. Let the paste sit for 20 minutes. Use a damp cloth to wipe off the paste. Rinse the cloth and wipe again. Ensure no residue remains. Reinsert the trays and racks. Your oven toaster should look and smell fresh.
Cleaning The Exterior
Cleaning the exterior of your oven toaster is essential. It helps maintain its look and ensures hygiene. Regular cleaning prevents grime buildup and keeps your appliance looking new.
Wiping Down Surfaces
Start by unplugging your oven toaster. Use a damp cloth to wipe down the exterior. Focus on areas that collect fingerprints and grease. Pay attention to knobs and handles. They often gather a lot of dirt. Make sure to clean these areas well.
For stubborn spots, use a mild dish soap. Mix it with water. Dip your cloth into the soapy water and wring it out. Wipe the surface again, focusing on tough spots. Finish by wiping with a clean, damp cloth to remove soap residue.
Polishing With Vinegar
Vinegar is a great natural cleaner. It can make your oven toaster shine. Mix equal parts of vinegar and water in a spray bottle. Spray the solution on the exterior surfaces. Let it sit for a few minutes.
Use a clean, dry cloth to polish the surfaces. This will remove any streaks and leave a shiny finish. Vinegar also helps to eliminate odors. Your oven toaster will look clean and smell fresh.
Cleaning The Racks And Tray
Cleaning the racks and tray of your oven toaster is an important task. It helps maintain the appliance’s efficiency and ensures food safety. Dirty racks and trays can affect the taste of your food. Follow these steps to clean them properly.
Soaking In Soapy Water
First, remove the racks and tray from the oven toaster. Fill your sink with warm water. Add a few drops of dish soap. Place the racks and tray in the soapy water. Let them soak for at least 15 minutes. This will loosen any baked-on food or grease.
Scrubbing And Rinsing
After soaking, use a non-abrasive scrubber. Gently scrub the racks and tray. Pay attention to stubborn spots. Avoid using steel wool, which can damage the surface. Once the debris is removed, rinse them under warm water. Ensure all soap residue is washed away. Dry the racks and tray with a clean towel before placing them back in the oven toaster.

Credit: www.reddit.com
Drying And Reassembling
Drying and reassembling your oven toaster is a crucial step. Proper drying prevents rust and mold. Reassembling ensures the toaster works correctly. Follow these easy steps.
Air Drying Components
After washing, place all parts on a clean towel. Leave them to air dry. Do not use a cloth to dry the parts. This avoids lint sticking to the components. Ensure each part is fully dry. Moisture can lead to rust or electric issues. Let them dry for at least an hour. Patience is key here.
Reassembling The Toaster
Once all parts are dry, start reassembling. Begin with the larger components. Insert the crumb tray first. It usually slides in easily. Next, place the racks back. Align them with the grooves inside the oven. Secure them properly. Check if the heating elements are in place. Gently push them if needed. Finally, close the door. Make sure it seals tightly. Your oven toaster is now ready for use.
Maintenance Tips
Keeping your oven toaster clean is essential for its longevity. Regular maintenance ensures optimal performance and avoids unwanted smells. Here are some maintenance tips to keep your oven toaster in top shape.
Regular Cleaning Schedule
Establish a regular cleaning schedule to maintain your oven toaster. Clean it after every use to prevent food residue buildup. Use a damp cloth to wipe the interior and exterior surfaces. Remove and wash the crumb tray frequently. This will help keep your oven toaster clean and hygienic.
Avoiding Grease Buildup
Grease can accumulate quickly in an oven toaster. To avoid this, line the bottom with aluminum foil. This will catch any drips and make cleanup easier. Avoid using too much oil in your cooking. Excess oil can cause grease buildup, which is harder to clean.
Wipe down the interior after cooking greasy foods. This prevents the grease from hardening and becoming difficult to remove. Use a mild detergent and a soft sponge for stubborn grease spots. Rinse thoroughly to remove any soap residue.

Credit: www.apartmenttherapy.com

Credit: www.youtube.com
Conclusion
Cleaning your oven toaster regularly ensures it lasts longer and works efficiently. A clean appliance also helps maintain the taste of your food. Use simple household items like baking soda and vinegar. Follow safety tips, like unplugging before you start.
Regular maintenance prevents buildup and keeps your kitchen safe. Consistent care saves time and effort in the long run. So, keep your oven toaster clean for better performance and healthier meals.


