How to Clean Inside Toaster Oven: Easy Steps for a Sparkling Finish

Cleaning the inside of a toaster oven can be tricky. Yet, it’s essential for hygiene and performance.
A dirty toaster oven not only looks bad but can also affect your food’s taste and safety. Grease and crumbs can build up, causing smoke and even fire hazards. Regular cleaning keeps your toaster oven in top shape, extending its life and ensuring it works efficiently.
We’ll show you step-by-step how to clean your toaster oven’s interior. Whether you’re dealing with baked-on grime or just want to freshen things up, our easy-to-follow tips will help you maintain a spotless appliance.
Gather Cleaning Supplies
Cleaning a toaster oven might seem daunting. But, gathering the right supplies makes it easier. This guide will help you collect everything you need to clean your toaster oven safely and effectively.
Essential Items
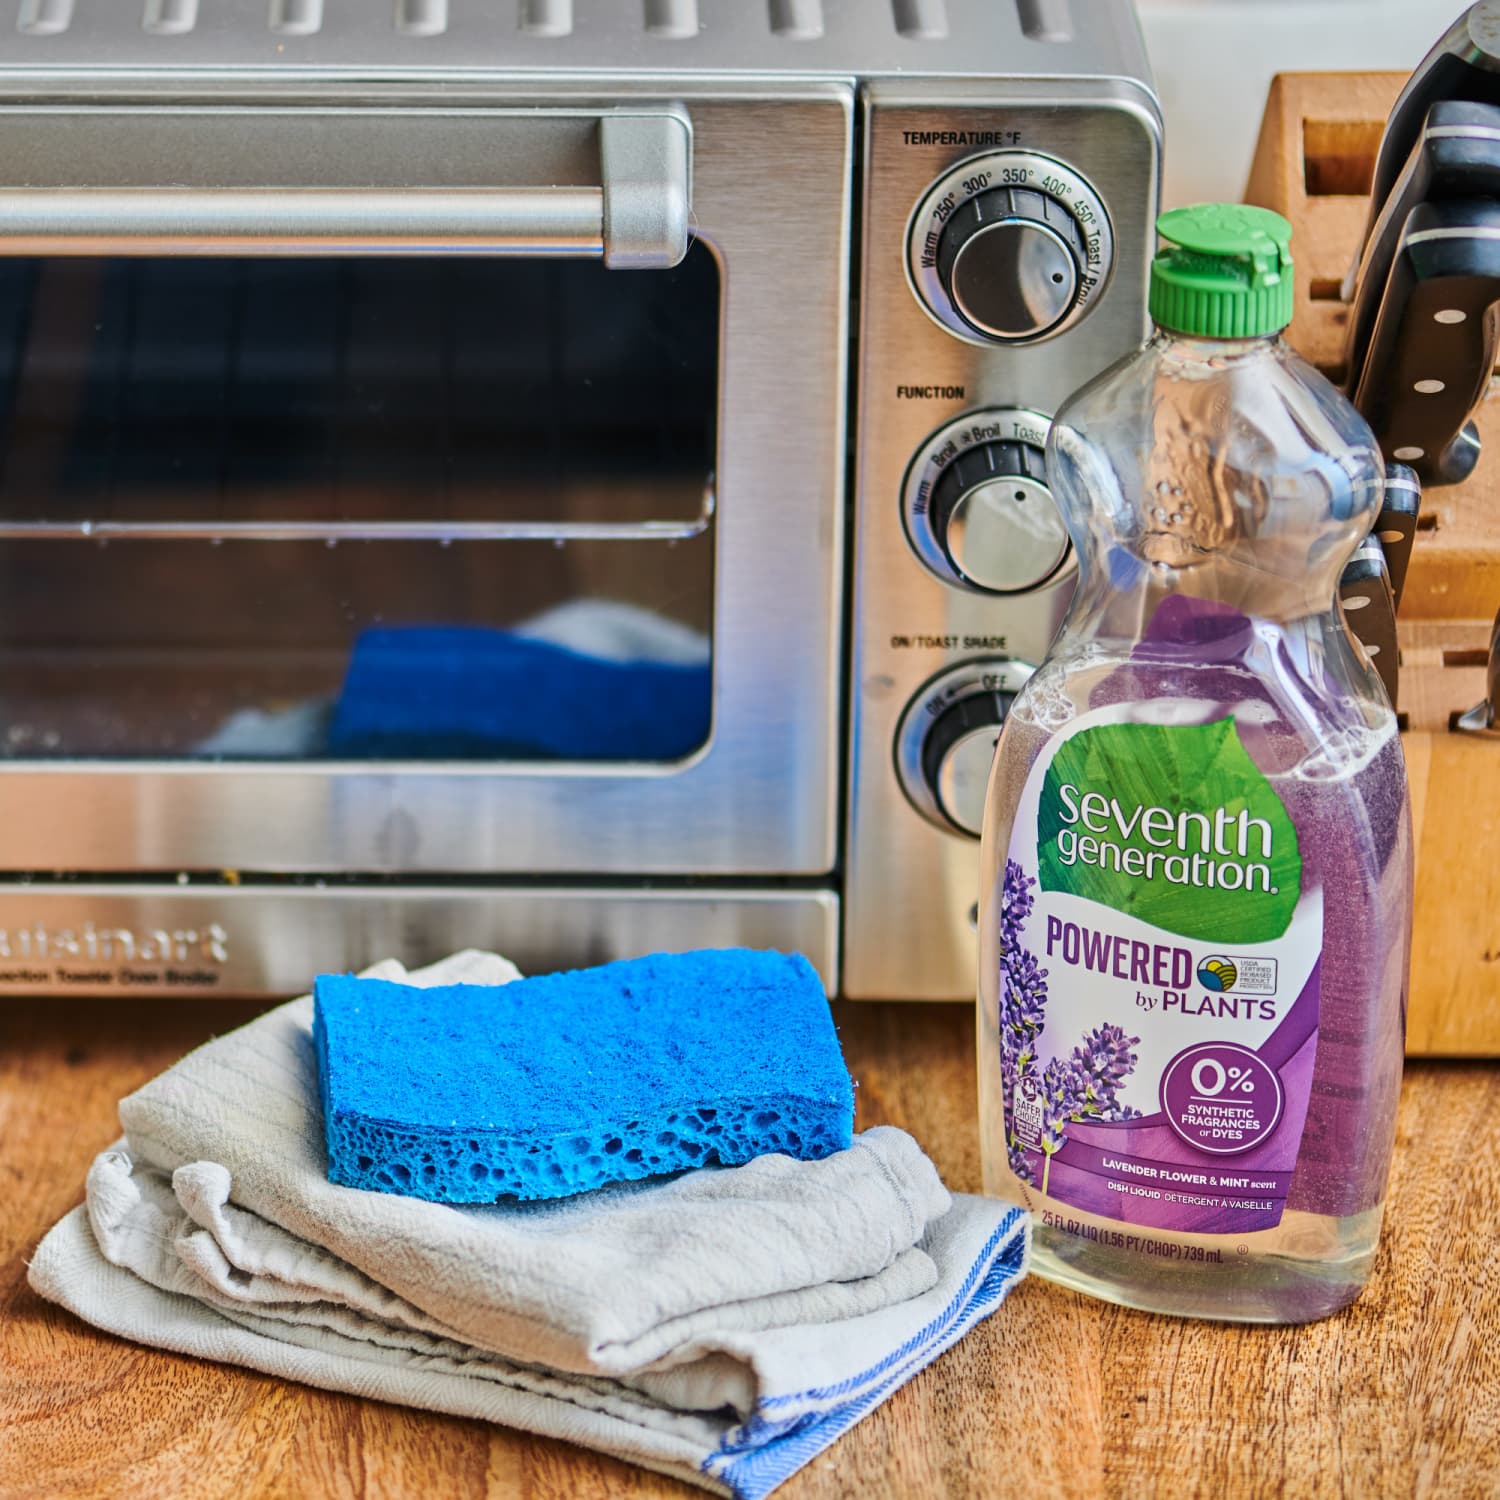
Before you start cleaning, gather some essential items. A soft sponge or microfiber cloth is necessary. These materials won’t scratch your toaster oven. Also, have a small brush or old toothbrush ready. This helps with scrubbing hard-to-reach spots. Paper towels or a clean cloth will help with drying.
Choosing Safe Cleaners
Choosing the right cleaner is important for safety. Avoid harsh chemicals. They can damage your toaster oven. Instead, use mild dish soap. It cleans well and is safe. Another option is a mixture of vinegar and water. This natural cleaner is effective and non-toxic. Baking soda is also useful for tough stains. Mix it with water to form a paste. Apply it to stubborn spots, then scrub gently.

Credit: www.apartmenttherapy.com
Unplug And Cool Down
Cleaning the inside of a toaster oven can be a daunting task. Unplugging and cooling down the appliance is essential for safety and effectiveness. This process ensures you avoid electric shocks and have a clean, cool surface to work on.
Safety First
Always prioritize safety when cleaning any electrical appliance. Unplug the toaster oven from the power source. This simple step can prevent electric shocks. Electricity and water do not mix well.
Wait For Complete Cooling
Once unplugged, wait for the toaster oven to cool down completely. Hot surfaces can burn. Let it cool to room temperature before starting the cleaning process.
To make the waiting period productive, gather your cleaning supplies:
- Soft cloth or sponge
- Dish soap
- Baking soda
- Water
Once the toaster oven is cool, you can start cleaning it safely and effectively.
Remove And Clean Trays
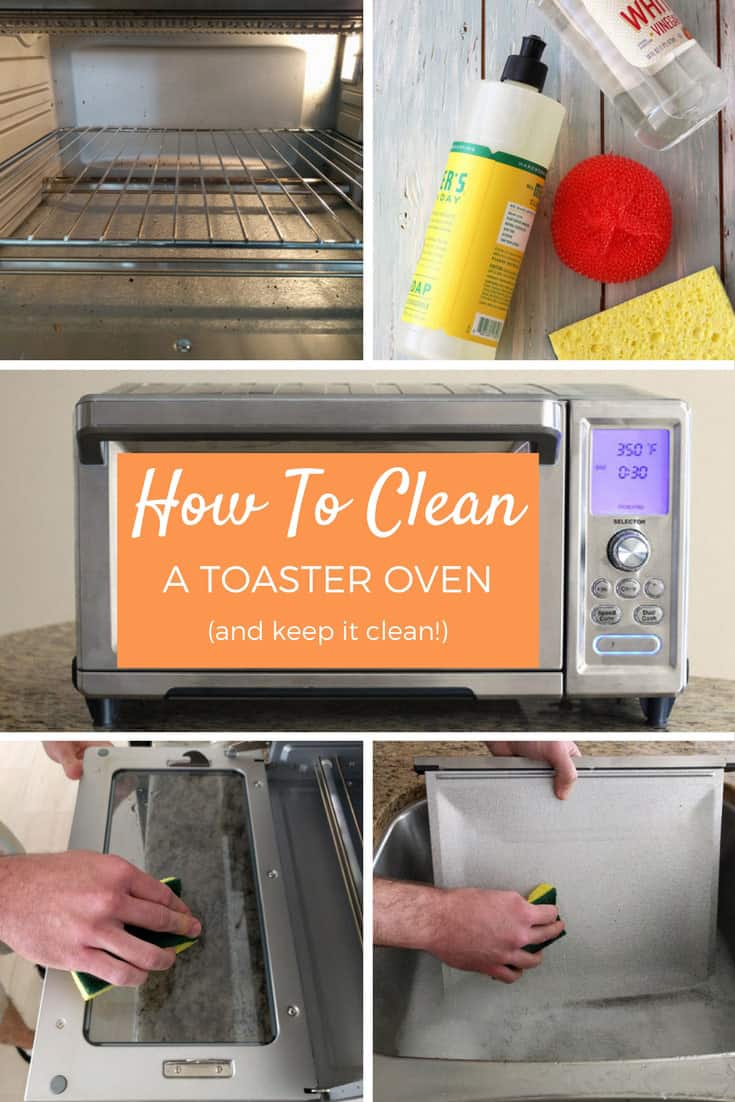
To clean inside a toaster oven, start by removing and cleaning trays. Use warm soapy water to scrub them thoroughly. Rinse and dry completely before placing them back.
Cleaning your toaster oven is important. A clean toaster oven works better and lasts longer. One of the first steps is to remove and clean the trays.
Taking Out Trays
First, unplug your toaster oven. Let it cool down. Open the door and gently pull out the trays. Be careful not to force them.
Washing Trays Thoroughly
Fill your sink with warm, soapy water. Place the trays in the water. Use a sponge or soft brush to scrub the trays. Pay special attention to any burned-on food or stains. Rinse the trays with clean water. Dry them with a towel or let them air dry completely.

Credit: toasterovenlove.com
Wipe Down Interior Walls
Cleaning the inside of your toaster oven is crucial. It keeps your appliance working well and your food tasting good. Regular maintenance prevents build-up of grease and crumbs. Start with wiping down the interior walls. Follow these simple steps to make your toaster oven spotless.
Using Damp Cloth
First, unplug your toaster oven. This ensures safety while cleaning. Take a damp cloth or sponge. Avoid using too much water. Too much water can damage the heating elements. Gently wipe the interior walls. Remove any loose crumbs and grease spots. Be thorough but gentle to avoid scratches.
Focus On Stubborn Spots
Some spots may need more attention. Use a mixture of baking soda and water. Make a paste and apply it to the stubborn spots. Let it sit for 10-15 minutes. Use a cloth to scrub the area. Be patient and persistent. Repeat if necessary until all spots are gone. Finish by wiping with a clean, damp cloth. Ensure no residue is left behind.
Clean Heating Elements
Keeping your toaster oven’s heating elements clean ensures efficient performance. It also prevents unwanted odors or smoke. This section will guide you on how to clean these crucial parts safely.
Gentle Cleaning Tips
Start by unplugging the toaster oven. Allow it to cool completely. Use a soft, damp cloth to wipe the heating elements gently. Avoid using abrasive materials. They can damage the elements. A mild soap solution can help remove stubborn grime. Ensure the cloth is only slightly damp. Excess water can cause damage.
Avoiding Damage
Never use metal tools or scouring pads. These can scratch or damage the elements. Avoid spraying cleaning solutions directly onto the elements. Spray the solution onto a cloth instead. Ensure the heating elements are completely dry before plugging the toaster oven back in. Regular gentle cleaning can prolong the life of your toaster oven.
Scrub The Glass Door
Cleaning the glass door of your toaster oven can seem like a chore. But it’s an important step to keep your appliance looking great. A clean glass door also lets you see your food as it cooks. Here’s how to do it right.
Non-abrasive Methods
Start with a damp cloth and mild dish soap. Gently wipe the glass door to remove loose dirt and grease. Do not use abrasive pads or harsh chemicals. They can scratch and damage the glass.
If the grime is stubborn, mix baking soda and water to make a paste. Spread the paste on the glass door and let it sit for 15 minutes. Then, wipe it off with a damp cloth. This method is gentle yet effective.
Achieving A Streak-free Shine
To get a streak-free shine, use a mixture of vinegar and water. Spray the solution on the glass door and wipe with a lint-free cloth. This will remove any remaining residue and leave the glass sparkling clean.
Dry the glass door with a clean, dry cloth. This final step ensures there are no water spots. Your toaster oven’s glass door will look as good as new.
Reassemble Components
Remove and clean the toaster oven components. This ensures all parts are free from crumbs and grease buildup.
Reassembling the components of your toaster oven is the final step. It ensures your appliance is ready for use. This process includes placing trays back and ensuring they fit properly.
Placing Trays Back
Start with the trays. Ensure they are completely dry. Slide the trays back into their slots. Make sure they go in smoothly. If there is any resistance, check for obstruction. The trays should sit flat and stable.
Ensuring Proper Fit
Check each component for proper fit. The trays should align with the grooves. The crumb tray must sit flush with the bottom. Ensure the racks are level and secure. A proper fit prevents future mishaps. Double-check before closing the door. Your toaster oven is now clean and reassembled.
Regular Maintenance Tips
Keeping your toaster oven clean is essential. It ensures your appliance works efficiently and safely. Regular maintenance also extends its lifespan. This section will provide you with easy tips for preventive cleaning and extending the life of your toaster oven.
Preventive Cleaning
Preventive cleaning involves simple steps to avoid buildup. These steps help maintain the cleanliness of your toaster oven.
- Wipe down after each use: Use a damp cloth to clean the interior. This prevents food particles from accumulating.
- Remove crumbs regularly: Most toaster ovens have a crumb tray. Empty it frequently to avoid crumbs burning.
- Avoid using harsh chemicals: Use mild soap and water. Harsh chemicals can damage the interior.
- Check the heating elements: Ensure they are free from debris. Clean them gently with a soft brush.
Extending Toaster Oven Life
Proper maintenance extends the life of your toaster oven. Follow these tips to keep it running smoothly.
- Regular deep cleaning: Perform a deep clean once a month. This includes cleaning the racks and trays.
- Inspect the door seal: Ensure the door seal is intact. A good seal keeps heat inside and improves efficiency.
- Use it wisely: Avoid overloading the toaster oven. This prevents strain on the appliance.
- Allow cooling time: Let your toaster oven cool down before cleaning. This avoids potential burns and damage.
| Maintenance Task | Frequency |
|---|---|
| Wipe down interior | After each use |
| Remove crumbs | Weekly |
| Deep clean | Monthly |
| Inspect door seal | Monthly |
By following these tips, you ensure your toaster oven remains in top condition. Regular maintenance is key to a long-lasting and efficient appliance. Keep up with these simple tasks to enjoy your toaster oven for years to come.
:max_bytes(150000):strip_icc()/how-to-clean-toaster-4777498-09-a3d27f0761f545659f2b0035699c2f5d.jpg)
Credit: www.thespruce.com
Conclusion
Keeping your toaster oven clean ensures better performance and longer life. Regular cleaning removes crumbs and grease, preventing potential fires. Always unplug the oven before starting. Use mild soap and water for the interior. Avoid abrasive cleaners or tools that can scratch surfaces.
Regular maintenance keeps your appliance looking new. Plus, it improves the taste of your food. A clean toaster oven is safer and more efficient. Follow these simple steps to enjoy a cleaner kitchen and delicious meals.


