How to Clean Inside of Breville Toaster Oven

Cleaning the inside of your Breville toaster oven is essential. It helps maintain performance and extends its life.
Over time, crumbs, grease, and residue can build up. This not only affects the oven’s efficiency but also the taste of your food. Regular cleaning keeps it in top shape. In this guide, we will show you how to clean the inside of your Breville toaster oven.
It’s easier than you think. With a few simple steps, you can keep your oven spotless and running smoothly. Whether you use it daily or occasionally, a clean oven ensures better cooking results. Let’s dive into the cleaning process and get your Breville toaster oven looking like new again.

Credit: www.youtube.com
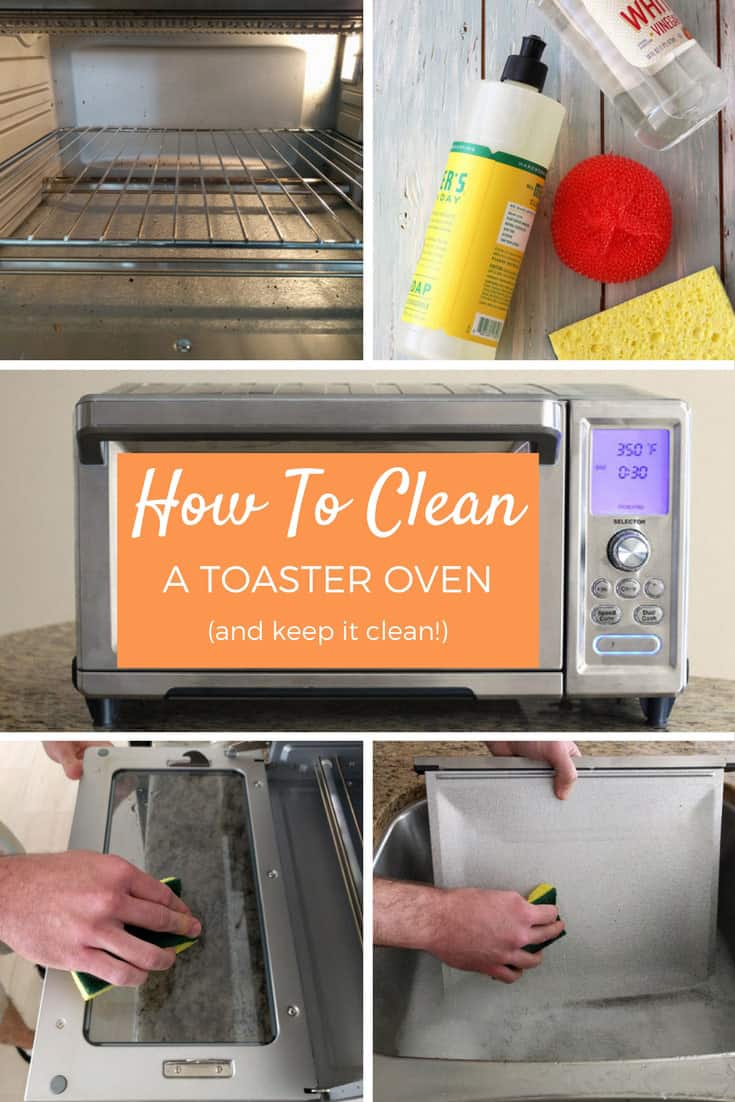
Gather Necessary Supplies
Cleaning the inside of your Breville toaster oven can seem like a daunting task. But with the right supplies, it becomes much easier. Preparing everything beforehand saves time and effort. Below is a breakdown of the cleaning solutions and tools you’ll need.
Cleaning Solutions
For effective cleaning, you need the right solutions. Here are some options:
| Solution | Purpose |
|---|---|
| Dish Soap | Removes grease and grime |
| Vinegar | Disinfects and removes odors |
| Baking Soda | Scrubs off tough stains |
| Water | Dilutes solutions for safer use |
Tools And Materials
Having the right tools can make cleaning more efficient. Here’s what you need:
- Soft Cloths: For wiping down surfaces
- Scrubbing Brush: To tackle stubborn spots
- Sponge: For general cleaning
- Old Toothbrush: To clean tight corners
- Bowl: To mix cleaning solutions
- Gloves: To protect your hands
Make sure all tools are clean before use. This ensures no extra dirt gets into your toaster oven. Now that you have your supplies ready, you can move on to the next step.
Unplug And Cool Down
Cleaning your Breville toaster oven starts with an important step: unplugging and cooling down the appliance. This step ensures safety and prepares the oven for a thorough cleaning. In this section, we will discuss the importance of safety precautions and the necessary cooling time.
Safety Precautions
Always unplug the toaster oven before cleaning. This prevents accidental shocks or burns. Ensure your hands are dry before touching the plug. Check the cord for any damage. This ensures the appliance is safe to use later. Safety first.
Cooling Time
Let the toaster oven cool down completely. This usually takes about 30 minutes. Do not rush this step. Cleaning a hot oven can be dangerous. Wait until it is cool to the touch. Patience is key.
Remove And Clean Accessories
Cleaning the inside of your Breville toaster oven involves more than just wiping down surfaces. You must remove and clean the accessories. This step ensures your oven functions well and remains safe to use.
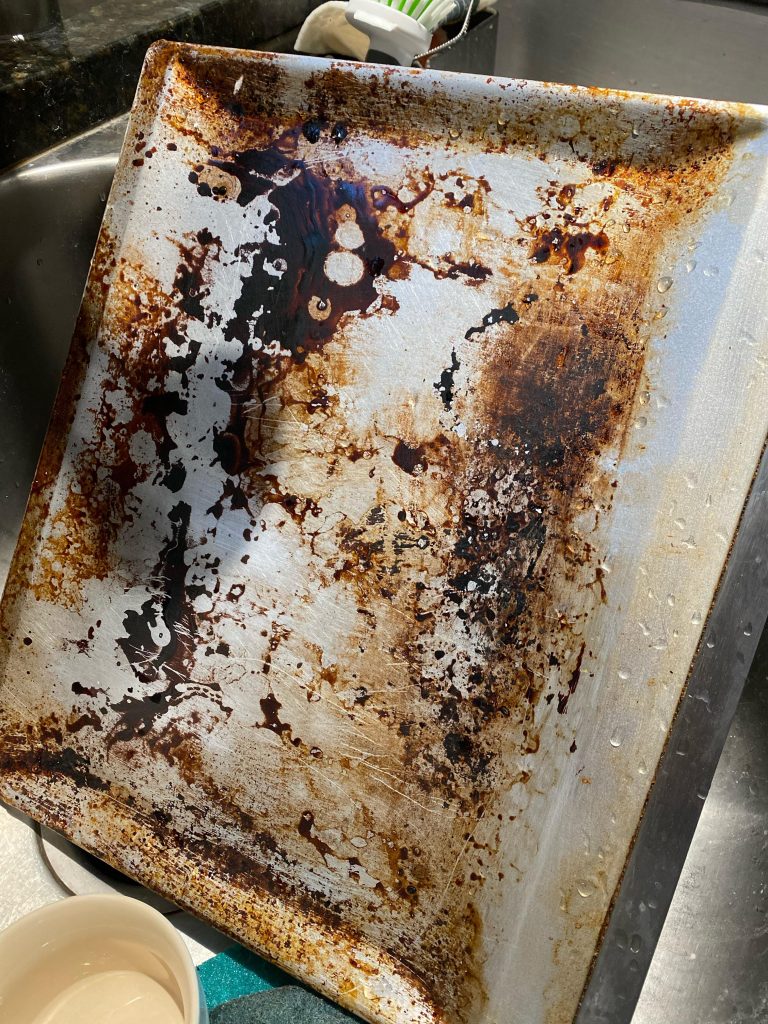
Trays And Racks
The trays and racks can accumulate grease and food particles. Removing and cleaning them is crucial.
- First, unplug the toaster oven.
- Next, carefully remove the trays and racks.
- Soak them in warm, soapy water for 15 minutes.
- Use a soft sponge to scrub away any food residue.
- Rinse them thoroughly with clean water.
- Dry completely before reinserting into the oven.
Crumb Tray
The crumb tray collects food debris and needs regular cleaning to prevent fires.
- Remove the crumb tray from the bottom of the oven.
- Dump out loose crumbs into the trash.
- Wash the tray with warm, soapy water.
- Use a soft brush to remove stuck-on particles.
- Rinse and dry the crumb tray thoroughly.
- Reinsert the clean, dry tray into the oven.
Keeping your Breville toaster oven clean ensures it works efficiently and safely. By following these steps, you can easily maintain your oven and enjoy perfectly cooked meals every time.
Clean Interior Walls
Cleaning the inside of your Breville toaster oven is essential for maintaining its performance. It also ensures your food remains uncontaminated. The interior walls can accumulate grease and food particles over time. This section will guide you on how to clean these walls effectively and safely.
Non-abrasive Methods
Use non-abrasive methods to avoid damaging the interior walls. Start by unplugging the toaster oven. Wait for it to cool down completely. Next, prepare a mixture of warm water and mild dish soap.
- Dip a soft cloth or sponge into the soapy water.
- Gently wipe down the interior walls.
- Rinse the cloth or sponge and wipe again to remove soap residue.
- Dry the interior walls with a clean, dry cloth.
For stubborn spots, let the soapy water sit for a few minutes before wiping.
Stubborn Stains
Stubborn stains may require more attention. Create a paste using baking soda and water. Apply this paste to the stained areas. Let it sit for 15 minutes.
- Use a soft-bristled brush to scrub the stains gently.
- Wipe the area with a damp cloth to remove the paste.
- Dry with a clean cloth.
Avoid using harsh chemicals or abrasive scrubbers. These can damage the interior walls of your toaster oven.
| Cleaning Method | Tools Needed |
|---|---|
| Non-Abrasive | Soft cloth, mild dish soap, warm water |
| Stubborn Stains | Baking soda, water, soft-bristled brush |
By using these methods, you can keep the interior walls of your Breville toaster oven clean and in good condition.
Clean Heating Elements
Maintaining your Breville toaster oven is vital for its longevity and performance. One crucial part of this maintenance is cleaning the heating elements. These elements ensure your food is cooked evenly. Neglecting them can lead to inefficient heating and potential hazards. Below are some steps to clean the heating elements safely and effectively.
Avoiding Damage
It’s essential to be careful while cleaning the heating elements. They are delicate and can be damaged easily. Here are some tips to avoid damage:
- Do not use abrasive cleaners.
- Do not scrub forcefully.
- Always ensure the oven is unplugged before cleaning.
Safe Cleaning Methods
Follow these steps to clean the heating elements safely:
- Unplug the toaster oven and let it cool completely.
- Mix a solution of warm water and mild dish soap.
- Dampen a soft cloth with the soapy water.
- Gently wipe the heating elements, avoiding excessive pressure.
- Use a dry cloth to remove any remaining moisture.
By following these steps, you can ensure your Breville toaster oven remains in top condition. Regular cleaning of the heating elements will ensure efficient and safe cooking.
Credit: toasterovenlove.com
Clean Glass Door
Keeping the glass door of your Breville toaster oven clean is essential. It ensures clear visibility and maintains the appliance’s appearance. A sparkling glass door also helps you monitor your food without opening the door. Cleaning the glass door may seem daunting, but it is simple with the right approach.
Avoiding Streaks
Streaks can make your glass door look dirty even after cleaning. To avoid streaks, use a microfiber cloth. These cloths are soft and absorbent, making them perfect for glass surfaces. Wipe in a circular motion for the best results. Avoid using paper towels as they can leave lint and streaks.
Cleaning Solutions
Choosing the right cleaning solution is crucial for a spotless glass door. A mixture of equal parts water and vinegar works well. Vinegar is a natural cleaner that cuts through grease and grime. Spray the solution on the glass door and let it sit for a few minutes. Then, wipe it off with a microfiber cloth.
For tougher stains, use a baking soda paste. Mix baking soda with a small amount of water until it forms a paste. Apply the paste to the stained area and let it sit for 10-15 minutes. Then, scrub gently with a sponge and rinse with water. Dry with a microfiber cloth to avoid streaks.
Reassemble And Inspect
Carefully reassemble your Breville toaster oven after cleaning. Inspect all parts to ensure everything is correctly placed and functioning. This step ensures safety and proper operation.
Cleaning your Breville toaster oven is almost done. Now, it’s time to reassemble and inspect your appliance. This ensures your oven works well and looks clean. Follow these simple steps to put everything back in its place and make sure it’s ready for use.
Reinstall Accessories
Start by reinstalling the accessories. Place the crumb tray at the bottom. Ensure it slides in smoothly. Next, put the wire rack back inside. Align it with the grooves on the sides. If your oven has a baking pan, place it on the wire rack.
Check if the accessories are in the correct positions. They should fit without forcing them. Make sure everything is stable.
Final Inspection
Inspect the inside of the oven. Look for any missed spots or crumbs. Use a damp cloth to wipe any remaining dirt. Check the heating elements. They should be clean and clear of debris.
Close the oven door. Plug in the toaster oven. Turn it on to a low setting for a few minutes. This helps ensure it’s working properly. Watch for any unusual smells or sounds. If everything seems fine, your Breville toaster oven is ready to use.
“`
:max_bytes(150000):strip_icc()/sea-how-clean-toaster-oven-madeline-muzzi-09-01e0597af4d748e69cec8c6ab8b177cb.jpeg)
Credit: www.seriouseats.com
Regular Maintenance Tips
Regular maintenance of your Breville toaster oven ensures it functions well and lasts longer. Cleaning it regularly can prevent buildup and improve its performance. This section provides valuable tips on maintaining your Breville toaster oven. Follow these steps to keep it clean and efficient.
Preventive Measures
Preventing messes in your Breville toaster oven is key. Always use a baking sheet or aluminum foil. This catches spills and drips, making cleanup easier. Avoid cooking greasy or sugary foods directly on the racks. These can cause stubborn stains and sticky residues.
Check the crumb tray regularly. Empty it after each use to avoid buildup. This simple step can prevent burnt crumbs and bad odors. Keep the exterior clean too. Wipe it down with a damp cloth to remove fingerprints and spills.
Cleaning Schedule
Set a regular cleaning schedule for your Breville toaster oven. Wipe down the interior weekly to remove crumbs and food particles. Use a damp cloth and mild detergent for best results. Avoid using harsh chemicals or abrasive scrubbers.
Monthly, give your oven a deeper clean. Remove the racks and wash them in warm, soapy water. Clean the interior walls and ceiling with a non-abrasive sponge. Dry all parts thoroughly before reassembling the oven.
Every few months, check for any signs of wear or damage. Replace any broken parts to keep your oven running smoothly. Regular maintenance can help extend the life of your Breville toaster oven.
Conclusion
Cleaning the inside of your Breville toaster oven is simple. Follow these steps to keep it spotless. Regular maintenance ensures your appliance works efficiently. Remove crumbs and grease to avoid buildup. Use a damp cloth for easy cleaning. Avoid harsh chemicals to protect surfaces.
Your toaster oven will last longer with proper care. Enjoy delicious meals every time. Make cleaning a habit for best results. Keep your kitchen appliances in top shape.