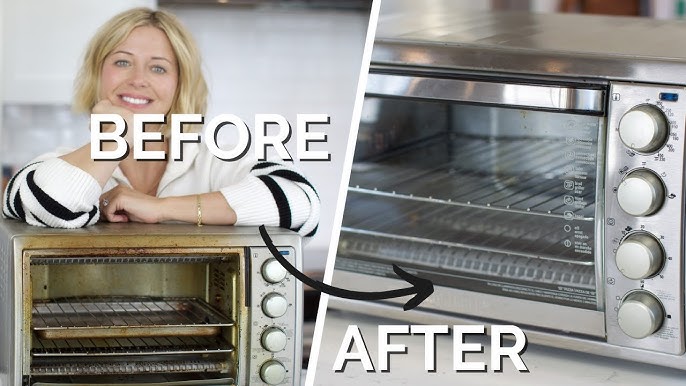
How to Clean Inside of a Toaster Oven: Expert Tips & Tricks

Cleaning the inside of a toaster oven is essential for safety and performance. It prevents food buildup and ensures even cooking.
Toaster ovens are handy and versatile kitchen appliances. Over time, crumbs and grease collect inside, which can cause smoke or even fire hazards. Regular cleaning can seem daunting, but it is simple when broken down into steps. Whether you use your toaster oven daily or occasionally, knowing how to clean it properly will extend its life and keep your food tasting great.
In this guide, we will walk you through the process, so your toaster oven stays in top shape. Get ready to make your toaster oven sparkle like new!
:max_bytes(150000):strip_icc()/how-to-clean-toaster-4777498-12-0f21cbd8709946829e4ebdeb011d4f72.jpg)
Credit: www.thespruce.com
Preparation Steps
Cleaning the inside of a toaster oven is not hard. First, you need to prepare. These steps will guide you to get everything ready before you start cleaning.
Unplug The Toaster Oven
Before cleaning, always unplug the toaster oven. This ensures safety. Never clean when it’s plugged in. Avoid any risk of electric shock. Allow the oven to cool down completely. A hot oven can cause burns. Make sure it’s safe to touch.
Gather Cleaning Supplies
Next, gather all the cleaning supplies you need. Here’s a list:
- Soft cloth or sponge
- Mild dish soap
- Baking soda
- Old toothbrush
- Small brush or soft brush
- Warm water
Place all items within reach. This way, you don’t have to search for anything mid-cleaning. You’ll need a soft cloth or sponge to wipe surfaces. Mild dish soap helps break down grease. Baking soda acts as a gentle scrub. An old toothbrush is good for tight spots. A small brush can clean crumbs. Warm water rinses everything off.
Removing Crumbs
Cleaning the inside of a toaster oven starts with removing crumbs. These tiny bits can burn and cause smoke. They can also affect the taste of your food. Follow these simple steps to get rid of them.
Take Out The Crumb Tray
Most toaster ovens have a crumb tray at the bottom. This tray collects crumbs and other debris. To begin, pull out the crumb tray gently. Be careful not to spill any crumbs.
Once the tray is out, you can clean it easily. Wash it with warm, soapy water. If the crumbs are stuck, use a sponge to scrub them off. Rinse the tray well and dry it completely before putting it back.
Shake Out Loose Debris
With the crumb tray removed, you can shake out loose debris. Turn the toaster oven upside down over a trash can. Shake it gently to let any loose crumbs fall out. This helps remove crumbs stuck in hard-to-reach places.
For stubborn crumbs, use a soft brush. A pastry brush or an old toothbrush works well. Gently brush the inside of the oven. This helps dislodge any remaining debris.
| Tools Needed | Purpose |
|---|---|
| Crumb Tray | Collects crumbs and debris |
| Soft Brush | Dislodges stuck crumbs |
| Sponge | Scrubs off stuck crumbs |
By following these steps, you can keep your toaster oven clean. This ensures better performance and tastier food.
Cleaning The Interior
Keeping your toaster oven clean is essential for its longevity and efficiency. A clean interior ensures your food cooks evenly and prevents unwanted odors. Follow these steps to clean the inside of your toaster oven effectively.
Wipe Down Walls And Ceiling
Start by unplugging the toaster oven. Let it cool completely. Remove the racks and trays. Use a damp cloth or sponge to wipe down the walls and ceiling. This removes loose crumbs and grease.
For tougher spots, use a mixture of warm water and dish soap. Gently scrub the surfaces. Avoid using harsh chemicals or abrasive scrubbers. They can damage the interior coating.
Scrub Stubborn Spots
For burnt-on food and stubborn spots, make a baking soda paste. Mix baking soda with a little water. Apply the paste to the stained areas.
Let the paste sit for at least 15 minutes. Then, scrub with a non-abrasive sponge. Wipe away the residue with a damp cloth. Repeat if necessary.
Finally, dry the interior with a clean towel. Reassemble the racks and trays. Your toaster oven is now clean and ready for use!
Dealing With Grease
Cleaning the inside of a toaster oven involves more than just wiping down crumbs. Grease can build up over time, making it essential to tackle this issue effectively. Here, we will discuss the best ways to handle grease in your toaster oven.
Apply Degreaser
First, unplug the toaster oven and remove all detachable parts. Use a degreaser spray that’s safe for kitchen appliances. Spray the degreaser generously on greasy surfaces inside the toaster oven. Allow it to sit for a few minutes to break down the grime.
Make sure to avoid spraying electrical components. Focus on the walls, racks, and crumb tray. Letting the degreaser sit will make the next steps easier.
Use A Soft Cloth
After the degreaser has had time to work, take a soft cloth or sponge. Gently wipe away the loosened grease. Repeat the process if necessary. For stubborn spots, a soft-bristled brush can help.
Rinse the cloth often to avoid spreading grease around. Ensure you reach all corners and crevices. Finally, dry the toaster oven with a clean, dry cloth before reassembling it.
| Step | Action |
|---|---|
| 1 | Unplug the toaster oven and remove parts. |
| 2 | Spray degreaser on greasy surfaces. |
| 3 | Let it sit for a few minutes. |
| 4 | Wipe with a soft cloth or sponge. |
| 5 | Dry with a clean cloth. |
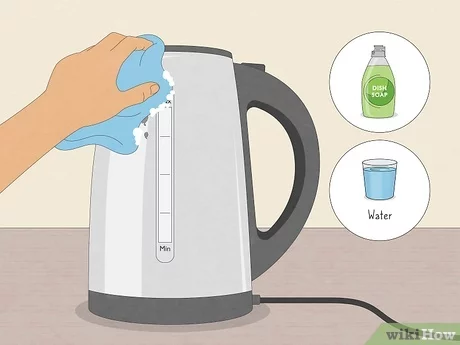
Cleaning Racks And Trays
Cleaning the racks and trays of your toaster oven is essential for maintaining its performance. Grease and food particles can build up over time. This can affect how your oven works. Clean racks and trays regularly to avoid this. Follow these easy steps to ensure they stay spotless.
Soak In Warm Soapy Water
Remove the racks and trays from the toaster oven. Fill your sink with warm water. Add a few drops of dish soap. Place the racks and trays into the soapy water. Let them soak for 15-20 minutes. This helps to loosen grime and baked-on food.
Scrub And Rinse Thoroughly
After soaking, use a non-abrasive sponge or brush. Scrub the racks and trays gently. Focus on areas with stubborn stains. Ensure all surfaces are clean. Rinse them under warm water to remove soap residue. Dry them with a clean towel before placing them back in the toaster oven.
Credit: www.youtube.com
Addressing The Heating Elements
Cleaning the heating elements in your toaster oven is crucial. It ensures safe and efficient operation. Heating elements are delicate and need special care. Here’s how you can clean them without causing damage.
Use A Soft Brush
A soft brush is ideal for cleaning heating elements. It helps remove crumbs and debris gently. Use a brush with soft bristles to avoid damaging the elements. Make sure the toaster oven is unplugged and cool before starting.
- Gently brush away crumbs and dirt.
- Avoid using too much force.
- Check all areas around the elements.
A toothbrush can also work well. Its small size allows for precise cleaning. Ensure you reach all corners and crevices.
Avoid Harsh Chemicals
Harsh chemicals can damage heating elements. They might also leave harmful residues. Instead, use mild cleaning agents or a mixture of water and vinegar.
| Safe Cleaning Solutions | Unsafe Cleaning Solutions |
|---|---|
| Water and vinegar mixture | Bleach |
| Mild dish soap | Ammonia |
| Baking soda paste | Oven cleaners |
- Unplug the toaster oven.
- Mix water and vinegar in a spray bottle.
- Spray a small amount onto a cloth.
- Wipe the heating elements gently.
- Dry with a clean cloth.
Using safe cleaning agents protects your toaster oven. It ensures your food stays safe too. Always dry the elements thoroughly to prevent rust and ensure they function well.
Drying And Reassembling
Dry all parts thoroughly before reassembling your toaster oven. Ensure each component is completely dry to prevent electrical hazards. Reassemble carefully, following the reverse order of disassembly.
Properly drying and reassembling your toaster oven is crucial. It ensures the appliance remains safe and functional. Once you have cleaned all parts, it’s important to dry them thoroughly. This helps prevent rust and electrical issues. Below, we will guide you through the drying and reassembling process.
Air Dry Components
After washing the removable parts, let them air dry completely. Place the racks, trays, and other components on a clean towel. Make sure they are spaced out to allow air circulation. Leave them to dry for at least an hour. Check each part to ensure there is no remaining moisture before proceeding.
Reinsert Racks And Trays
Once all parts are completely dry, it’s time to reassemble. Start by inserting the racks back into the toaster oven. Ensure they fit properly and are secure. Next, reinsert the trays and any other removable components. Double-check that everything is in place and properly aligned. This ensures your toaster oven is ready for use again.
Maintaining A Clean Toaster Oven
A clean toaster oven works better and lasts longer. Dirt and crumbs can affect performance. Regular maintenance is essential. This section covers tips for keeping your toaster oven clean.
Regular Cleaning Schedule
Regular cleaning prevents buildup and keeps your toaster oven in top shape.
| Frequency | Action |
|---|---|
| After Each Use | Remove crumbs and wipe surfaces. |
| Weekly | Wash removable parts and clean inside. |
| Monthly | Deep clean to remove stubborn stains. |
Tips For Avoiding Messes
- Use a baking sheet to catch drips.
- Line the bottom with foil for easy cleanup.
- Avoid overfilling dishes to prevent spills.
- Check and empty the crumb tray often.
By following these tips, your toaster oven stays clean. A clean toaster oven saves time and energy.
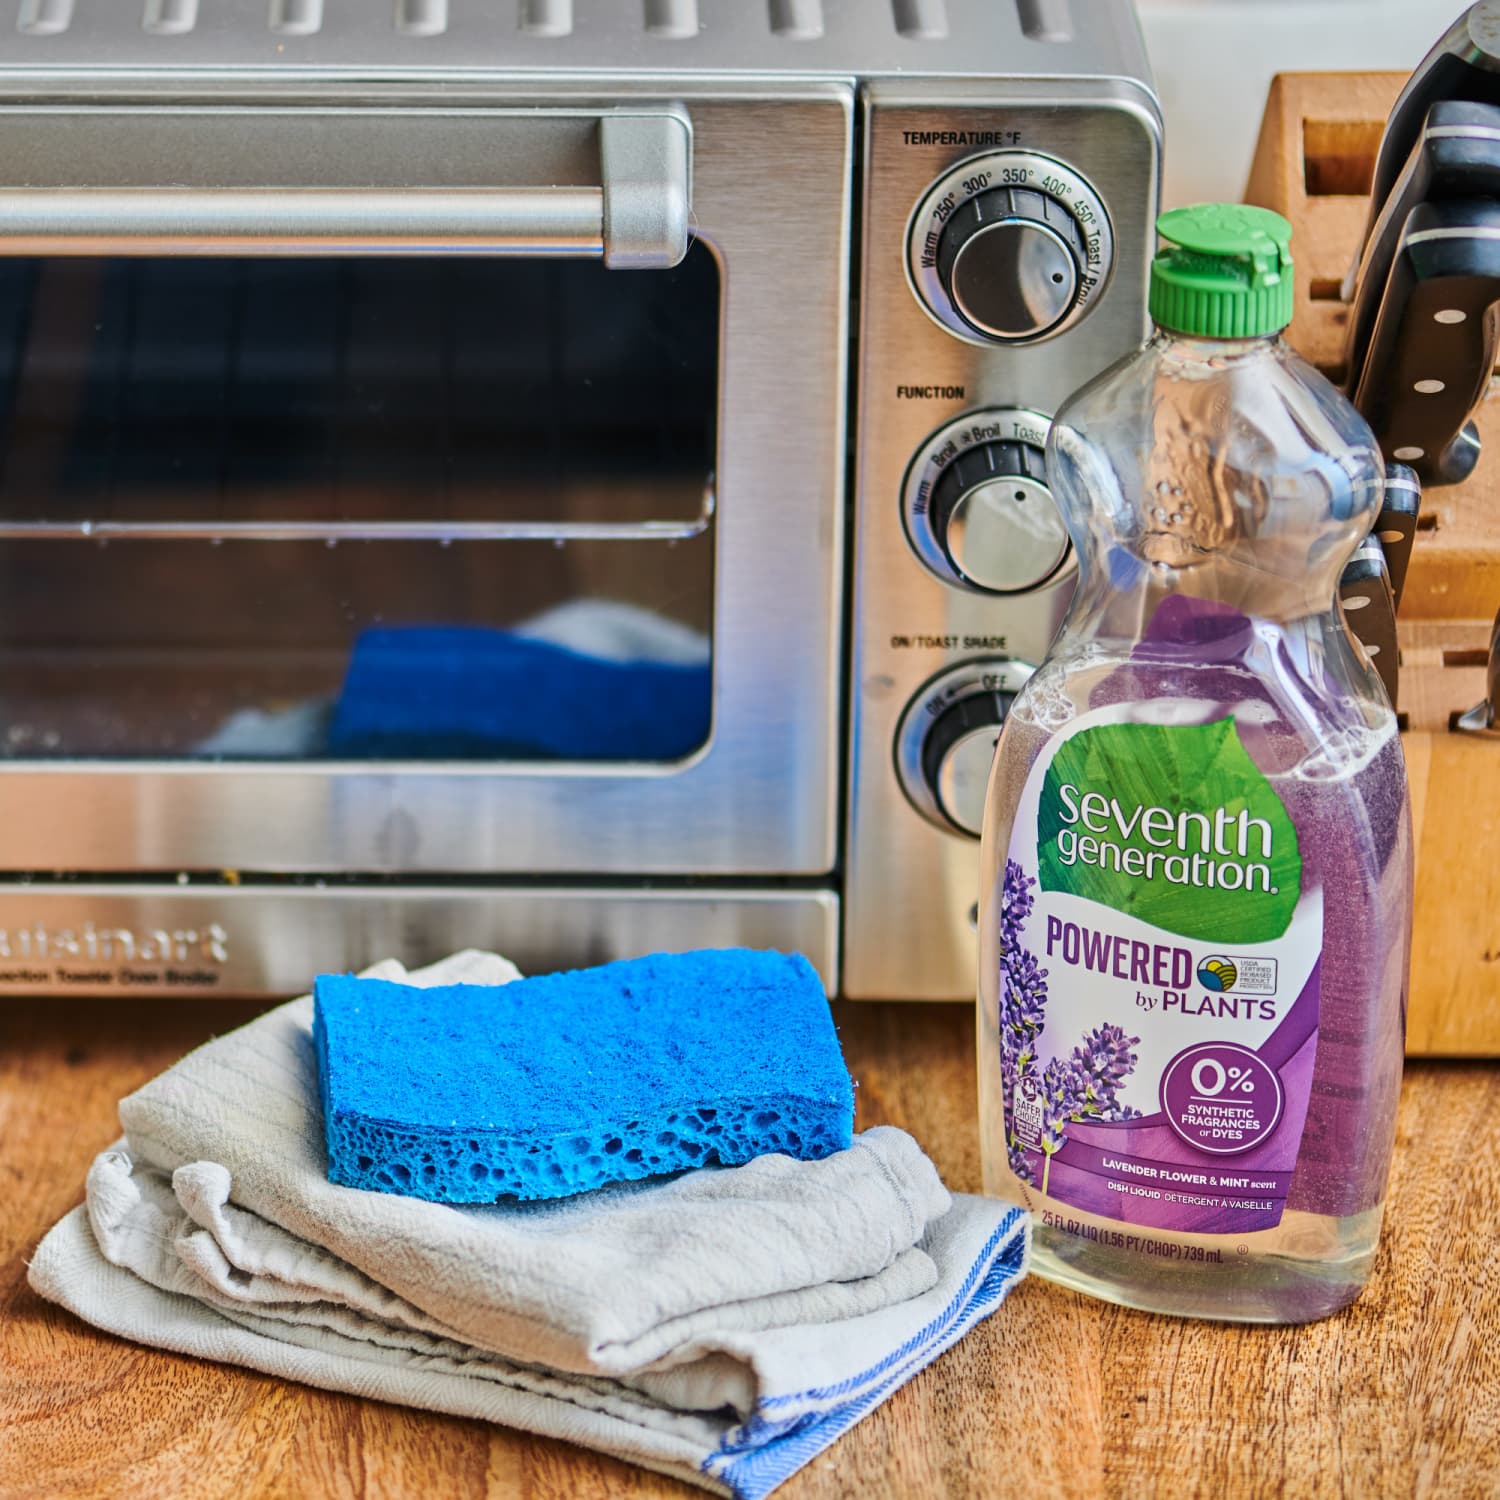
Credit: www.apartmenttherapy.com
Conclusion
Cleaning a toaster oven is simple and essential. Regular maintenance ensures longer appliance life. Start by unplugging and removing crumbs. Wipe down surfaces with a damp cloth. Use baking soda paste for tough stains. Rinse and dry thoroughly. Avoid harsh chemicals to prevent damage.
Reassemble and test your clean toaster oven. Enjoy better-tasting food and a safer kitchen. Remember, a clean toaster oven works better and looks great. Keep up the habit for a spotless kitchen appliance.