How to Clean Glass Inside Toaster Oven: Step-by-Step Guide

Cleaning the glass inside a toaster oven can seem tricky. But it’s an important task for maintaining your appliance.
A toaster oven is a handy kitchen gadget. Over time, the glass inside gets dirty from food splatters and grease. Regular cleaning ensures your toaster oven works efficiently and looks good. In this guide, you will learn simple steps to clean the glass inside your toaster oven.
These tips will make the process easy and quick. Say goodbye to the stubborn grime and enjoy a clean, sparkling toaster oven.
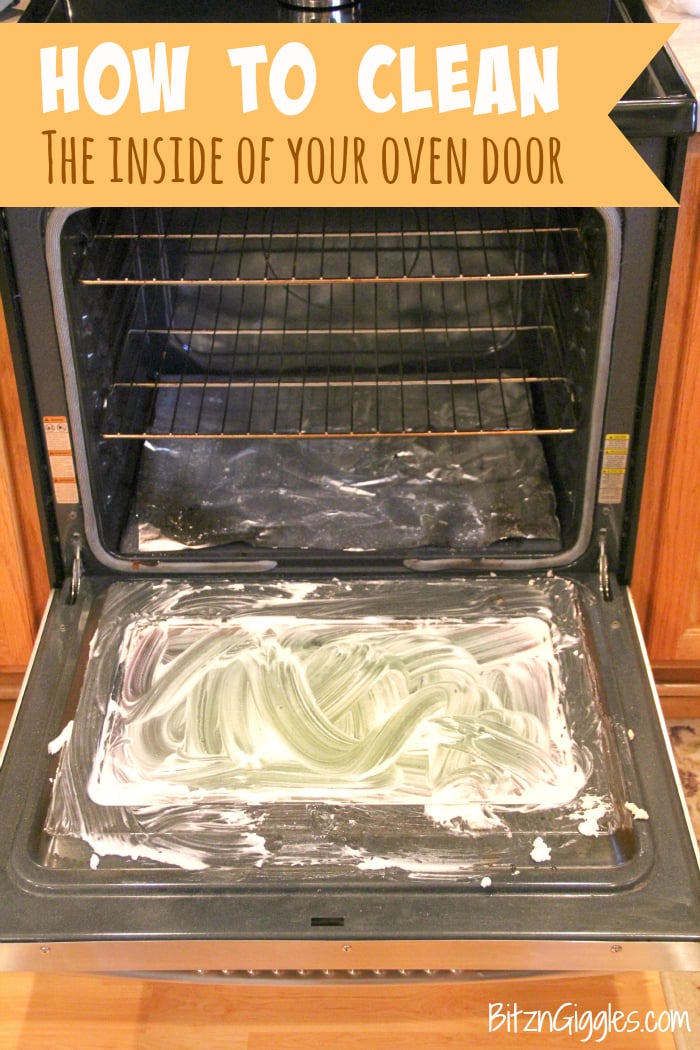
Credit: bitzngiggles.com
Gathering Supplies
Cleaning the glass inside your toaster oven can be tricky. Having the right supplies makes it easier. This section will help you gather everything you need.
Cleaning Tools
To clean the glass inside your toaster oven, you need some basic tools. Here is a list of the essential cleaning tools:
- Soft, non-abrasive sponge
- Microfiber cloth
- Small brush (like an old toothbrush)
- Baking soda
- White vinegar
- Warm water
- Spray bottle
- Dish soap
Each of these tools plays a vital role in making the cleaning process effective and safe for your toaster oven.
Safety Gear
When cleaning your toaster oven, it’s important to protect yourself. Here are some safety gear items you should consider:
- Rubber gloves
- Safety goggles
- Mask
Rubber gloves protect your hands from harsh chemicals. Safety goggles protect your eyes from splashes. A mask helps you avoid inhaling any fumes.
Using the right cleaning tools and safety gear will make the task easier. It will also make it safer. Now you are ready to clean the glass inside your toaster oven.
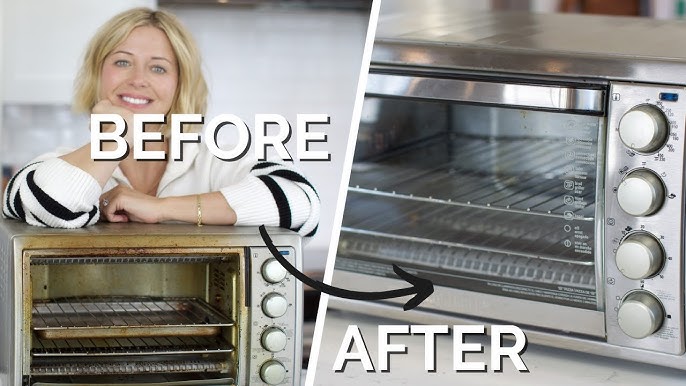
Credit: www.youtube.com
Unplugging The Toaster Oven
Cleaning the glass inside your toaster oven can be a daunting task. It’s essential to follow proper steps to ensure safety and effectiveness. The first step in this process is unplugging the toaster oven. This critical step helps prevent accidents and ensures your safety during cleaning.
Importance Of Safety
Safety should always come first. Unplugging the toaster oven is crucial to avoid any electrical hazards. Even if the appliance is off, it can still pose a risk if plugged in. By disconnecting it from the power source, you eliminate any chance of electric shock.
Cooling Down
Allow the toaster oven to cool down completely before you start cleaning. A hot appliance can cause burns or injuries. Wait at least 30 minutes after unplugging to ensure it is safe to handle.
| Steps | Details |
|---|---|
| 1 | Unplug the toaster oven from the power source. |
| 2 | Wait for the appliance to cool down completely. |
Following these steps ensures safety and prepares your toaster oven for a thorough cleaning.
Removing The Glass Door
Cleaning the inside glass of your toaster oven can be tricky. Removing the glass door makes the task easier and safer. Follow these steps to ensure you do it right.
Consulting The Manual
Always start by consulting the manual. Each toaster oven model is different. The manual provides specific instructions for removing the glass door. It helps you avoid damaging the appliance.
Locate the section about disassembling parts. Read through it carefully. This section often includes diagrams. These can be very helpful.
Careful Handling
Careful handling is crucial. Glass doors are fragile. Mishandling can lead to cracks or breaks. Use both hands to support the door while removing it.
Place the glass door on a flat, stable surface. Avoid placing it near the edge of a table. This prevents accidental falls. Use a soft cloth underneath to prevent scratches.
Once removed, clean the glass door with a gentle cleaner. Avoid abrasive materials. These can scratch the surface. Use a soft cloth or sponge for the best results.
Reassemble the door carefully. Ensure all parts are aligned correctly. This ensures the door fits snugly and operates smoothly.
:max_bytes(150000):strip_icc()/how-to-clean-toaster-4777498-12-0f21cbd8709946829e4ebdeb011d4f72.jpg)
Credit: www.thespruce.com
Preparing The Cleaning Solution
Cleaning the glass inside your toaster oven can seem daunting. But with the right cleaning solution, it becomes easy. Let’s explore how to prepare the perfect cleaning solution for this task.
Homemade Mixtures
Homemade mixtures are effective and eco-friendly. Start with a simple vinegar solution. Mix equal parts vinegar and water in a spray bottle. Spray the mixture on the glass. Let it sit for 10 minutes. Wipe with a clean cloth.
Baking soda is another great option. Make a paste with water. Apply the paste to the glass. Let it sit for 15 minutes. Scrub gently with a sponge. Rinse with water and wipe dry.
Commercial Cleaners
Commercial cleaners are ready to use. They save time and effort. Choose a cleaner designed for glass surfaces. Spray the cleaner on the glass. Let it sit for a few minutes. Wipe with a soft cloth.
Ensure the cleaner is non-toxic. This is important for food safety. Always follow the instructions on the label. Some cleaners may need rinsing. Others might be wipe-and-go.
Cleaning The Glass
Cleaning the glass inside your toaster oven can seem challenging. Yet, with the right steps, it becomes straightforward. This guide will help you understand how to clean it effectively.
Wiping The Surface
First, unplug the toaster oven and let it cool down. Then, open the door to access the glass. Use a damp cloth to wipe the surface. Move the cloth in gentle, circular motions. This helps remove loose dirt and grease.
If the dirt is stubborn, add a bit of dish soap to the cloth. Wipe again with the soapy cloth. Then, use a clean, damp cloth to rinse off the soap. Dry the glass with a soft towel. This prevents water spots from forming.
Handling Stubborn Stains
Sometimes, stains do not come off easily. For these, make a paste of baking soda and water. Spread the paste on the stained areas. Let it sit for 15 minutes. This helps to loosen the tough stains.
After 15 minutes, use a damp cloth to wipe off the paste. For extra stubborn spots, gently scrub with a soft-bristled brush. Avoid using harsh scrubbing tools. They can scratch and damage the glass.
Finally, rinse the glass with a clean, damp cloth. Then, dry with a soft towel. Your toaster oven glass should now be clean and clear.
Rinsing And Drying
After scrubbing the glass inside your toaster oven, the next steps are crucial. Rinsing and drying ensure your glass is spotless and ready for use. Clean glass improves visibility and ensures proper cooking.
Using Water
Use clean water to rinse off any soap residue. Fill a bowl with water. Dip a clean cloth in the water. Wipe the glass thoroughly. Ensure no soap remains. Residual soap can cause streaks.
Rinse the cloth often. This prevents spreading soap back onto the glass. Repeat until the glass is clear and free of soap.
Drying Techniques
Drying the glass properly prevents water spots. Use a lint-free cloth. Microfiber cloths work best. They absorb water well and leave no lint behind.
Wipe the glass in a circular motion. This helps to avoid streaks. Ensure the glass is completely dry. Any remaining moisture can cause spots.
For a final touch, you can use a dry paper towel. This ensures no water remains. Your glass will be clear and shiny, ready for the next use.
Reattaching The Glass Door
Cleaning the glass inside your toaster oven can be a satisfying task. But putting the glass door back in place can be tricky. This guide will help you easily reattach the glass door. Follow these simple steps for a smooth process.
Aligning Properly
First, hold the glass door carefully. Make sure it is clean and dry. Check the hinges of the toaster oven. Align the door with the hinges. The edges of the glass should match the frame. This ensures the door will fit snugly.
Securing The Door
Once the door is aligned, it’s time to secure it. Gently push the door into place. You might hear a click sound. This means the door is locked into the hinges. Double-check the alignment to avoid any gaps.
Next, tighten any screws that hold the door. Use a screwdriver for this step. Make sure the screws are tight but not too tight. This will keep the door secure during use.
Final Checks
After cleaning the glass inside your toaster oven, it’s important to perform final checks. These checks ensure that all cleaning steps were effective and the toaster oven is safe to use. Let’s look at the crucial steps under the ‘Final Checks’ section.
Inspecting For Residue
First, inspect the glass for any residue. Check both the inside and outside of the glass. Look closely for streaks or leftover grime. Use a flashlight to spot any missed areas. Wipe any remaining spots with a clean cloth. This ensures your toaster oven glass is truly clean.
Testing The Toaster Oven
Next, test the toaster oven. Plug it in and turn it on. Set it to a low temperature. Let it run for a few minutes. Check for any unusual smells or smoke. This step confirms that all cleaning agents are removed. If you notice any issues, unplug and re-clean the glass. Repeat the process until the toaster oven works without issues.
By following these final checks, you ensure your toaster oven is safe and clean. Your glass will be spotless, and your appliance will function properly.
Conclusion
Cleaning the glass inside your toaster oven is important. It keeps your appliance looking new. Follow the steps shared in this blog. Regular cleaning prevents buildup and ensures better performance. Use mild cleaning agents. Avoid harsh chemicals. A clean toaster oven means healthier food.
Take care of your kitchen tools. It saves money in the long run. Enjoy the benefits of a clear view while cooking. Keep your toaster oven spotless. It’s easy and worth the effort.