How to Clean Filter on Shark Stick Vacuum: Easy Step-by-Step Guide
To clean the filter on a Shark stick vacuum, follow these steps. Unplug the vacuum, remove the filter, rinse, and let it dry completely.
Keeping your Shark stick vacuum filter clean is crucial. A dirty filter reduces suction power and efficiency. Regular maintenance ensures your vacuum performs at its best. Cleaning the filter is simple and takes only a few minutes. You’ll need to know the proper steps to do it correctly.
In this guide, we’ll walk you through the process. You’ll learn how to remove, clean, and reassemble the filter. This will keep your vacuum running smoothly and extend its lifespan.
Credit: www.bestbuy.com
Preparation
Cleaning the filter on your Shark stick vacuum is essential for optimal performance. Proper preparation ensures the cleaning process goes smoothly and efficiently. Follow these simple steps to get ready.
Gather Necessary Tools
Before starting, make sure you have all the needed tools. You will need a soft brush, mild detergent, and clean water. A small towel can be handy for drying.
Ensure Safety
First, unplug your vacuum from the power source. This step is crucial to avoid any electrical hazards. Confirm the vacuum is completely turned off before proceeding.
Also, work in a well-lit area to see clearly. This will help you avoid any mistakes or accidents.
Locate The Filter
Find the filter on your Shark stick vacuum by checking the dust cup. This is usually near the handle.
Cleaning your Shark Stick Vacuum filter regularly ensures optimal performance. First, you must locate the filter. This step is crucial before you can clean it. Let’s explore how to find the filter.
Identifying The Filter Location
Most Shark Stick Vacuums have filters in the main body. Look for the dust cup or canister. The filter is usually behind or near it.
Check the user manual if unsure. The manual gives clear directions. You can also find videos online. These can show you exactly where the filter is.
Types Of Filters
Shark Stick Vacuums have different types of filters. Common types include foam, felt, and HEPA filters.
Foam filters are usually washable. Rinse them under water. Let them air dry before reusing.
Felt filters also need washing. Be gentle, as felt can tear easily.
HEPA filters trap small particles. They are essential for allergy sufferers. These may need replacing rather than washing.
Knowing your filter type helps you clean it correctly. Follow the manufacturer’s instructions for the best results.
Remove The Filter
Cleaning the filter in your Shark Stick Vacuum is essential. It ensures efficient suction and prolongs the vacuum’s life. Let’s dive into the process of removing the filter step-by-step.
Step-by-step Removal
- Turn off the vacuum and unplug it.
- Locate the dust cup release button and press it.
- Remove the dust cup from the main unit.
- Open the dust cup lid and empty the debris.
- Find the filter inside the dust cup.
- Pull the filter out gently.
Handling The Filter
After removing the filter, handle it with care. Follow these steps to ensure it stays in good condition:
- Tap off any loose debris into a trash can.
- Rinse the filter under cold water. Do not use soap.
- Squeeze out excess water gently.
- Allow the filter to air dry completely. This may take 24 hours.
Ensure the filter is completely dry before reinstalling it. Moisture can damage your vacuum.
Regular cleaning of the filter ensures your Shark Stick Vacuum operates efficiently. It also extends the life of your vacuum.

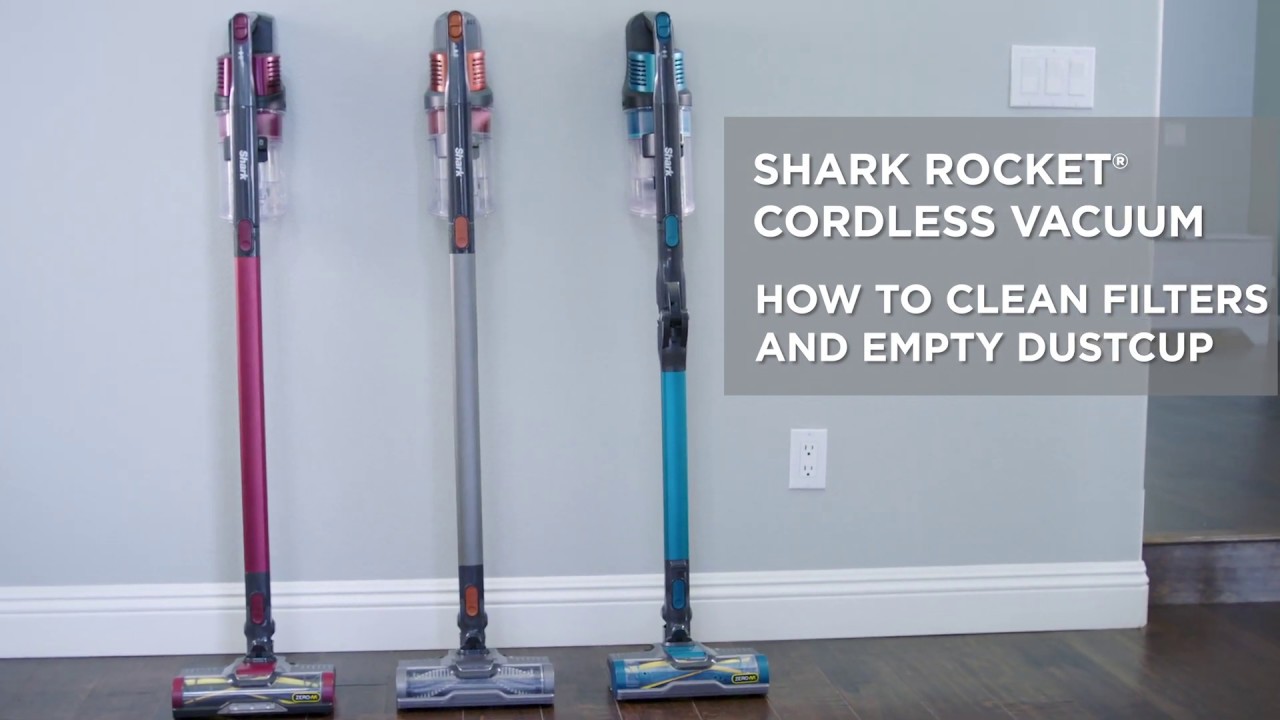
Credit: www.youtube.com
Cleaning The Filter
Keeping your Shark Stick Vacuum in top shape means maintaining its filter. A clean filter ensures optimal performance and extends the vacuum’s lifespan. Let’s dive into the essential steps for cleaning the filter.
Washing The Filter
First, remove the filter from the vacuum. Rinse it under lukewarm water. Make sure to remove all dirt and debris. Do not use soap or detergents. Gently squeeze the filter to ensure it’s fully rinsed.
Drying The Filter
After washing, let the filter air dry completely. Place it in a well-ventilated area. Avoid direct sunlight or using a dryer. Patience is key here. It may take up to 24 hours. Ensure the filter is completely dry before reinserting it into the vacuum.
Reinstall The Filter
After cleaning your Shark Stick Vacuum’s filter, the next step is to reinstall it. Proper reinstallation ensures your vacuum works efficiently. Follow these steps for a seamless process.
Correct Placement
The filter needs to be placed correctly to function well. Ensure the filter is completely dry before placing it back. A wet filter can damage the vacuum or cause mold.
Identify the filter slot. It is usually at the top or side of the vacuum. Insert the filter gently into the slot. Make sure it fits snugly and covers the entire area.
Securing The Filter
Once the filter is in place, secure it. Some models have a latch or clip to hold the filter. Ensure the latch or clip is fastened tightly. This prevents the filter from moving during use.
Check for any gaps around the filter. A secure filter ensures no dust escapes into the air. This keeps your home clean and the vacuum running smoothly.
Regularly check and clean the filter to maintain your vacuum’s performance. Following these steps will help you reinstall the filter correctly each time.
Post-cleaning Maintenance
Maintaining your Shark Stick Vacuum after cleaning the filter is crucial. It ensures optimal performance and extends the vacuum’s lifespan. Here are some essential steps to follow for post-cleaning maintenance.
Regular Cleaning Schedule
Establishing a regular cleaning schedule is key. It helps you keep your vacuum in top shape. Aim to clean the filter every month. For homes with pets or heavy usage, consider cleaning it every two weeks.
Why is this important? Regular cleaning prevents dust buildup. It ensures your vacuum operates efficiently. A clean filter allows for better suction and cleaner air.
Here’s a simple schedule to follow:
| Frequency | Action |
|---|---|
| Weekly | Check for clogs and remove debris. |
| Bi-Weekly | Clean the filter if you have pets. |
| Monthly | Deep clean the filter and vacuum parts. |
Signs Of Filter Replacement
Knowing when to replace the filter is essential. It keeps your vacuum running smoothly. Look for these signs:
- Reduced suction power: If your vacuum isn’t picking up dirt well, it might be time for a new filter.
- Unpleasant odors: A lingering bad smell even after cleaning indicates a replacement is needed.
- Visible damage: Cracks or tears in the filter mean it should be replaced immediately.
Replacing the filter as needed ensures your Shark Stick Vacuum performs at its best. Keep an eye on these signs to maintain efficiency and longevity.
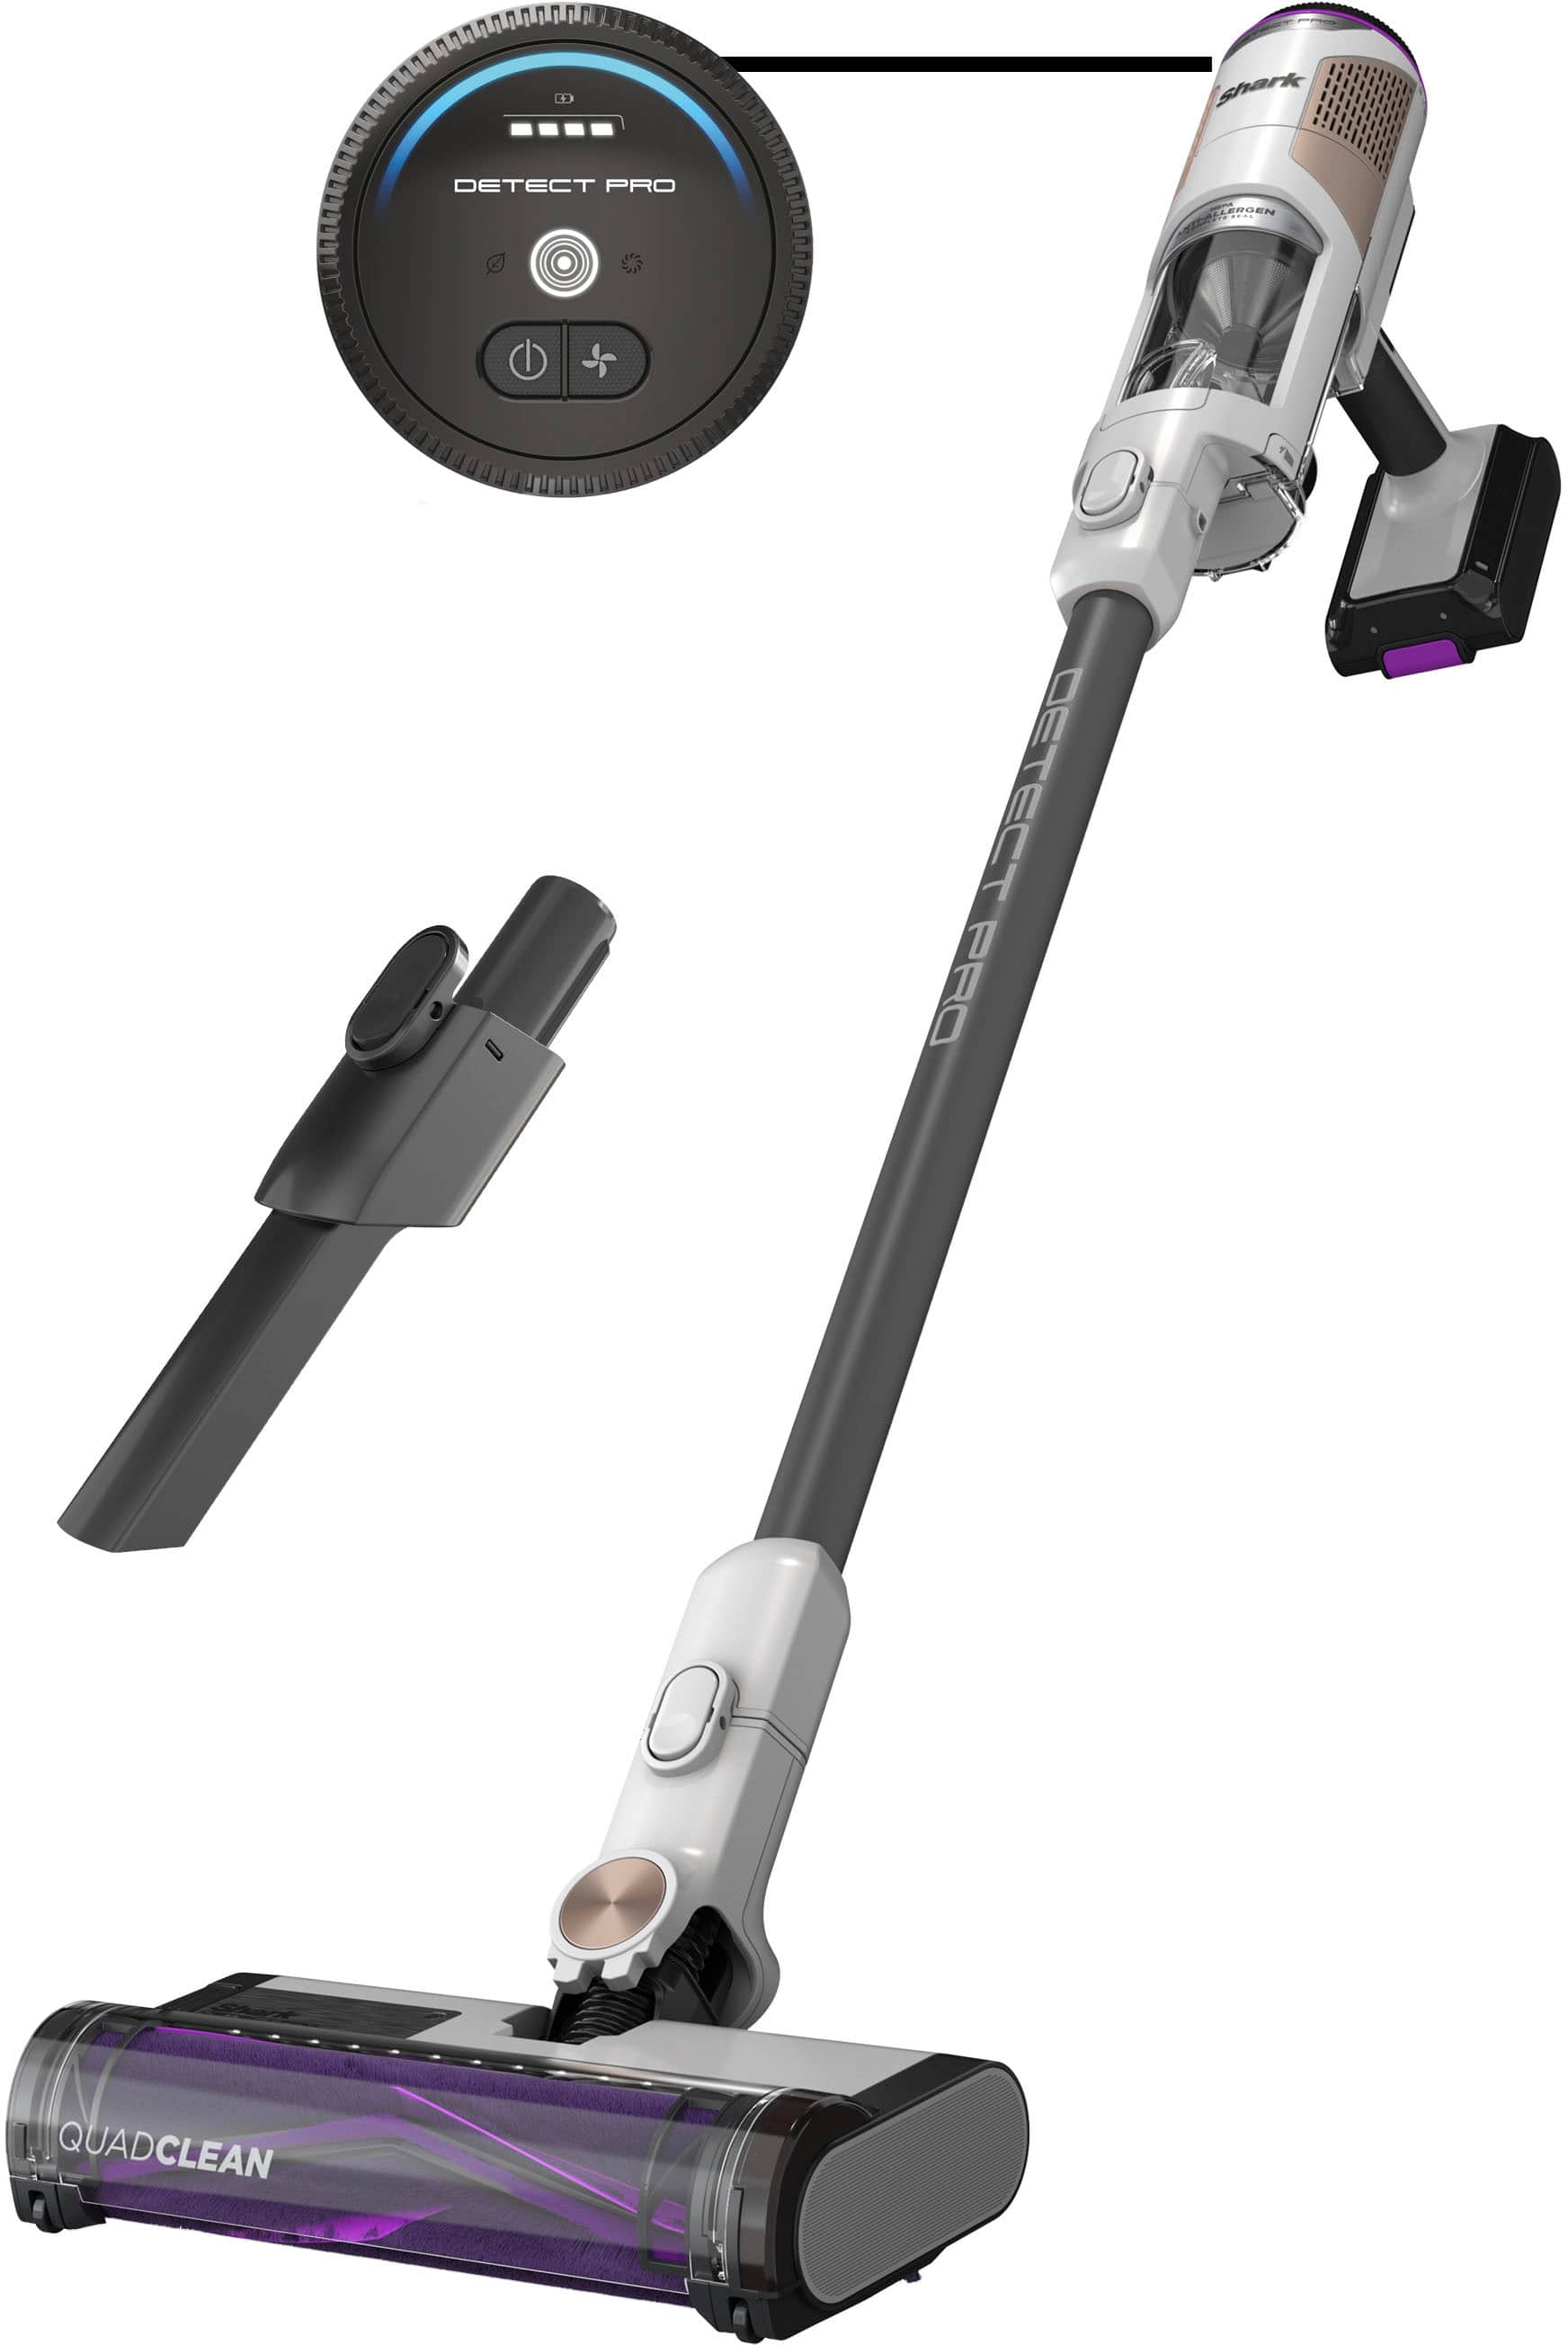
Credit: www.techradar.com
Conclusion
Keeping your Shark stick vacuum’s filter clean is essential. It ensures optimal performance. Regular maintenance extends the vacuum’s lifespan. Follow these simple steps to clean the filter. Your vacuum will operate efficiently. No more reduced suction or unpleasant odors. Enjoy a cleaner home with less effort.