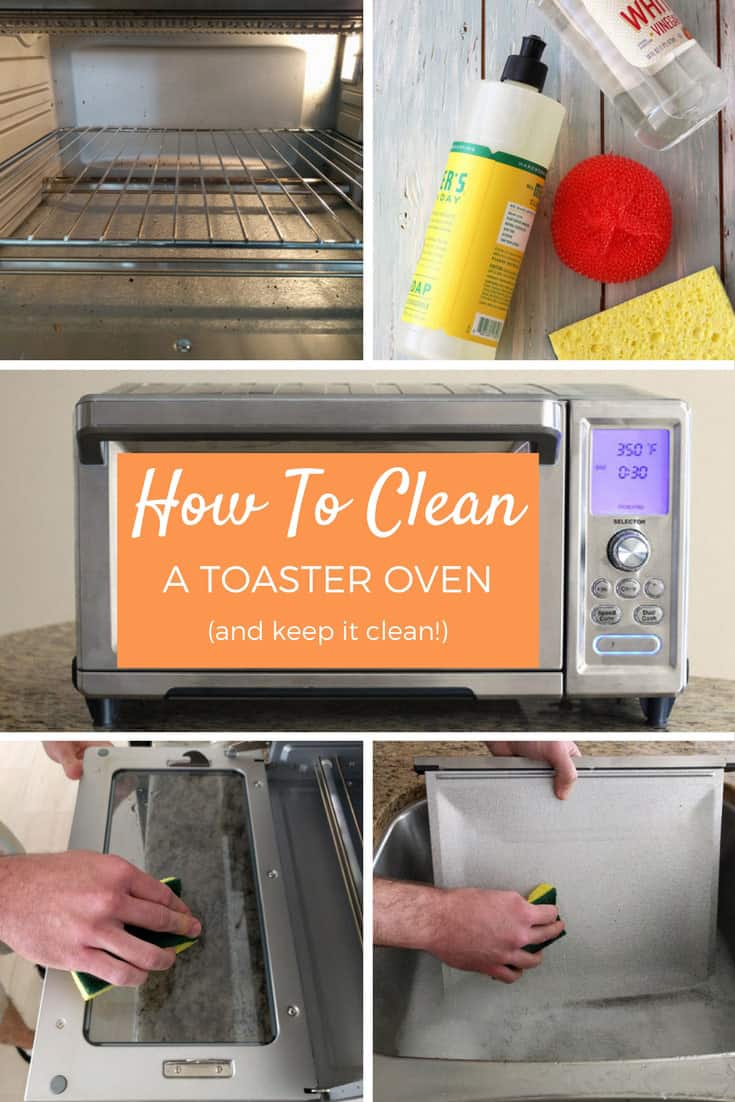
How to Clean a Toaster Oven Inside: Simple Steps for Sparkling Results

Cleaning a toaster oven inside can seem daunting. But it’s not as hard as you think.
A toaster oven is a handy kitchen appliance. It can get pretty dirty, though. Grease, crumbs, and burnt food can build up inside. This dirt can affect its performance and even be a fire hazard. So, keeping it clean is important.
You’ll learn simple steps to clean your toaster oven inside. With a few basic supplies and a little effort, your toaster oven will be spotless in no time.
Preparing For The Cleaning
Cleaning your toaster oven can seem like a daunting task, but it doesn’t have to be. Proper preparation makes the job easier and ensures a thorough clean. Let’s break down the preparation steps.
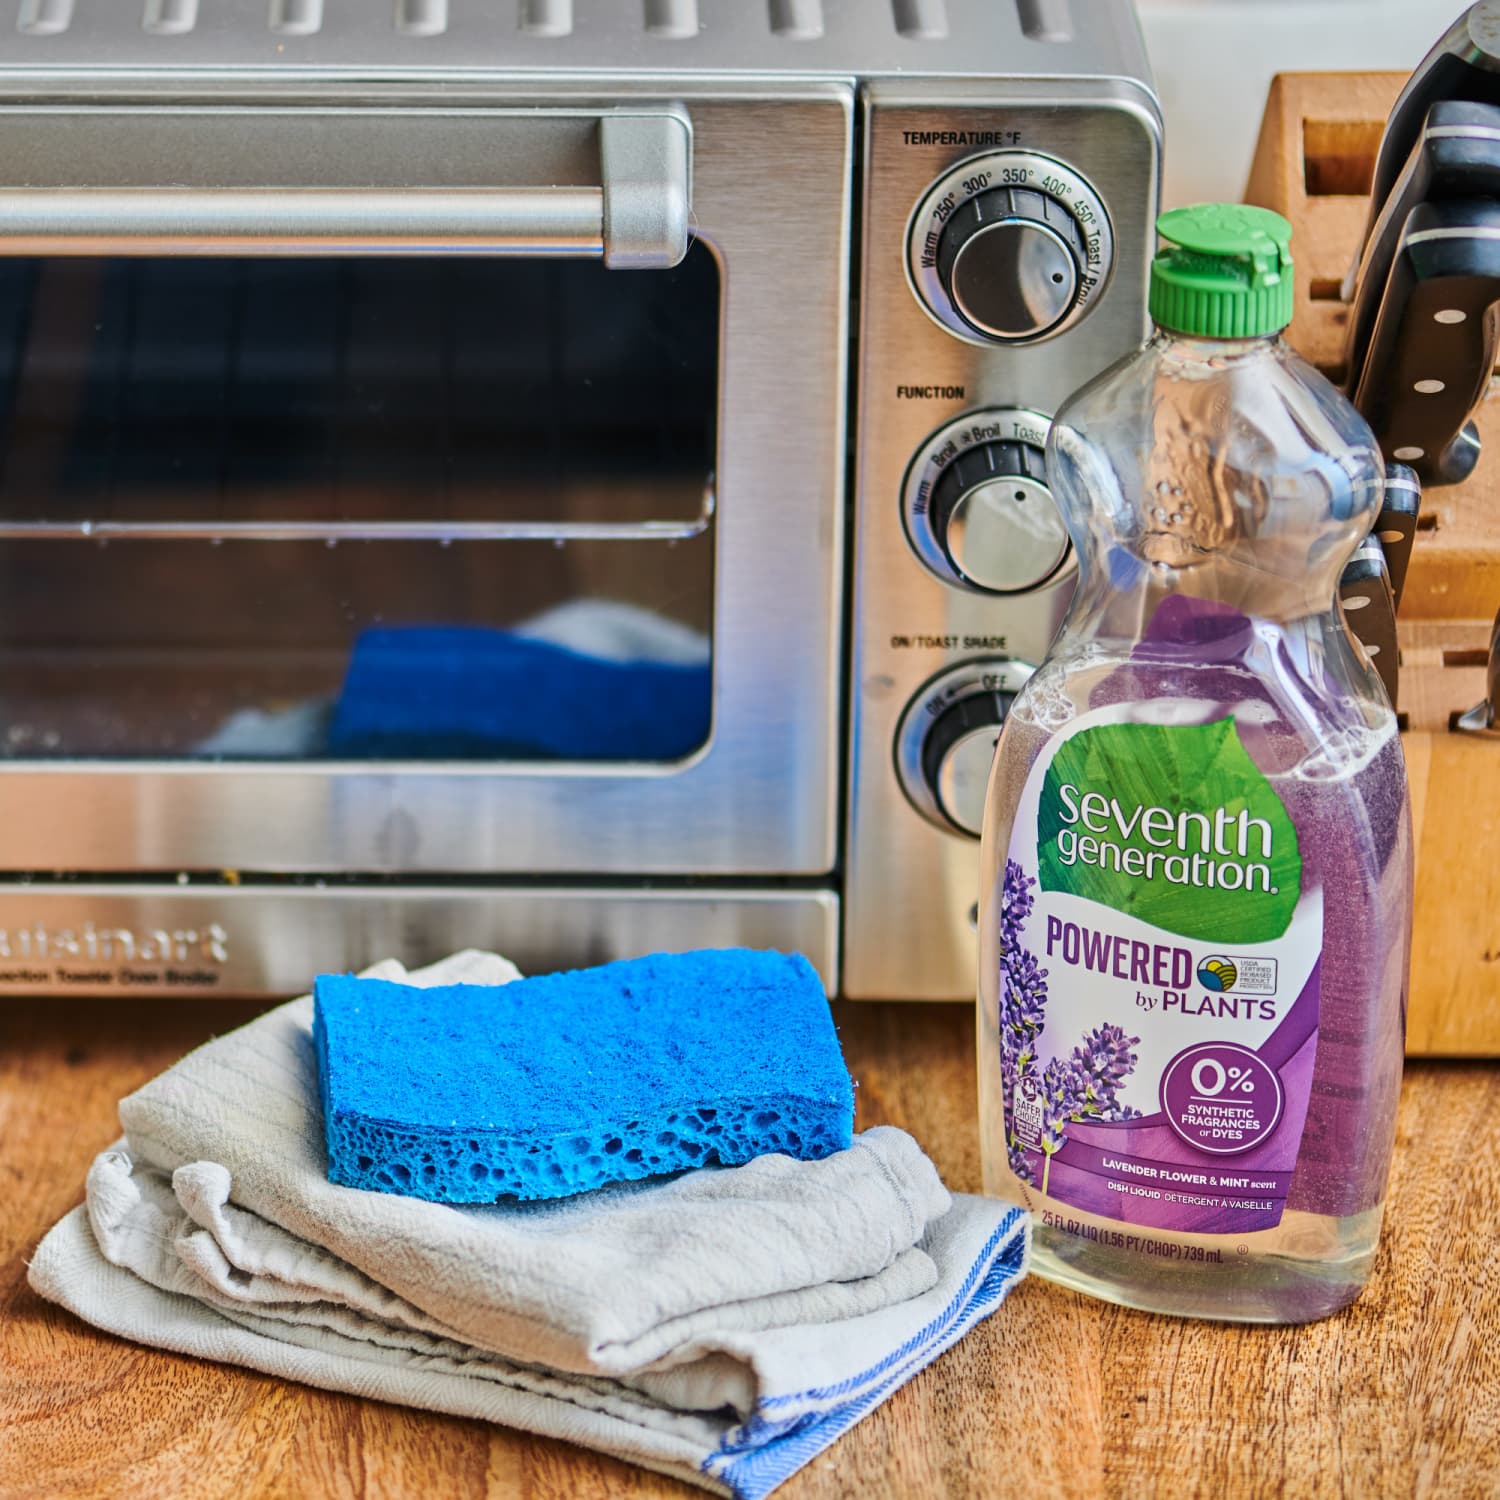
Gather Supplies
Before you start, gather all the necessary supplies. Having everything at hand will save time and make the process smoother. Here’s a handy list of what you might need:
- Soft cloths or paper towels: For wiping surfaces.
- Baking soda: A natural cleaner for tough spots.
- Dish soap: To clean removable parts.
- Warm water: Essential for rinsing.
- Brush or sponge: For scrubbing.
Once you have these supplies, you’re ready for the next step.
Unplug The Toaster Oven
Safety is crucial when cleaning any electrical appliance. The first thing you should do is unplug the toaster oven. This simple step prevents any risk of electric shock.
Wait for the toaster oven to cool down completely if it was recently used. You don’t want to burn yourself. Once it’s cool, you can proceed with the cleaning process.
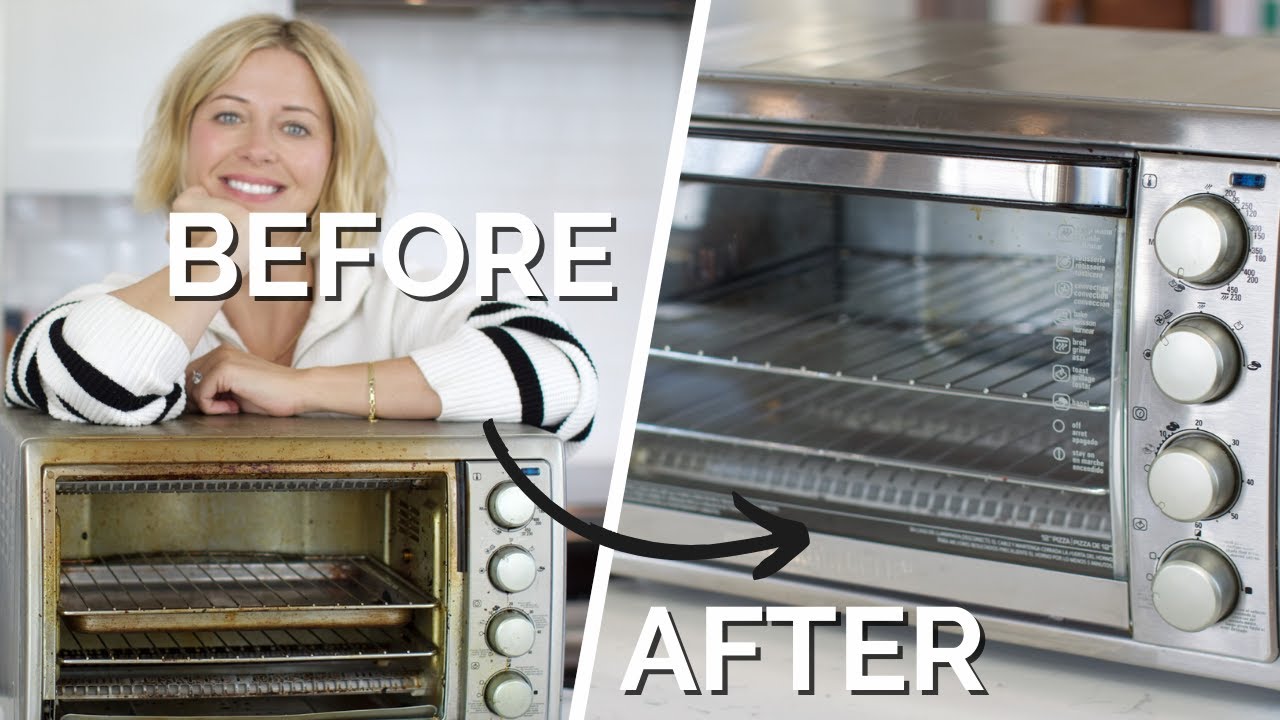
Credit: www.youtube.com
Removing And Cleaning Components
Cleaning your toaster oven’s components is crucial for maintaining its efficiency. Regular cleaning prevents the build-up of grease and crumbs. This not only enhances the appliance’s performance but also extends its lifespan. Follow these steps to remove and clean the components effectively.
Take Out Racks And Trays
First, unplug the toaster oven and let it cool down. This ensures safety while handling the components. Open the oven door and carefully remove the racks and trays. Most toaster ovens have a wire rack and a crumb tray. These are usually located at the bottom. Check the manual if you have trouble locating them.
Once removed, inspect the racks and trays for stuck-on food particles. Use a brush or a cloth to loosen these particles before washing.
Wash Removable Parts
Place the racks and trays in warm, soapy water. Let them soak for about 15 minutes. This will help to soften any stubborn residue. After soaking, use a sponge or a soft brush to scrub them clean. Avoid using abrasive materials as they can damage the surface.
Rinse the parts thoroughly with clean water. Make sure to remove all soap residue. Dry them completely using a towel or let them air dry. Ensure they are entirely dry before placing them back in the toaster oven.
Cleaning The Interior
Cleaning the interior of a toaster oven is essential. It ensures your appliance runs efficiently and safely. A clean interior also prevents food residue buildup. This can cause unpleasant odors and impact the taste of your food. Here’s a step-by-step guide to help you clean your toaster oven interior.
Wipe Down Crumbs
First, unplug the toaster oven. Let it cool completely before cleaning. Remove the racks and trays. Shake off any loose crumbs into a trash bin.
Use a soft brush or cloth to wipe away remaining crumbs. Pay attention to the corners and crevices. Crumbs can get stuck in these areas, causing potential fire hazards.
Apply Cleaning Solution
Mix a gentle cleaning solution. Combine equal parts of water and vinegar in a spray bottle. Spray the solution onto the interior surfaces.
Let the solution sit for a few minutes. This loosens any stuck-on grease and grime. Use a non-abrasive sponge or cloth to scrub the interior.
Be gentle to avoid scratching the surfaces. Rinse the sponge or cloth with clean water. Wipe down the interior again to remove any cleaning solution residue.
Dry the interior thoroughly with a clean towel. Ensure no moisture is left inside the toaster oven. This prevents rust and further grime buildup.
Credit: www.apartmenttherapy.com
Dealing With Stubborn Stains
Cleaning a toaster oven can be tricky, especially with stubborn stains. These stains often resist standard cleaning methods. But don’t worry, you can tackle them effectively with a few techniques.
Scrub With A Brush
Use a soft-bristled brush to scrub away the stains. Gently work in circles to lift the grime. Avoid using metal brushes as they can scratch the surface. A toothbrush can be a good option for this task. It reaches small crevices and corners. Rinse the brush often to avoid spreading the dirt.
Use Baking Soda Paste
Mix baking soda with a little water to form a paste. Apply the paste to the stubborn stains. Let it sit for about 15 minutes. This helps to break down the grime. Then, scrub the area with a soft cloth or brush. Wipe away the paste with a damp cloth. For tougher stains, repeat the process. Baking soda is non-toxic and safe for your toaster oven.
Cleaning The Heating Elements
Keeping your toaster oven’s heating elements clean ensures it works efficiently. Over time, crumbs and grease can build up, affecting performance. Here’s how to clean the heating elements safely and effectively.
Wipe Gently
Before you start, make sure the toaster oven is unplugged and cool. Use a soft, damp cloth to gently wipe the heating elements. Avoid using too much water as it can damage the elements.
Do not scrub the heating elements. Scrubbing can damage them. Instead, a gentle wipe will remove most of the dirt.
Avoid Harsh Chemicals
Never use harsh chemicals on heating elements. Chemicals can leave residue that burns off during use. This not only smells bad but can also be harmful.
For stubborn stains, a mixture of baking soda and water works well. Apply the paste, let it sit for a few minutes, and then wipe it off with a damp cloth.
Do not spray cleaning solutions directly onto the heating elements. Instead, spray onto a cloth and then wipe the elements. This ensures you don’t use too much liquid.
Cleaning The Exterior
Keeping your toaster oven clean on the outside is just as important as cleaning the inside. A clean exterior not only looks good but also ensures the appliance operates safely. Follow these simple steps to clean the exterior of your toaster oven.
Wipe Down Surfaces
Start by unplugging the toaster oven to ensure safety. Use a damp cloth or sponge with mild dish soap to wipe down the outer surfaces. Make sure to clean the top, sides, and front. Pay extra attention to the knobs and buttons, as these areas can accumulate grime.
- Unplug the toaster oven.
- Use a damp cloth with mild soap.
- Wipe top, sides, and front.
- Focus on knobs and buttons.
Polish With A Soft Cloth
After wiping down the surfaces, it’s time to polish. Use a soft, dry cloth to buff the exterior. This will remove any streaks or water marks, giving your toaster oven a clean and shiny finish. Make sure to dry all areas well to prevent any moisture from affecting the appliance.
- Use a soft, dry cloth.
- Buff the exterior to remove streaks.
- Ensure all areas are completely dry.
Reassembling The Toaster Oven
After cleaning the inside of your toaster oven, it’s time to reassemble it. Proper reassembly ensures your appliance works efficiently. Follow these simple steps to get your toaster oven back in working order.
Dry All Components
Ensure all cleaned parts are completely dry. Any moisture can cause issues. Use a clean, dry towel to wipe down:
- The interior walls
- Racks
- Crumb trays
Leave them out for air drying if needed. This step is crucial to avoid electric hazards.
Reinsert Racks And Trays
Once dry, carefully place each component back in its place. Start with the crumb tray. Slide it back into the bottom slot.
Next, reinsert the racks. Align them with the grooves on the sides. Push gently until they fit snugly.
Ensure everything is secure and in the correct position. Proper alignment ensures even cooking.
| Component | Position |
|---|---|
| Crumb Tray | Bottom slot |
| Racks | Side grooves |
Now your toaster oven is reassembled and ready for use. Regular cleaning and proper reassembly will keep it functioning well.
Regular Maintenance Tips
Keeping your toaster oven clean enhances its performance and extends its lifespan. Regular maintenance is key to avoiding burnt smells and ensuring your food cooks evenly. Here are some easy tips to help you maintain a spotless toaster oven.
Clean After Each Use
Cleaning your toaster oven after each use is crucial. Grease and food particles can accumulate quickly. Follow these steps to keep it clean:
- Unplug the toaster oven and let it cool down.
- Remove the crumb tray and shake off crumbs into the trash.
- Wipe the tray with a damp cloth and mild dish soap.
- Use a soft brush or cloth to clean the interior.
- Focus on removing grease and food particles.
- For stubborn stains, use a baking soda paste.
- Wipe down the exterior with a damp cloth.
Avoid Foil And Nonstick Sprays
Avoid using foil and nonstick sprays inside your toaster oven. These can cause damage and affect its performance. Here’s why:
| Reason | Explanation |
|---|---|
| Foil | Foil can block heat, causing uneven cooking. It can also spark a fire if it touches the heating elements. |
| Nonstick Sprays | Nonstick sprays can leave a sticky residue. This residue is hard to clean and can damage the interior. |
Instead, use parchment paper or a silicone baking mat. These options are safer and easier to clean.
Credit: toasterovenlove.com
Conclusion
Regular cleaning keeps your toaster oven efficient and safe. Follow these simple steps to maintain it. Wipe it down after each use to prevent build-up. Use a mild cleaner for the interior. Don’t forget to clean the crumb tray. A clean toaster oven ensures better cooking and longevity.
Keep it spotless and enjoy hassle-free cooking. Remember, a little effort goes a long way.