Best Way to Deep Clean an Air Fryer: Expert Tips and Tricks
Deep cleaning an air fryer can seem like a daunting task. But it’s essential for maintaining its performance and longevity.
In this guide, you’ll learn the best way to deep clean your air fryer, ensuring it stays in top shape. Air fryers have become a popular kitchen gadget for many. They make cooking healthier and quicker. But like any appliance, they need regular cleaning.
Over time, grease and food particles build up. This can affect the air fryer’s efficiency and even cause unpleasant odors. A thorough cleaning not only helps in keeping the fryer functional but also ensures that your food tastes fresh every time you use it. Let’s explore the steps to deep clean your air fryer and keep it working like new.

Credit: www.youtube.com
Preparing For The Clean
Cleaning your air fryer might seem like a tough task. But with the right preparation, it can be easy and quick. In this section, you’ll learn how to get ready for a deep clean. This involves gathering supplies and ensuring the air fryer is safe to handle.
Gather Supplies
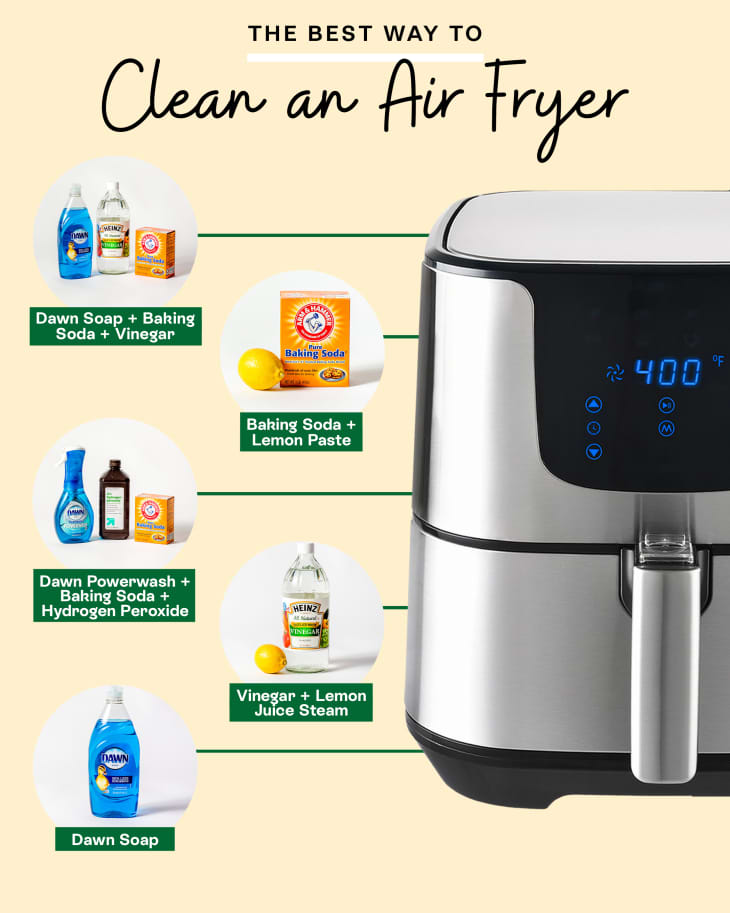
Before you start, make sure you have all the cleaning supplies. Here’s a list of what you’ll need:
- Soft sponge or cloth
- Dish soap
- Warm water
- Non-abrasive brush
- Baking soda (optional)
- White vinegar (optional)
Having these items ready will make the process smoother. Do not use harsh chemicals or abrasive tools. They can damage the air fryer’s surface.
Unplug And Cool Down
Safety is important. Always make sure to unplug your air fryer before cleaning. This will prevent any electrical accidents.
Let the air fryer cool down completely. Cleaning a hot appliance can be dangerous and less effective. Wait at least 30 minutes after use.
Once the air fryer is cool and unplugged, you’re ready to start the deep cleaning process. This preparation ensures a safe and efficient cleaning.
Disassembling The Air Fryer
Deep cleaning your air fryer starts with disassembling it. This step ensures you reach every nook and cranny. Let’s break down the process into simple steps.
Remove Basket And Tray
The first step is to remove the basket and tray. These parts often collect the most grease and food particles.
- Ensure the air fryer is unplugged and cool.
- Open the air fryer and gently pull out the basket.
- Slide out the tray beneath the basket.
Both the basket and tray are usually dishwasher safe. If not, soak them in warm, soapy water.
Detach Other Removable Parts
Next, detach other removable parts. This step helps in cleaning every component thoroughly.
- Check the manual for a list of removable parts.
- Remove any additional components like the pan and any racks.
- Set these parts aside for cleaning.
Be careful with delicate parts. Use a soft sponge to avoid scratches.
Cleaning The Basket And Tray
Cleaning the basket and tray of your air fryer is essential for maintaining its efficiency. This step ensures that your food remains tasty and safe. Neglecting this can lead to a buildup of grease and food particles. Follow these steps to keep your air fryer clean and working well.
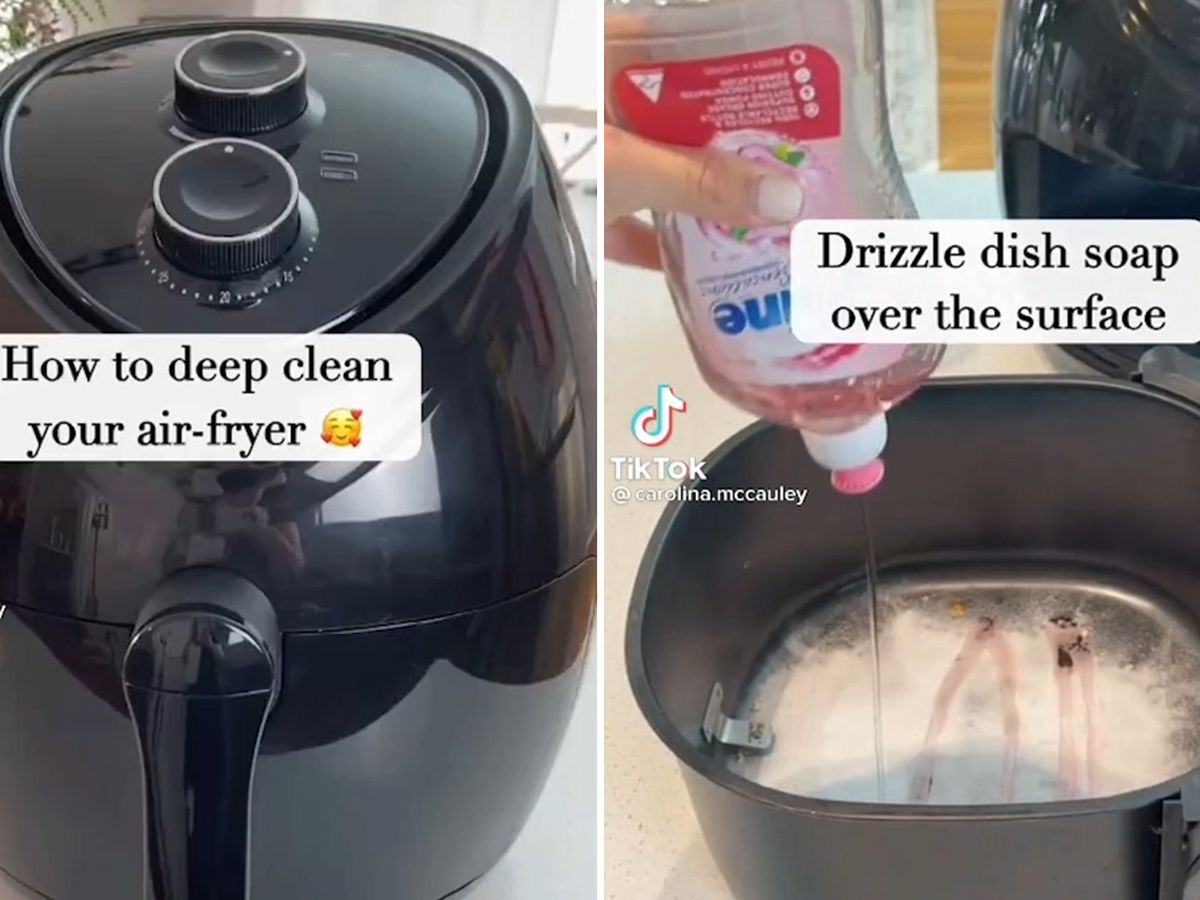
Soak In Warm Soapy Water
First, remove the basket and tray from the air fryer. Fill a sink or large container with warm water. Add a few drops of mild dish soap. Place the basket and tray in the soapy water. Let them soak for at least 10 minutes. This helps to loosen any stuck-on food and grease.
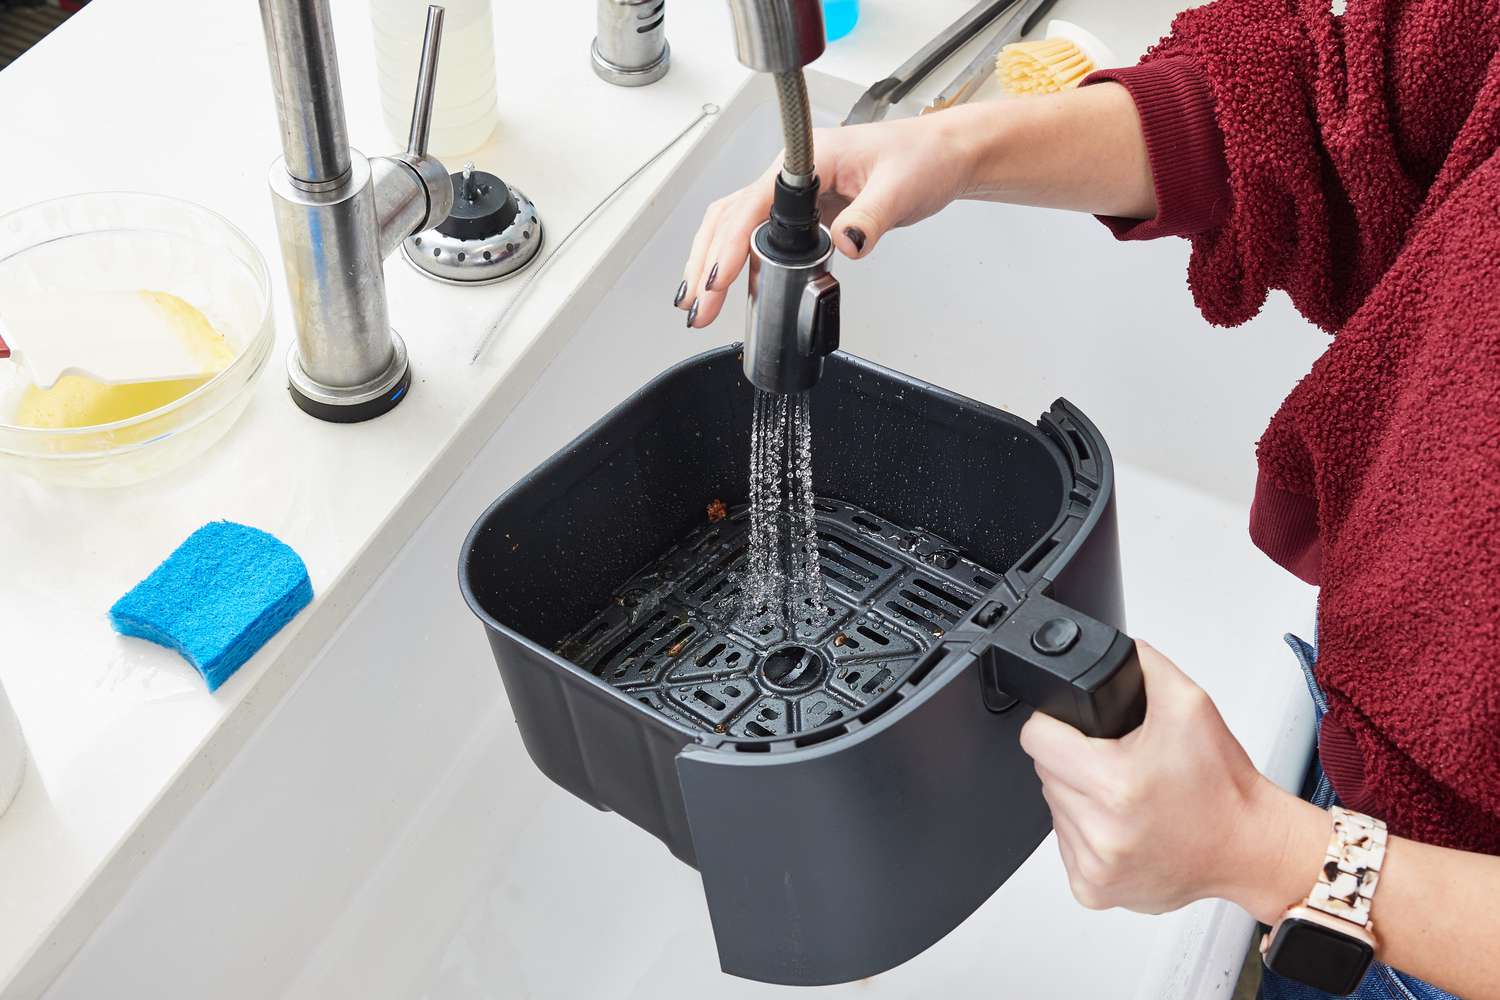
Scrub Stubborn Residue
After soaking, use a soft sponge or brush. Gently scrub the basket and tray. Focus on areas with stubborn residue. Avoid using metal scrubbers. They can damage the non-stick coating. Rinse thoroughly with clean water. Dry with a clean towel before reassembling.
Credit: 9now.nine.com.au
Cleaning The Interior
Maintaining a clean air fryer ensures it functions well and lasts longer. Cleaning the interior of your air fryer is crucial. It can help prevent build-up and keep your food tasting great. Follow these steps for a thorough clean.
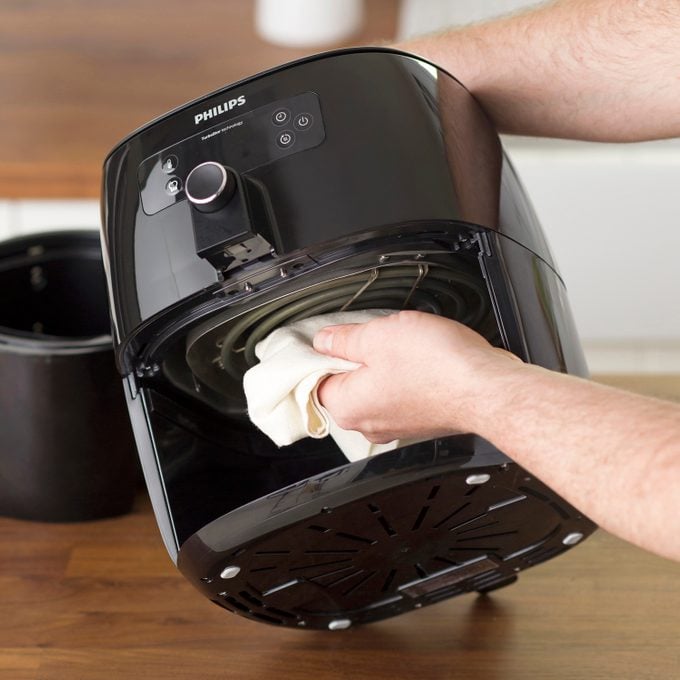
Wipe Down With Damp Cloth
Unplug the air fryer and let it cool down. Use a damp cloth to wipe the interior. Make sure the cloth is not too wet. Excess water can damage the appliance. Gently clean the walls and bottom. Remove any visible grease or food particles.
Use A Soft Brush For Crevices
Some areas may be hard to reach with a cloth. Use a soft brush for those tight spots. A small kitchen brush works well. Gently brush the crevices and corners. This helps remove stuck-on food and grease. For stubborn spots, dip the brush in warm, soapy water. Brush gently to avoid scratching the surface.
Cleaning The Heating Element
The heating element is a crucial part of your air fryer. It ensures your food cooks evenly. Cleaning it regularly is essential for optimal performance. But how do you do it safely and effectively? Here’s a step-by-step guide to help you clean the heating element of your air fryer.
Brush Off Debris
First, unplug the air fryer. Let it cool completely. You don’t want to risk burns. Once cool, use a soft brush. Gently brush off any loose debris. Do this carefully to avoid damaging the element. A toothbrush works well for this task. It can reach small crevices easily. Ensure all visible particles are removed.
Wipe With Damp Cloth
Next, take a damp cloth. It should not be soaking wet. Wipe the heating element gently. This removes any remaining residue. Avoid using harsh chemicals. They can damage the element. Mild soap and water are sufficient. Dry the element with a clean, dry cloth. Ensure it is completely dry before using the air fryer again. This prevents any electrical issues.
Credit: www.tasteofhome.com
Cleaning The Exterior
Keeping the exterior of your air fryer clean is important. A clean exterior not only looks good, but it also prevents grime and grease buildup. Below are the steps to ensure your air fryer stays spotless on the outside.
Wipe With Mild Cleaner
First, unplug your air fryer. Allow it to cool completely. Use a soft cloth or sponge. Dampen it with warm, soapy water. Avoid harsh chemicals; they can damage the finish. Gently wipe down the exterior surfaces. Pay special attention to knobs and buttons. For stubborn spots, use a bit more pressure. But be careful, don’t scrub too hard.
Dry Thoroughly
After wiping, it’s important to dry the air fryer. Use a dry, soft cloth to remove any moisture. Make sure you dry all areas completely. Moisture can cause spots or damage. Check around buttons and any seams. They often hide water. If needed, use a cotton swab for those tight areas. Once dry, your air fryer will look fresh and clean.
Reassembling The Air Fryer
Reassembling the air fryer after deep cleaning ensures it works efficiently. Proper alignment of parts is crucial for optimal performance. Always check the manual for specific instructions.
Reassembling the Air Fryer is the final step in your deep cleaning process. This step ensures all parts are in their correct places for optimal performance. Follow these simple steps to reassemble your air fryer with ease.
Ensure All Parts Are Dry
Before reassembling, make sure all parts are completely dry. Moisture can damage the internal components. Use a clean towel to pat them dry. Allow them to air dry if necessary. This step prevents mold and bacteria growth.
Reattach Components
Start by reattaching the basket to the main unit. Ensure it clicks into place. Next, attach the tray or rack inside the basket. Make sure it sits flat and secure. Check the control panel and buttons. Ensure they are clean and dry. Reattach any removable parts according to the user manual.
Reassembling your air fryer correctly ensures it works efficiently. Enjoy cooking with a clean and fully functional air fryer!
Maintenance Tips
Keeping your air fryer in top shape ensures it works efficiently and lasts longer. Regular maintenance prevents the buildup of grease and food particles. Below are some essential maintenance tips to help you deep clean your air fryer.
Regular Cleaning Schedule
Set a cleaning schedule to maintain your air fryer. After every use, allow it to cool down. Remove the basket and pan. Wash them with warm, soapy water. Dry them completely before reassembling.
Wipe the interior with a damp cloth. Use a soft brush to remove any stuck-on food. Clean the heating element gently. Doing this after each use prevents buildup.
Avoiding Harsh Chemicals
Harsh chemicals can damage your air fryer. Use mild dish soap and warm water. Avoid bleach or strong detergents. They can cause wear and tear. For stubborn stains, a mixture of baking soda and water works well. Apply it, let it sit, then scrub gently.
Always check your user manual. It might have specific cleaning guidelines. Following them keeps your air fryer in optimal condition.
Conclusion
Cleaning an air fryer can be simple and quick. Follow these easy steps to maintain it. Regular cleaning keeps your air fryer working efficiently. Don’t let grease build up. Use mild soap and water for best results. Remember to clean the inside and outside.
A clean air fryer ensures healthier, tastier food. Make cleaning a habit after each use. This extends the life of your appliance. Enjoy your meals without any hassle.