Best Way to Clean Inside of Microwave Oven

Cleaning the inside of a microwave oven can be a daunting task. Grease, food splatters, and stubborn stains often make it seem impossible.
But don’t worry, there are simple and effective ways to get your microwave spotless. A dirty microwave is not just unsightly; it can also affect the taste of your food and even pose health risks. Regular cleaning keeps your microwave in top condition and ensures your meals are safe to eat.
In this blog post, we’ll explore some of the best methods to clean your microwave oven. These tips are easy to follow and require only common household items. By the end, your microwave will look and smell fresh, making your cooking experience more enjoyable.
Preparation Steps
Cleaning the inside of a microwave oven may seem daunting. But with the right preparation steps, it becomes an easy task. Before diving into the actual cleaning, it’s crucial to get everything ready. This will make the process smoother and quicker.
Gather Cleaning Supplies
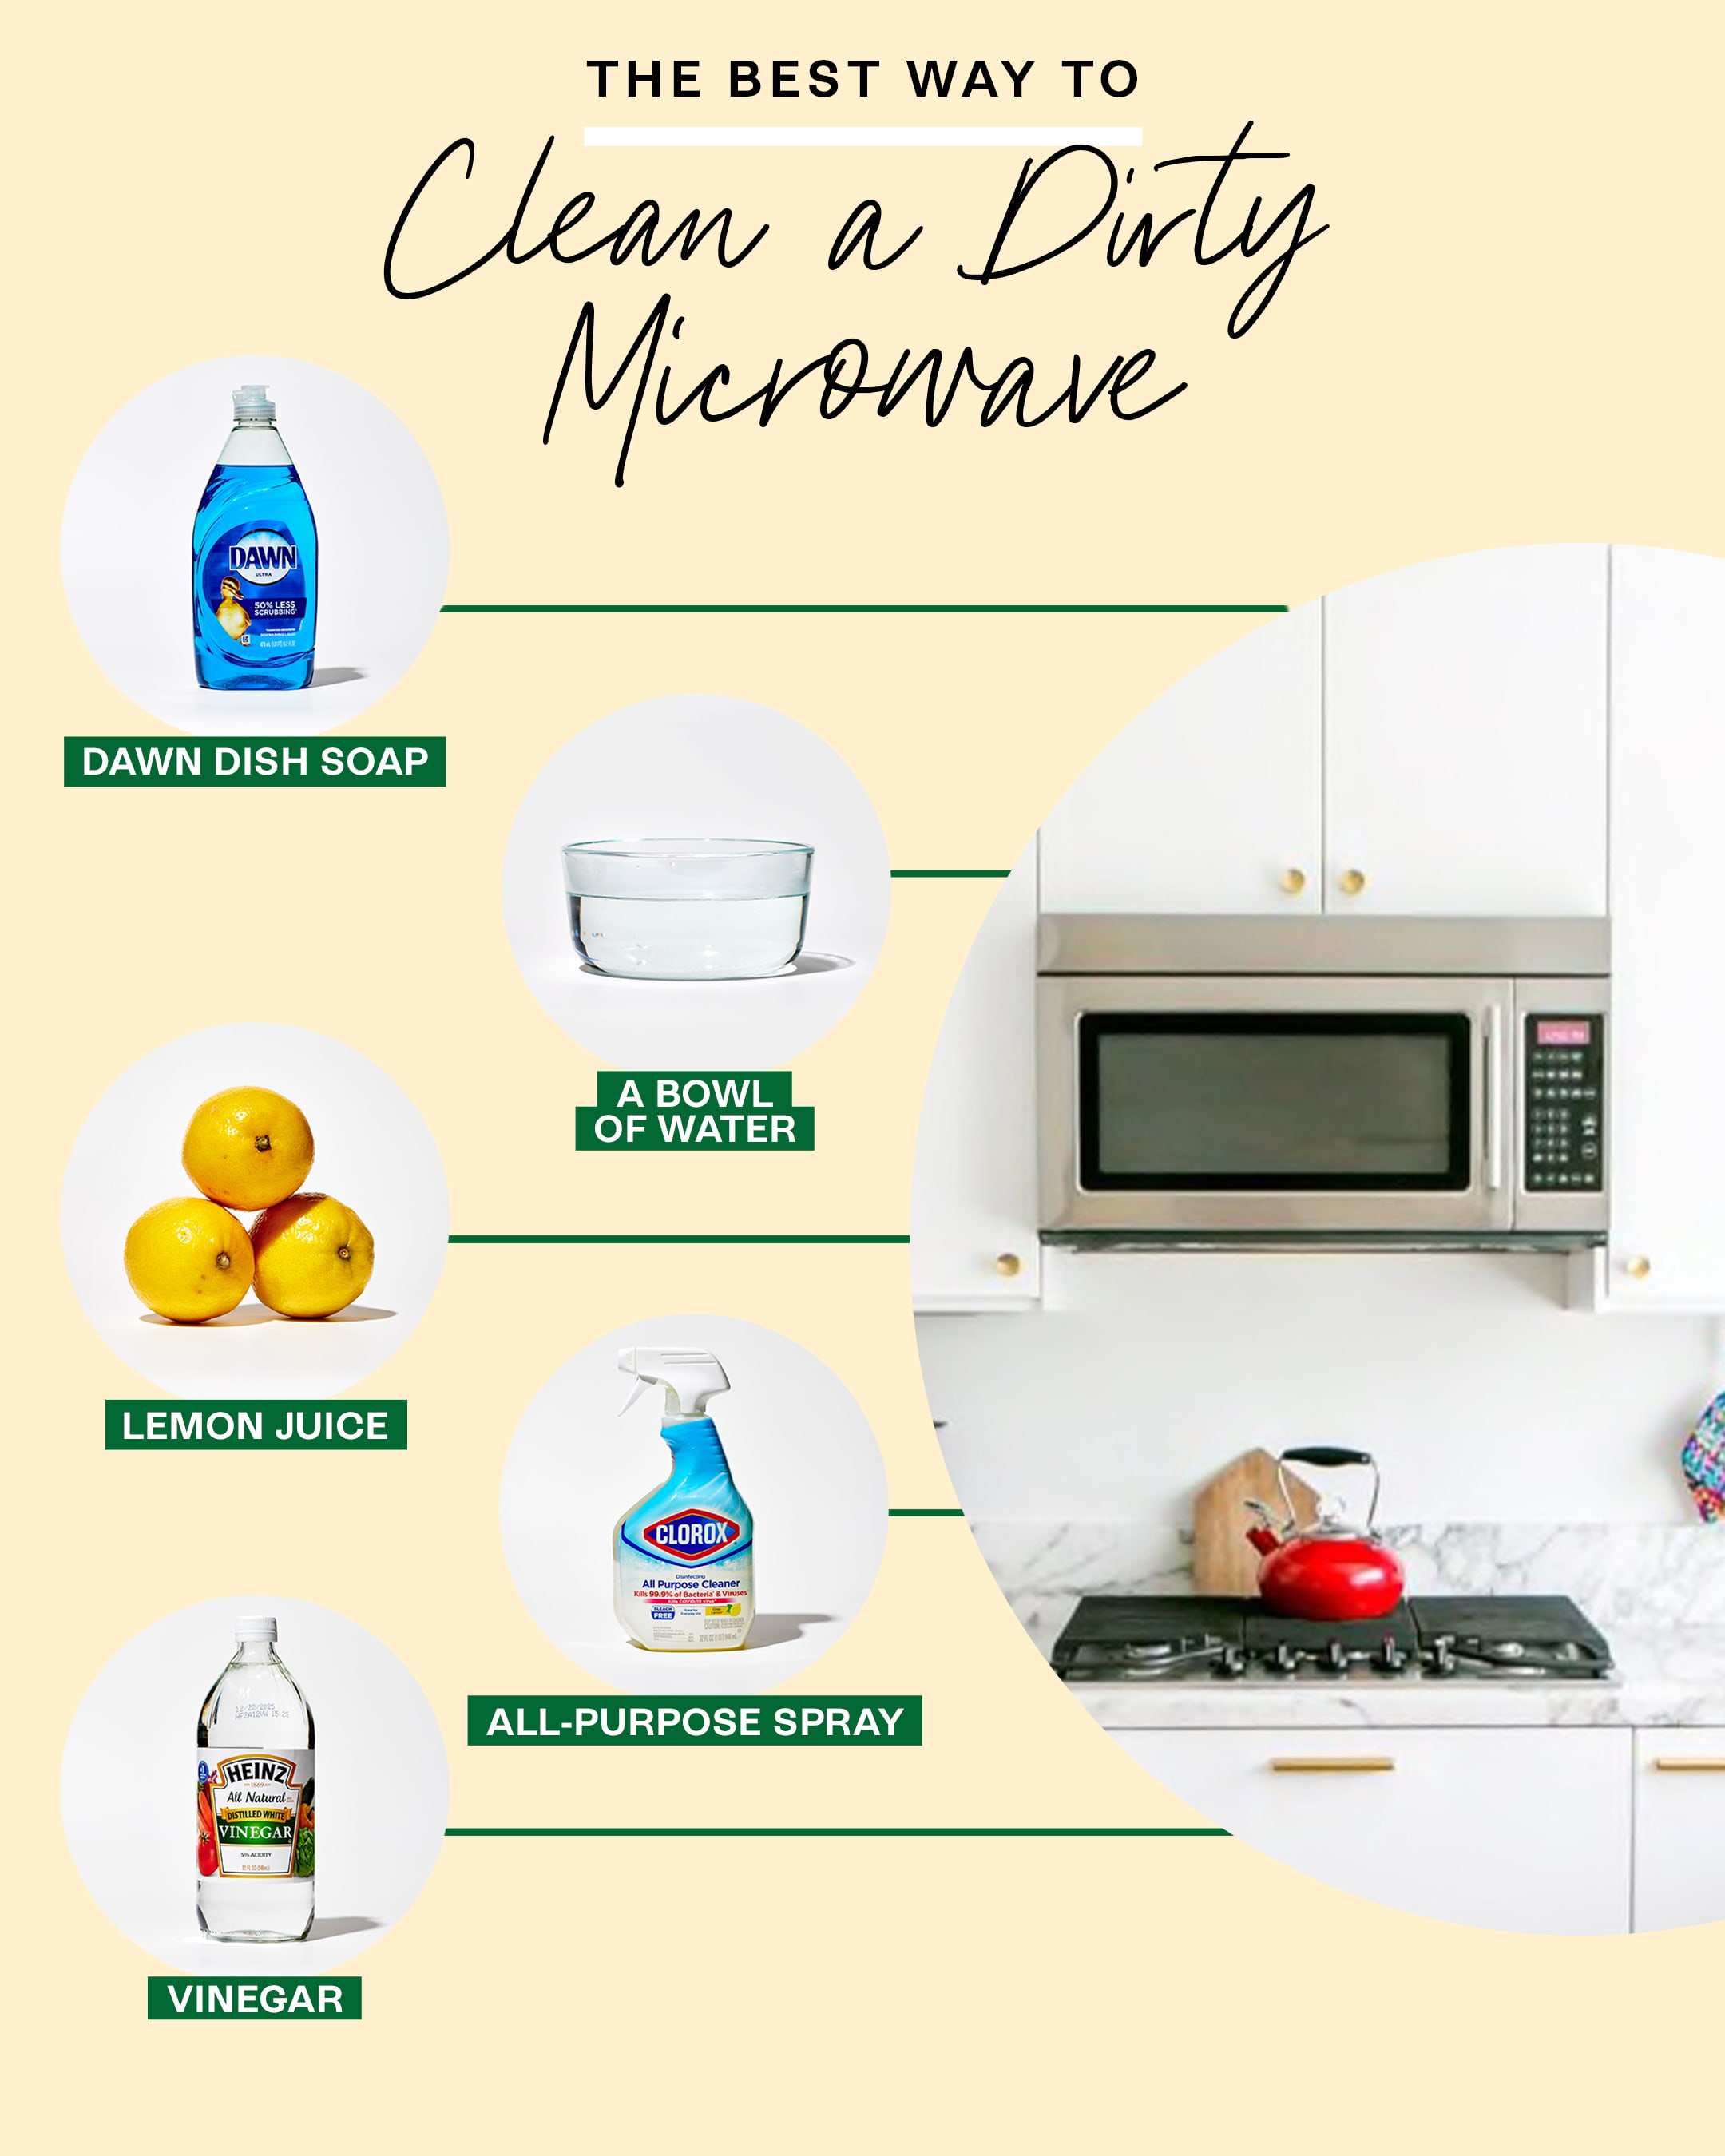
Gather all the necessary supplies. You will need a microwave-safe bowl, water, white vinegar, a sponge, and a microfiber cloth. You might also need some dish soap. Having everything on hand will save time and effort.
Unplug The Microwave
Next, ensure safety by unplugging the microwave. This step is often overlooked. But it’s essential to prevent any electrical accidents. Always make safety a priority.
Credit: www.youtube.com
Natural Cleaning Methods
Cleaning your microwave oven doesn’t need harsh chemicals. Natural methods work well and are safe. Learn how to use lemon and vinegar for a clean microwave.
Using Lemon
Lemons are great for cleaning. They are natural and smell fresh. Follow these steps to clean your microwave with lemon:
- Cut a lemon in half.
- Squeeze the juice into a microwave-safe bowl.
- Add the lemon halves to the bowl.
- Fill the bowl with water.
- Place the bowl in the microwave.
- Microwave on high for 3 minutes.
- Let it sit for 5 minutes without opening the door.
The steam will loosen grime. Wipe the inside with a clean cloth. Enjoy a fresh-smelling and clean microwave!
Using Vinegar
Vinegar is another natural cleaner. It removes odors and kills bacteria. Follow these steps to clean your microwave with vinegar:
- Fill a microwave-safe bowl with one cup of water.
- Add one tablespoon of vinegar to the bowl.
- Place the bowl in the microwave.
- Microwave on high for 5 minutes.
- Let it sit for 5 minutes without opening the door.
The steam will loosen grime. Wipe the inside with a clean cloth. Your microwave will be clean and odor-free!
Commercial Cleaners
Cleaning the inside of a microwave oven can be daunting. Commercial cleaners offer a quick and effective solution. They save time and effort while ensuring a spotless microwave. Here are some tips on how to choose the right cleaner and use it safely.
Choosing The Right Cleaner
Not all commercial cleaners are the same. Select one that is safe for your microwave’s interior.
- Look for cleaners specifically designed for microwave ovens.
- Check the ingredients. Avoid harsh chemicals like bleach.
- Read reviews and ratings. See what others recommend.
Consider eco-friendly options. They are less harmful to you and the environment. Some brands offer non-toxic, biodegradable cleaners.
Safety Precautions
Using commercial cleaners requires some safety measures. Follow these guidelines to protect yourself and your microwave.
- Read the instructions on the cleaner’s label. Follow them carefully.
- Ensure proper ventilation. Open windows or use an exhaust fan.
- Wear gloves to protect your hands from chemicals.
- Do not mix different cleaners. It can create harmful fumes.
- Rinse the microwave well after cleaning. Remove all cleaner residues.
Keep the cleaner out of reach of children and pets. Store it in a cool, dry place.
By following these tips, you can keep your microwave clean and safe. Use the right products and take the necessary precautions.
Cleaning The Interior Walls
Keeping the interior walls of your microwave clean is essential. It helps avoid bad smells and keeps your food safe. Regular cleaning can also extend the life of your microwave. Follow these simple steps to make your microwave spotless.
Wiping Down Surfaces
Before you start, unplug your microwave for safety. Prepare a cleaning solution with warm water and mild dish soap. Use a soft cloth or sponge to wipe the interior walls. Avoid using harsh chemicals as they can damage the surfaces.
- Mix warm water and mild dish soap.
- Dip a soft cloth or sponge in the solution.
- Gently wipe the interior walls.
For an extra clean, you can use a mixture of water and vinegar. This solution helps to remove grease and smells. Simply mix equal parts of water and vinegar in a bowl. Microwave it for 2 minutes and let the steam loosen the dirt.
- Mix equal parts of water and vinegar.
- Microwave the solution for 2 minutes.
- Let the steam work for a few minutes.
- Wipe down the surfaces with a cloth.
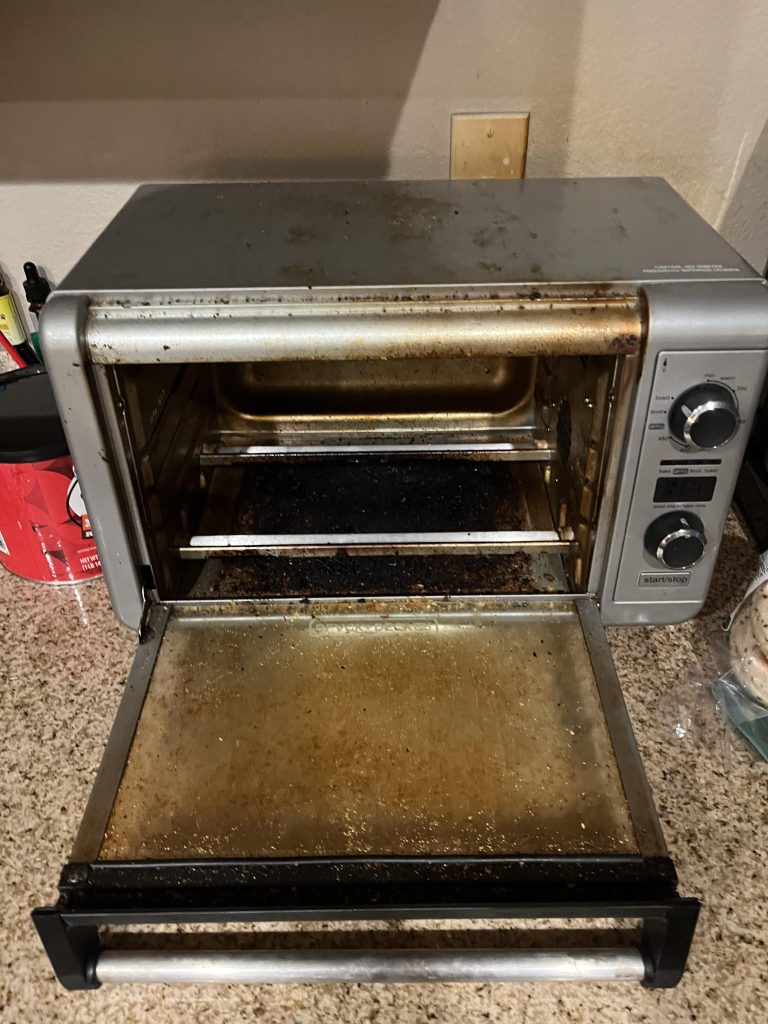
Removing Stubborn Stains
Stubborn stains can be challenging. But don’t worry. Baking soda is a great solution. Make a paste with baking soda and water. Apply the paste to the stains and let it sit for 10 minutes. Use a sponge to scrub the stains gently.
- Make a paste with baking soda and water.
- Apply the paste to the stubborn stains.
- Let it sit for 10 minutes.
- Gently scrub with a sponge.
If the stains are still there, use lemon juice. Lemon is a natural cleaner and deodorizer. Mix lemon juice with water and microwave it for 2 minutes. Let the steam work for a few minutes. Then, wipe down the walls with a cloth.
| Solution | Instructions |
|---|---|
| Baking Soda Paste | Apply, wait 10 minutes, then scrub. |
| Lemon Juice | Microwave 2 minutes, then wipe. |
Remember to clean your microwave regularly. It keeps it running efficiently and makes it last longer. Happy cleaning!
Cleaning The Turntable
Keeping your microwave oven clean ensures it operates efficiently and keeps your food free from contaminants. One important part of the cleaning process is cleaning the turntable. The turntable is the rotating glass plate at the bottom of the microwave. It can collect food spills and splatters, which can cause odors and bacteria buildup.
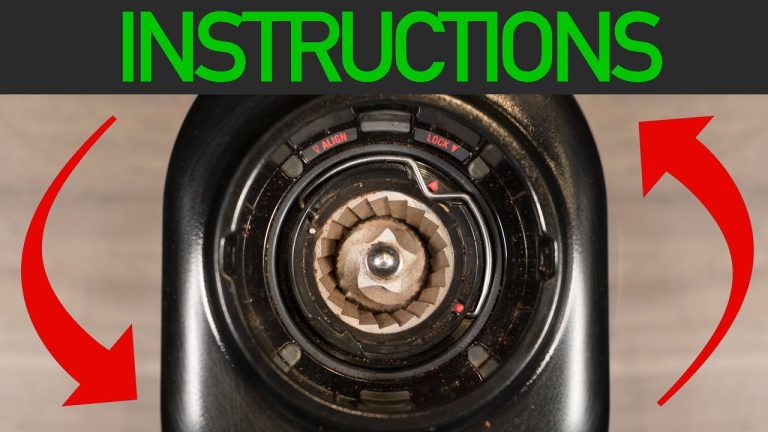
Removing And Washing
First, carefully remove the turntable from the microwave. Handle it with care to avoid breaking it. Place the turntable in the sink. Use warm water and mild dish soap to clean it. A soft sponge will help remove stubborn food particles. For tough stains, let the turntable soak for 10 minutes. Scrub gently to avoid scratches.
Drying And Replacing
After washing, rinse the turntable thoroughly with clean water. Dry it using a clean towel or let it air dry. Ensure it is completely dry to prevent moisture buildup in the microwave. Once dry, place the turntable back in the microwave. Ensure it is seated correctly on the support ring. This ensures smooth rotation during use.
Following these steps will help keep your microwave turntable clean and ensure your appliance remains in good working order.
Credit: www.thekitchn.com
Deodorizing The Microwave
Cleaning the inside of a microwave oven is easy with natural ingredients. Use vinegar and water to remove odors effectively. Wipe with a damp cloth for a fresh, clean microwave.
Cleaning the microwave is not enough. Deodorizing is equally important. A clean microwave can still have lingering smells from food. This can affect the taste of new dishes. So, it’s essential to remove these odors. Here are two effective methods to deodorize your microwave.
Baking Soda Method
Baking soda is a natural deodorizer. It’s easy to use and very effective. Start by placing a bowl of water in your microwave. Add two tablespoons of baking soda to the water. Heat the mixture for five minutes. Let it sit for another five minutes before opening the door. The steam will absorb odors. Wipe the inside of the microwave with a clean cloth. Your microwave should now smell fresh.
Charcoal Method
Charcoal is another great way to remove odors. It works by absorbing smells from the air. Place a few pieces of activated charcoal in a bowl. Leave the bowl in the microwave overnight. By morning, the charcoal will have absorbed most, if not all, of the odors. Remove the charcoal and wipe the microwave with a damp cloth. This method is simple and requires no heating.
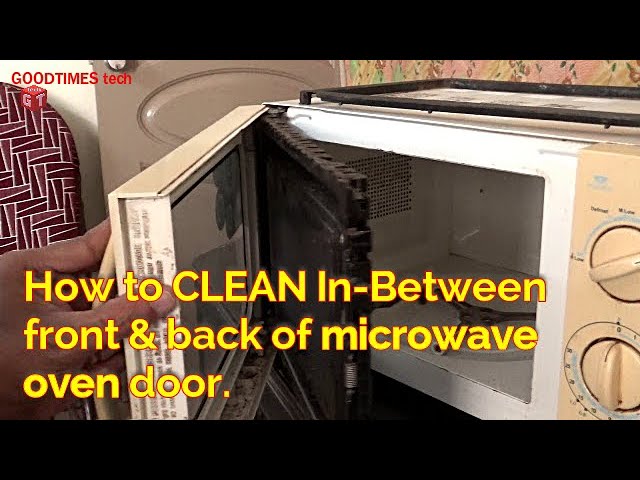
Cleaning The Microwave Door
Cleaning the microwave door is crucial for maintaining a clean kitchen. A clean door ensures you can see inside while cooking. It also prevents food particles from building up. This makes your microwave more hygienic. Follow these steps to keep the door spotless.
Cleaning The Glass
The glass on your microwave door can get cloudy. This happens due to food splatters and steam. To clean the glass, you will need:
- Water
- Dish soap
- A sponge
- A microfiber cloth
Follow these steps:
- Mix a few drops of dish soap in warm water.
- Dip the sponge into the soapy water.
- Wipe the glass with the sponge. Use circular motions.
- Rinse the sponge and wipe the glass again with clean water.
- Dry the glass with a microfiber cloth. This prevents streaks.
By using these steps, the glass on your microwave door will stay clear and clean.
Wiping The Door Seal
The door seal is often overlooked but important. A dirty seal can affect the microwave’s efficiency. To clean the seal, you need:
- White vinegar
- Water
- A soft cloth
Here’s how to clean the seal:
- Mix equal parts vinegar and water in a bowl.
- Dip the soft cloth in the mixture.
- Wipe the door seal thoroughly. Pay attention to the edges.
- Rinse the cloth and wipe the seal with clean water.
- Dry the seal with a separate cloth.
Regularly wiping the door seal keeps your microwave functioning properly. It also prevents unwanted odors.
Credit: www.reddit.com
Regular Maintenance Tips
Keeping your microwave clean ensures it works well and lasts longer. Regular maintenance prevents food splatters from hardening and makes cleaning easier.
Weekly Wipe Down
A weekly wipe down keeps your microwave fresh. Follow these simple steps:
- Unplug the microwave.
- Use a damp cloth or sponge with mild soap.
- Wipe the interior walls, ceiling, and floor.
- Remove the turntable and wash it in the sink.
- Dry all parts thoroughly before reassembling.
Use a soft cloth to avoid scratches. Avoid harsh chemicals that can damage the surface.
Monthly Deep Clean
A monthly deep clean ensures your microwave stays in top condition. Here’s how:
- Fill a microwave-safe bowl with water and lemon slices.
- Microwave the bowl on high for five minutes.
- Let the bowl sit for two minutes to allow steam to loosen grime.
- Carefully remove the bowl and wipe down the interior with a cloth.
- Use a toothbrush to scrub hard-to-reach areas.
The lemon helps eliminate odors and leaves a fresh scent. Vinegar can be used as an alternative.
| Task | Frequency |
|---|---|
| Wipe Down | Weekly |
| Deep Clean | Monthly |
Maintaining your microwave is easy with these regular tips. Your appliance stays clean and functions well.
Frequently Asked Questions
How Often Should I Clean My Microwave?
Clean your microwave once a week. This prevents buildup of food stains and odors.
What Is The Best Cleaner For Microwaves?
Use a mix of water and vinegar. It’s natural, safe, and effective for cleaning.
Can I Use Lemon To Clean My Microwave?
Yes, you can. Heat a bowl of water with lemon slices to loosen grime and freshen it.
Is It Safe To Clean A Microwave With Baking Soda?
Yes, it’s safe. Baking soda removes odors and cleans without harsh chemicals.
Conclusion
Cleaning a microwave doesn’t have to be hard. Use simple methods. Vinegar and water can do wonders. Lemon and water also work great. These natural cleaners cut through grime. Regular maintenance keeps your microwave fresh. Avoid harsh chemicals. They can damage the appliance.