Best Way to Clean Greasy Air Fryer: Ultimate Guide for Sparkling Results
Cleaning a greasy air fryer can be challenging. But with the right steps, it’s simple.
An air fryer is a great kitchen tool. It cooks food fast and with less oil. But it can get greasy quickly. Over time, this grease can affect the performance. It can also cause bad odors. Cleaning it regularly is important.
It helps to keep the fryer in good condition. It also ensures your food tastes great. This blog will guide you through the best way to clean a greasy air fryer. You’ll find easy steps and tips. These will make the cleaning process quick and effective.
Credit: www.reddit.com
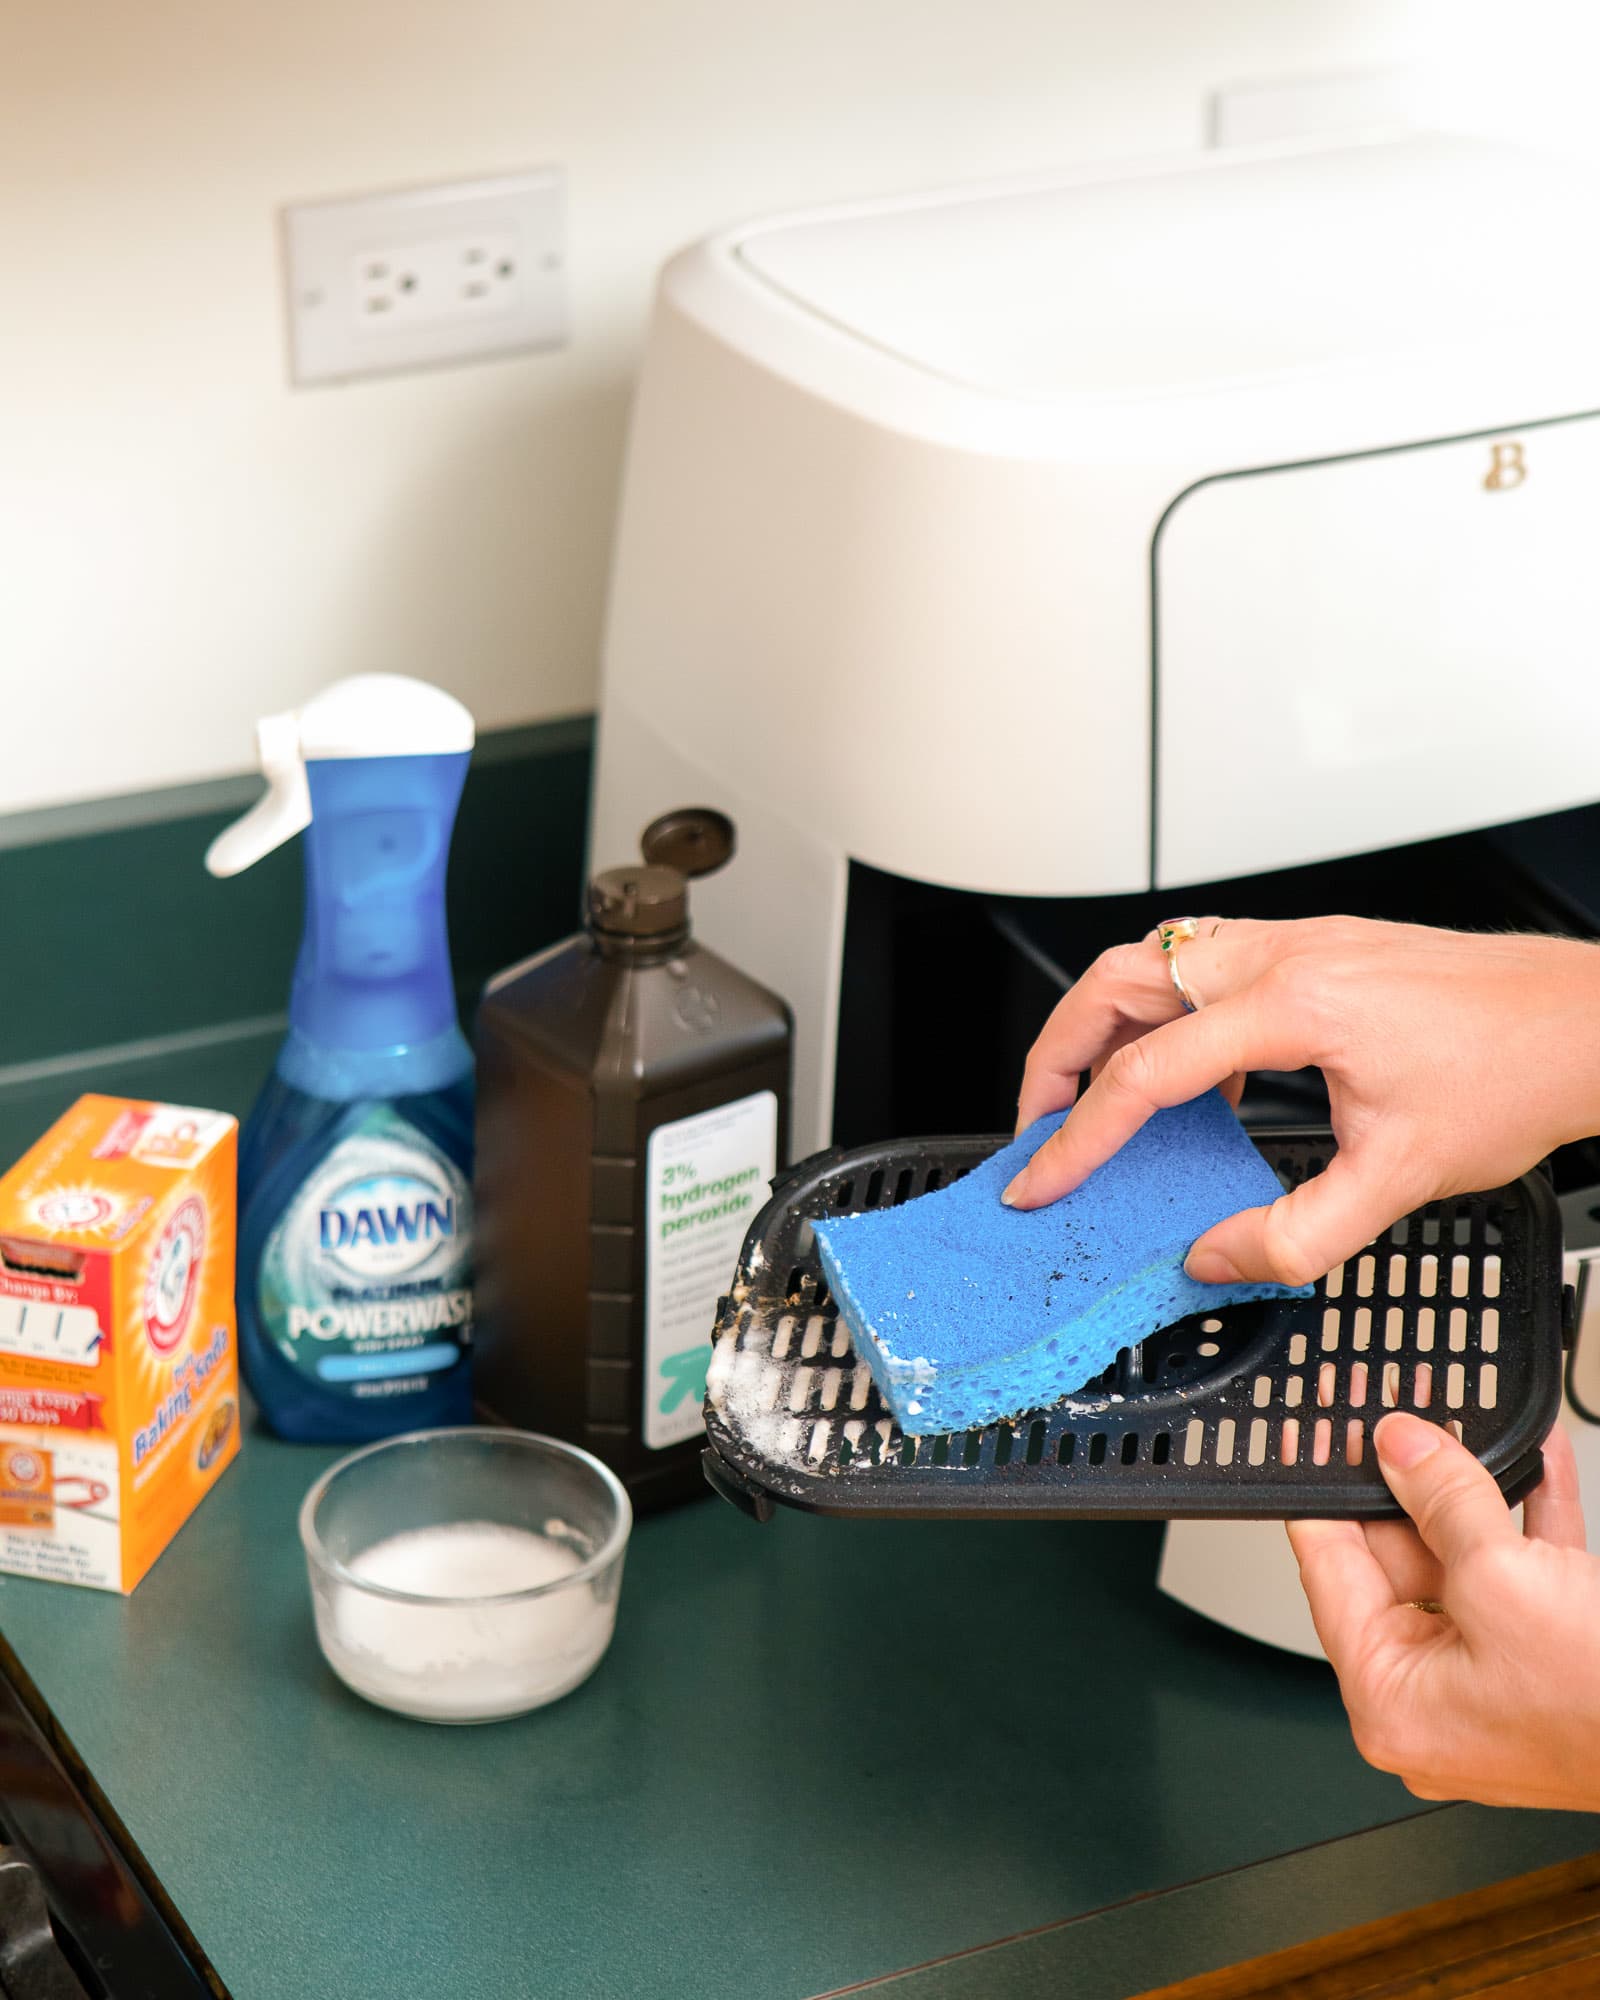
Essential Cleaning Supplies
Keeping your air fryer clean is essential for maintaining its performance and longevity. Grease can build up quickly, affecting the taste of your food and even posing a fire hazard. To make the cleaning process straightforward, gather a few essential supplies. These tools and products will make your job easier and more efficient.
Must-have Cleaning Tools
- Soft Bristle Brush: Perfect for scrubbing away stuck-on grease without scratching surfaces.
- Microfiber Cloths: Ideal for wiping down the exterior and interior of the air fryer.
- Non-Abrasive Sponges: Use these to clean the basket and tray without causing damage.
- Toothpicks: Great for reaching into small crevices and removing food particles.
Recommended Cleaning Products
| Product | Purpose |
|---|---|
| Dish Soap | Effective in breaking down grease and grime. |
| Baking Soda | Natural abrasive for stubborn stains. |
| Vinegar | Excellent for deodorizing and disinfecting. |
| Lemon Juice | Helps cut through grease and leaves a fresh scent. |
Using these tools and products, you can keep your air fryer in top shape. Remember to clean it regularly to enjoy delicious, healthy meals every time.
Pre-cleaning Preparation
Cleaning a greasy air fryer can be a daunting task. Proper pre-cleaning preparation makes this task easier and more effective. Let’s break down the steps for the best results.
Unplugging And Cooling Down
First, always unplug your air fryer. This ensures safety while cleaning. Wait for the air fryer to cool down completely. This prevents accidental burns and makes handling easier.
Removing Removable Parts
Next, take out all removable parts. This includes the basket, tray, and pan. These parts can be cleaned separately for a more thorough job.
| Removable Parts | Cleaning Method |
|---|---|
| Basket | Wash with warm soapy water |
| Tray | Soak in hot water |
| Pan | Wipe with a damp cloth |
After removing these parts, set them aside. This allows you to focus on the main unit next.
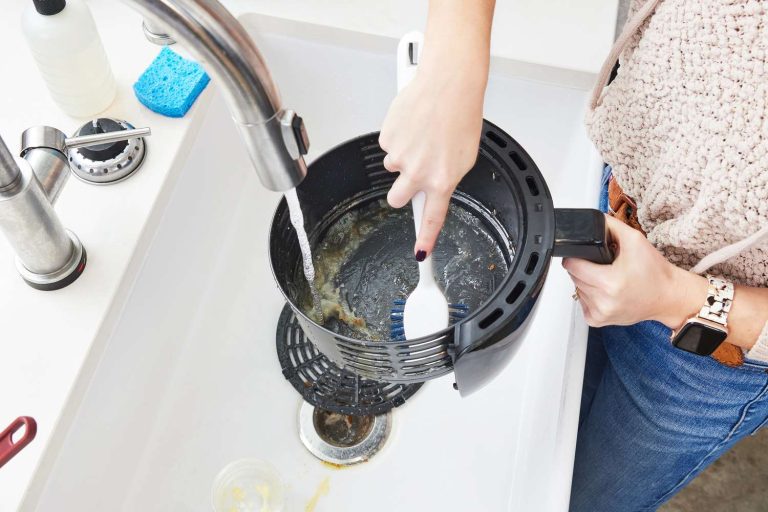
Cleaning The Basket And Pan
Keeping your air fryer clean ensures great-tasting food and a longer appliance life. The basket and pan are the most used parts. They need extra attention. Here’s how to clean them easily and effectively.
Soaking In Warm Soapy Water
First, remove the basket and pan from the air fryer. Fill your sink with warm water. Add a few drops of mild dish soap. Place the basket and pan in the soapy water. Let them soak for about 15-20 minutes. This helps loosen stuck-on grease and food particles.
Scrubbing Away Grease
After soaking, take a soft sponge or cloth. Gently scrub the basket and pan. Focus on areas with stubborn grease. Avoid using metal scrubbers. They can damage the non-stick coating. Rinse everything under warm water. Make sure all soap is removed.
For extra tough spots, use a non-abrasive brush. Scrub gently to avoid scratches. Dry the basket and pan with a clean towel. Reassemble your air fryer. Now, it’s ready for your next delicious meal.
Cleaning The Interior
Keeping your air fryer clean ensures it works efficiently and lasts longer. Cleaning the interior of your air fryer can seem daunting. But with a few simple steps, it becomes easy and manageable. Let’s dive into the best ways to clean the interior of your greasy air fryer.
Wiping Down With Damp Cloth
Unplug the air fryer and let it cool completely. Remove the basket and pan. Take a damp cloth and gently wipe the interior surfaces. Make sure to reach all corners and nooks. Avoid soaking the cloth to prevent water from entering the electrical parts. This step helps remove loose grease and food particles.
Dealing With Stubborn Grease
Some grease stains can be tough to remove. Create a simple cleaning solution with warm water and dish soap. Apply the solution to a soft sponge or cloth. Gently scrub the greasy areas in circular motions. For really tough stains, let the solution sit for a few minutes before scrubbing.
Use a non-abrasive brush for hard-to-reach spots. Ensure all soap residue is wiped away with a clean damp cloth. Finally, dry the interior with a soft, dry cloth. Proper drying prevents any moisture damage.
Cleaning The Exterior
Cleaning the exterior of your air fryer is essential. A clean surface ensures the device looks good and works well. Use gentle cleaning methods to avoid damage. Let’s explore some steps to keep the exterior spotless.
Wiping The Outer Surface
Start by unplugging the air fryer. Use a damp cloth to wipe the outer surface. Avoid using harsh chemicals. They can damage the finish. Wipe all sides, including the back. Focus on areas with visible grease or stains. Dry the surface with a clean, dry cloth. Ensure no moisture remains.
Cleaning Control Panel And Buttons
Next, clean the control panel and buttons. These areas often collect grease and fingerprints. Use a soft cloth slightly dampened with water. Gently wipe the control panel and buttons. Be careful not to let moisture seep into the cracks. Dry the area with a dry cloth. Ensure all buttons are clean and working well.
Drying And Reassembling
After thoroughly cleaning the greasy parts of your air fryer, it is crucial to dry and reassemble it properly. This ensures your air fryer stays in good working condition and avoids any damage caused by moisture. Follow these steps for effective drying and proper reassembly.
Air Drying Components
Start by placing all air fryer components, such as the basket and tray, on a clean, dry towel. Make sure they are well spaced out to allow air to circulate around each piece. This helps in removing any remaining moisture.
Important: Avoid using heat sources like hair dryers or ovens to speed up the drying process. Excessive heat can damage the components. Let them air dry naturally for the best results.
Proper Reassembly
Once all parts are completely dry, follow these steps to reassemble your air fryer:
- Ensure each part is thoroughly dry. Even small water droplets can cause issues.
- Place the air fryer basket back into its compartment. Make sure it fits snugly without any gaps.
- Position the tray inside the basket, aligning it correctly.
- Check for any loose parts or screws. Tighten them if needed.
- Plug in your air fryer and run it empty for a few minutes. This ensures all parts are in place.
Note: Always refer to your air fryer’s manual for specific reassembly instructions. Each model might have slight variations.
By following these steps, your air fryer will be clean, dry, and ready for use. Proper maintenance extends its life and ensures optimal performance.
Maintenance Tips
Keeping your air fryer clean ensures it works efficiently and lasts longer. Proper maintenance not only improves performance but also keeps your food tasting great. Follow these simple tips to maintain your air fryer in top shape.
Regular Cleaning Schedule
Establishing a regular cleaning schedule is vital. This prevents the build-up of grease and food particles. Here are some steps for a regular cleaning routine:
- After Each Use: Allow the air fryer to cool. Remove the basket and tray. Wash them with warm, soapy water.
- Weekly Deep Clean: Unplug the air fryer. Use a damp cloth to wipe the interior. Clean the heating element with a soft brush.
- Monthly Maintenance: Check the vents for blockages. Use a soft brush or compressed air to clean them.
Avoiding Common Mistakes
Avoiding common mistakes can keep your air fryer in good condition. Here are some tips to help you:
- Don’t Use Abrasive Cleaners: They can damage the non-stick coating.
- Don’t Submerge in Water: The air fryer contains electrical components.
- Don’t Overfill: Overfilling can cause uneven cooking and may damage the appliance.
- Don’t Ignore Regular Cleaning: Grease build-up can affect performance and food taste.
By following these tips, you can keep your air fryer clean and efficient. A little effort goes a long way in ensuring your appliance’s longevity.
Credit: www.thekitchn.com
Conclusion
Cleaning your greasy air fryer can be simple and quick. Follow these steps regularly. It prolongs the life of your appliance. A clean air fryer also cooks better food. No more leftover grease or bad smells. Always unplug before cleaning.
Use warm soapy water and a soft sponge. Avoid harsh chemicals and abrasive pads. Dry thoroughly before reassembling. Consistent cleaning keeps your air fryer in top shape.