How to Clean a Toaster Oven Heating Element
Cleaning a toaster oven heating element is crucial for its performance. It also prolongs the appliance’s life.
Toaster ovens are handy kitchen gadgets, but dirty heating elements can cause problems. Crumbs and grease can build up, causing smoke or even fire hazards. Regular cleaning ensures your toaster oven works efficiently and remains safe to use. In this guide, you’ll learn simple steps to clean the heating element.
These steps are easy to follow and do not require special tools. Whether you use your toaster oven daily or occasionally, keeping it clean is a must. Let’s dive into the process and make your toaster oven as good as new.
Credit: www.youtube.com
Safety Precautions
Cleaning your toaster oven’s heating element is essential for its longevity and efficiency. However, it’s vital to follow some safety precautions to avoid accidents or damage. Here are key steps to ensure you clean safely and effectively.
Unplugging The Toaster Oven
The first step is to unplug the toaster oven from the electrical outlet. This step is crucial to prevent any risk of electric shock. Never clean or touch the heating element while the oven is plugged in. Always ensure the power is completely disconnected before you proceed.
Letting The Oven Cool
After unplugging, allow the toaster oven to cool down completely. The heating element can remain hot for some time after use. Cleaning it while hot can cause burns. Wait at least 15-20 minutes to ensure it is safe to touch.
For extra safety, you can use a heat-resistant glove when handling the oven after cooling. This precaution minimizes the risk of accidental burns.
| Steps | Details |
|---|---|
| Unplugging | Disconnect the power to prevent electric shock. |
| Cooling | Wait for 15-20 minutes before cleaning. |

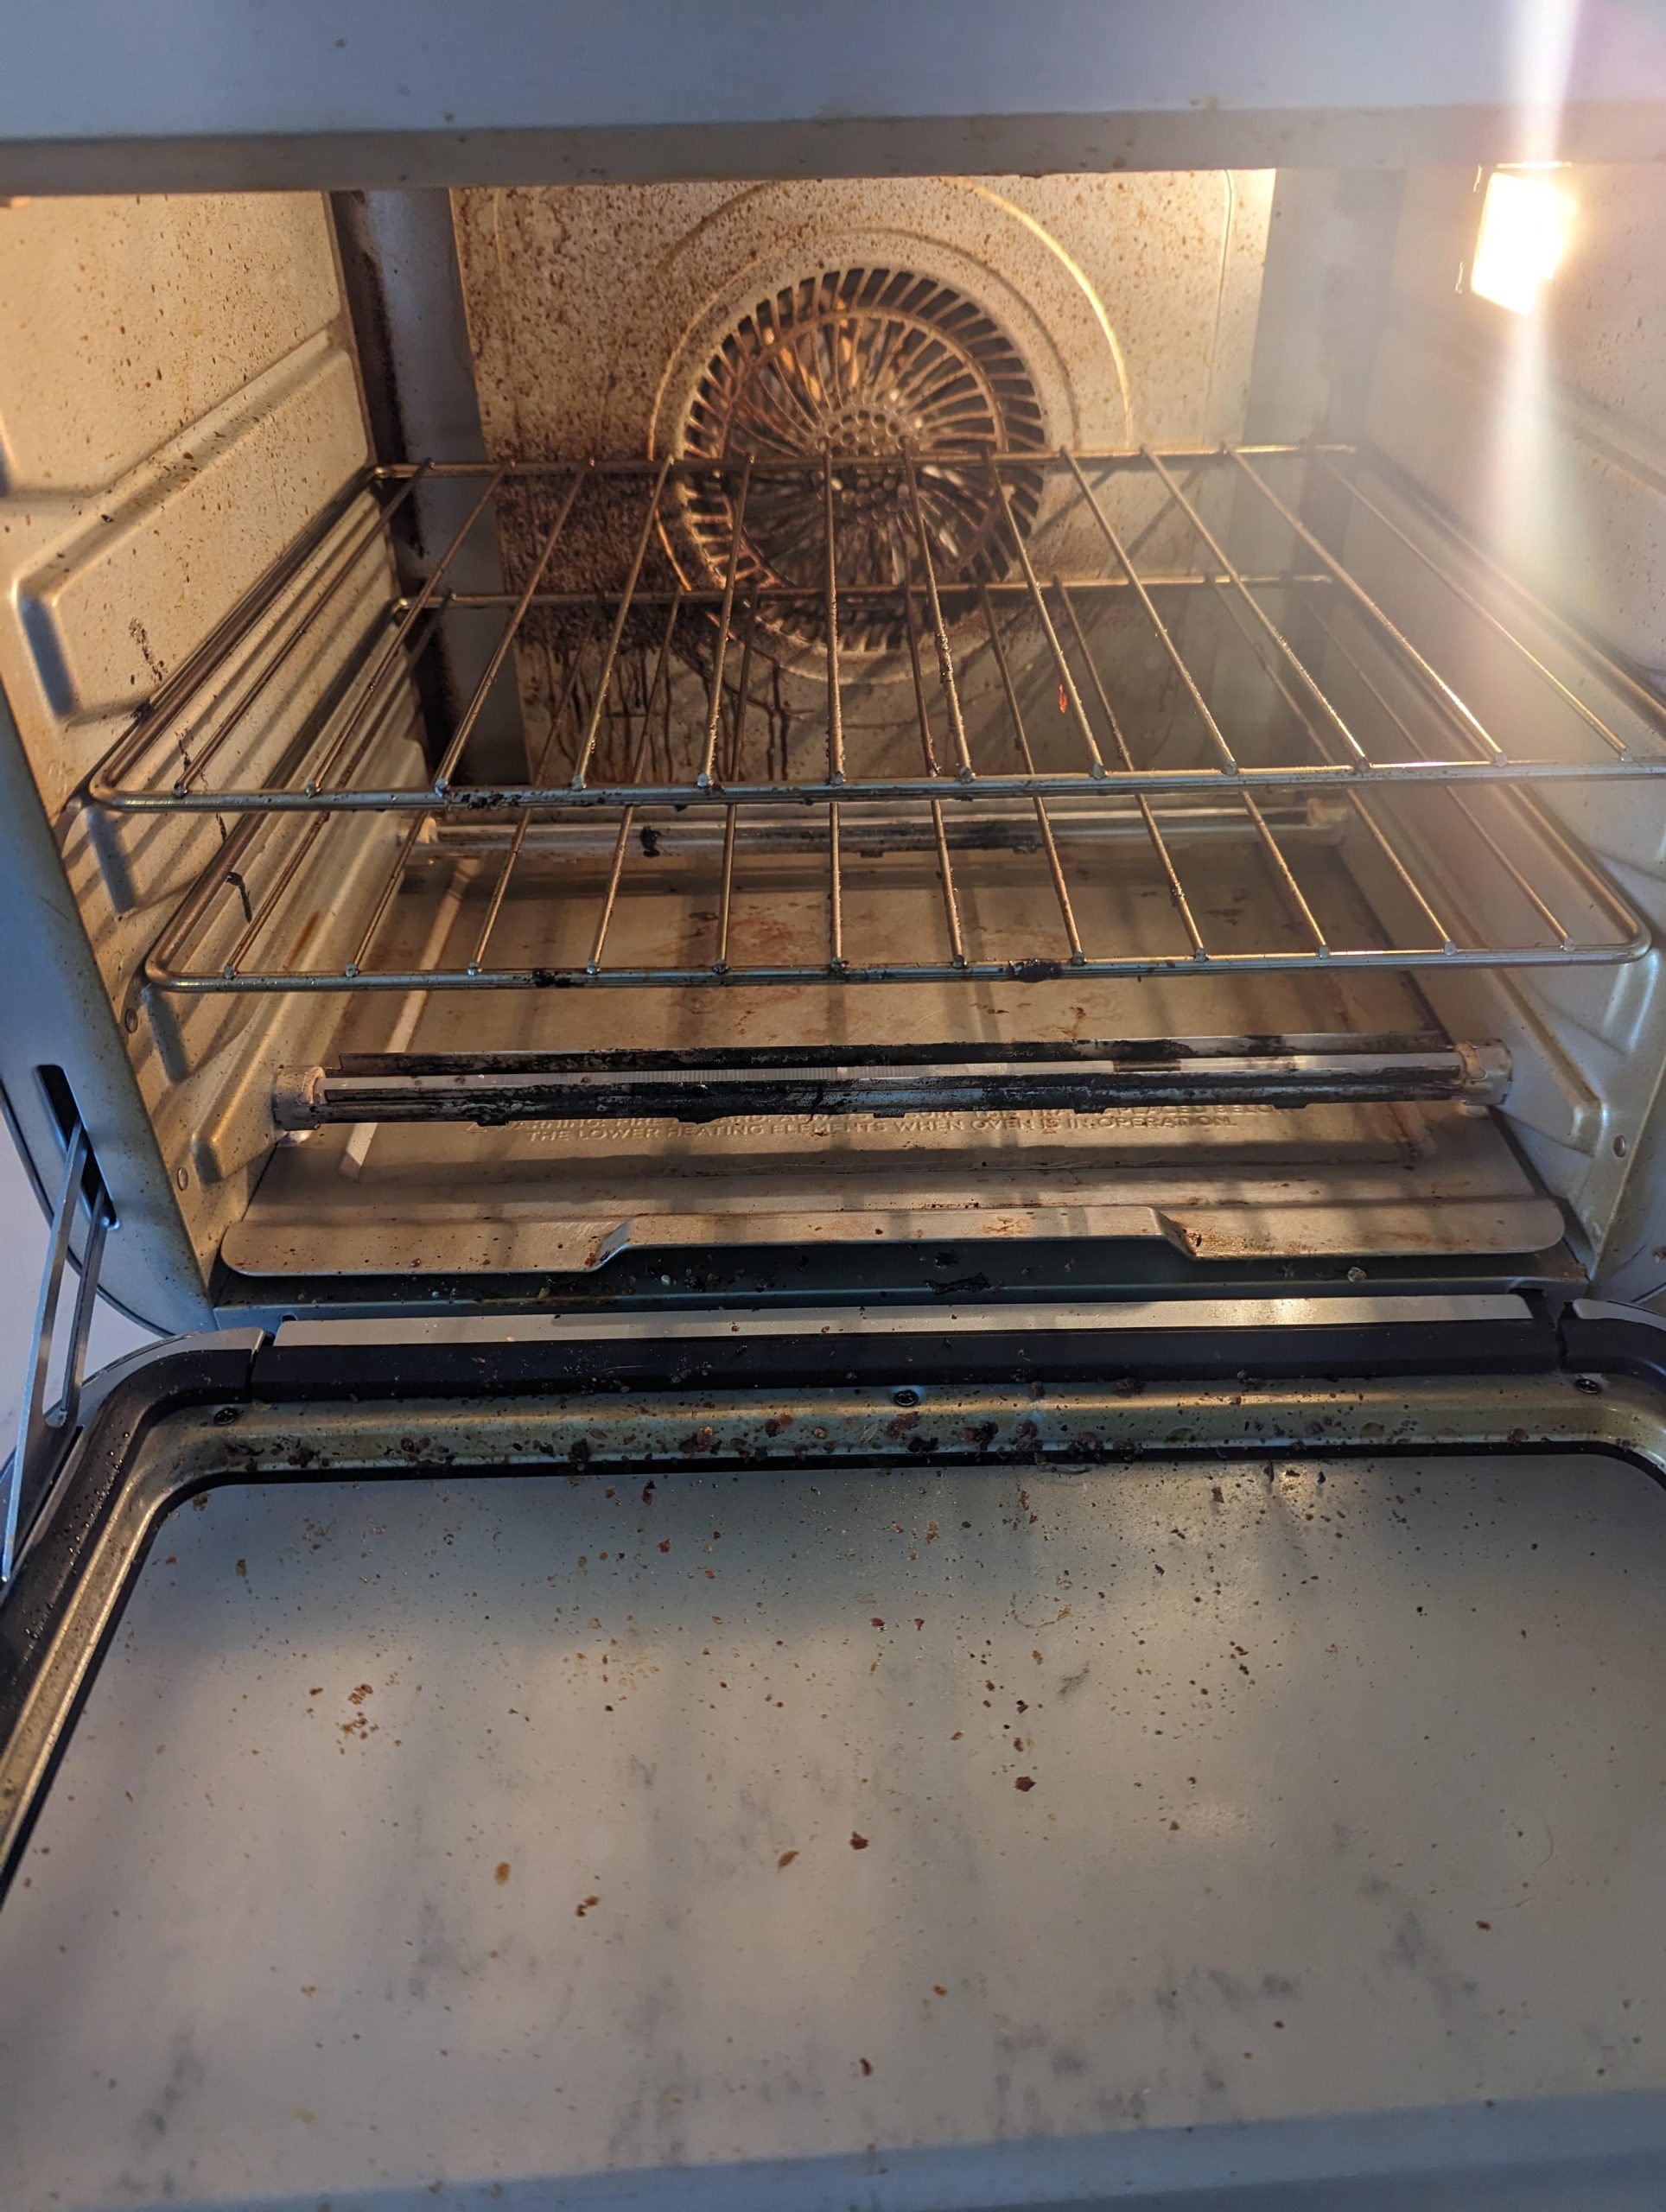
Credit: www.reddit.com
Accessing The Heating Element
Accessing the heating element of a toaster oven is crucial for a thorough clean. This ensures your appliance works efficiently. Follow these steps to safely reach the heating element.
Removing The Grates
First, unplug the toaster oven. Remove the grates. This includes the wire rack and any other removable parts. Place them aside for cleaning later.
Check if your toaster oven has a crumb tray. If yes, slide it out and empty the crumbs. Removing these parts will give you clear access to the heating element.
Locating The Heating Element
The heating element is usually found at the top or bottom of the oven. It looks like a thin metal rod or coil. It can be covered by a protective shield.
If your toaster oven has a protective shield, unscrew it gently. This will expose the heating element. Ensure you do not damage any wiring or components during this process.
Now, you can see the heating element clearly. Use a soft brush or cloth to clean it. Avoid using water or liquid cleaners on the heating element. Your toaster oven is now ready for a detailed clean.
Cleaning The Heating Element
Cleaning the heating element of your toaster oven is essential for its longevity. The heating element can accumulate burnt food and grease, which can affect its performance. Keeping it clean ensures your toaster oven works efficiently and safely.
Using A Soft Cloth
Always use a soft cloth to clean the heating element. A soft cloth reduces the risk of damaging the element. Gently wipe the heating element to remove any loose debris.
For stubborn spots, dampen the cloth slightly. Avoid excessive moisture as it can damage the heating element. Patience is key; take your time to clean thoroughly.
Avoiding Abrasive Cleaners
Avoid using abrasive cleaners on the heating element. Abrasive cleaners can scratch and damage the surface. They can also leave residues that may burn during use.
Instead, use a mild detergent mixed with water. Apply it with a soft cloth and gently clean the heating element. Rinse the cloth thoroughly to remove any soap residue before wiping the element again.
Using non-abrasive methods ensures the heating element remains in good condition. This helps maintain the performance and safety of your toaster oven.
| Do’s | Don’ts |
|---|---|
| Use a soft cloth | Use abrasive cleaners |
| Use mild detergent | Apply excessive moisture |
| Clean gently | Scrub vigorously |

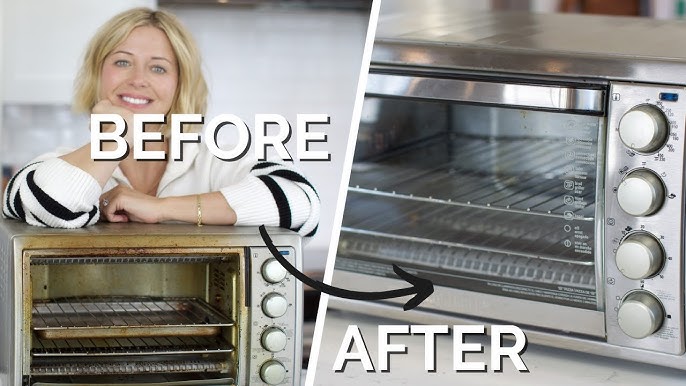
Credit: www.youtube.com
Dealing With Stubborn Stains
Dealing with stubborn stains on a toaster oven heating element can be challenging. These stains affect the performance and look of your appliance. By using simple household items, you can remove these stubborn stains effectively.
Using Baking Soda Paste
Baking soda is a natural cleaner. It can tackle tough stains. To make a paste, mix baking soda with water. Aim for a thick consistency.
Apply the paste to the stained areas. Use a soft cloth or brush to spread it. Let it sit for about 20 minutes. This waiting time helps break down the stains.
After 20 minutes, gently scrub the paste. Focus on the stained spots. Then, wipe away the residue with a damp cloth. Repeat if necessary.
Applying Vinegar Solution
Vinegar is another effective cleaner. It can dissolve grease and grime. To make a solution, mix equal parts vinegar and water.
Soak a cloth in the vinegar solution. Wring it out slightly. Then, place the cloth on the stained heating element. Let it sit for 15 minutes.
After 15 minutes, use the cloth to scrub the stains. You may need to apply some pressure. Rinse the cloth and wipe away any residue. Repeat if needed.
These methods help in dealing with stubborn stains. They are safe and effective. Regular cleaning keeps your toaster oven in top shape.
Final Rinse
Cleaning a toaster oven heating element is crucial to maintain its efficiency. After scrubbing and rinsing off the grime, a final rinse ensures all cleaning agents are removed. This step is essential to prevent any chemicals from burning off during the next use. Below, we outline the steps for a thorough final rinse.
Wiping With Damp Cloth
First, take a clean, damp cloth. Ensure the cloth is only slightly moist, not dripping. Carefully wipe down the heating element. This helps to remove any soap or cleaner residue left behind. Move the cloth in a gentle, circular motion. This ensures all areas are covered without causing damage.
Ensuring No Residue Left
Inspect the heating element closely. Look for any remaining traces of cleaner. If you see any, repeat the wiping process. Use a fresh damp cloth if necessary. It’s important to ensure no residue is left to avoid unpleasant odors or smoke during the next use.
For a more thorough inspection, use a flashlight. Shine it on the heating element to check for any hidden spots. Even small amounts of cleaner can cause issues.
Here is a table for quick reference:
| Step | Action |
|---|---|
| 1 | Wipe with a damp cloth |
| 2 | Inspect for residue |
| 3 | Repeat if necessary |
By following these steps, you ensure your toaster oven is clean and safe to use. Proper maintenance extends the life of your appliance and keeps your food tasting great.
Reassembling The Toaster Oven
After cleaning the heating element, the next step is reassembling the toaster oven. This process requires care and attention to ensure the appliance works properly. Follow these steps for a smooth reassembly.
Placing The Grates Back
Start by placing the grates back in the toaster oven. Ensure they are positioned correctly. The grates should slide into their designated slots with ease. If they don’t, check for any obstructions.
| Step | Description |
|---|---|
| 1 | Align the grates with the slots |
| 2 | Slide the grates gently into place |
| 3 | Ensure the grates are secure |
Securing All Parts
Next, secure all parts of the toaster oven. This includes any trays, racks, and removable panels. Ensure each part fits snugly.
- Insert the trays and racks.
- Replace any removable panels.
- Check that all parts are firmly in place.
Perform a quick check to ensure everything is secure. This helps prevent issues during use. A well-reassembled toaster oven ensures better performance and safety.
By following these steps, you can effectively reassemble your toaster oven. This guarantees it is ready for use and functioning properly.
Regular Maintenance Tips
Keeping your toaster oven clean ensures it lasts longer and works efficiently. Regular maintenance is crucial to avoid potential hazards and maintain performance. Here are some tips to help you keep your toaster oven in top shape.
Cleaning Schedule
Establish a regular cleaning schedule to prevent buildup. Aim to clean the toaster oven at least once a month. If you use it frequently, consider cleaning it more often.
| Frequency | Action |
|---|---|
| Daily | Wipe crumbs and spills |
| Weekly | Clean the interior and exterior |
| Monthly | Deep clean the heating element |
Preventive Measures
Taking preventive measures can minimize the need for frequent deep cleaning. Here are some tips to follow:
- Use a baking sheet or foil to catch drips.
- Avoid overloading the toaster oven.
- Remove crumbs after each use.
Following these simple steps helps keep your toaster oven clean and safe. Regular maintenance not only extends the life of your appliance but also ensures it operates efficiently.
Conclusion
Cleaning your toaster oven heating element is simple and essential. Keeping it clean ensures better performance and safety. Start by unplugging the appliance. Use a soft brush to remove debris. Wipe gently with a damp cloth. Avoid harsh chemicals to prevent damage.
Regular maintenance prolongs your toaster oven’s lifespan. Remember, a clean appliance cooks food more evenly.