How to Clean Inside a Toaster Oven: Easy and Effective Tips

Cleaning inside a toaster oven is simple and essential. It keeps your appliance safe and efficient.
A clean toaster oven not only looks good but also works better. Over time, crumbs and grease build up inside, affecting performance and safety. Regular cleaning prevents this and prolongs the life of your appliance. But many people find the task daunting, unsure where to start.
Don’t worry! With the right steps, you can keep your toaster oven spotless and working perfectly. In this guide, we will show you exactly how to clean inside a toaster oven quickly and easily. No special tools required. Just follow our simple steps, and your toaster oven will be like new in no time.
Preparation Steps
Cleaning a toaster oven properly starts with thorough preparation. It ensures safety and efficiency. Follow these steps to get ready for the task.
Unplug The Toaster Oven
First, unplug the toaster oven from the electrical outlet. This is crucial for your safety. Never clean an appliance while it is connected to power. Let the toaster oven cool down completely before you start cleaning.
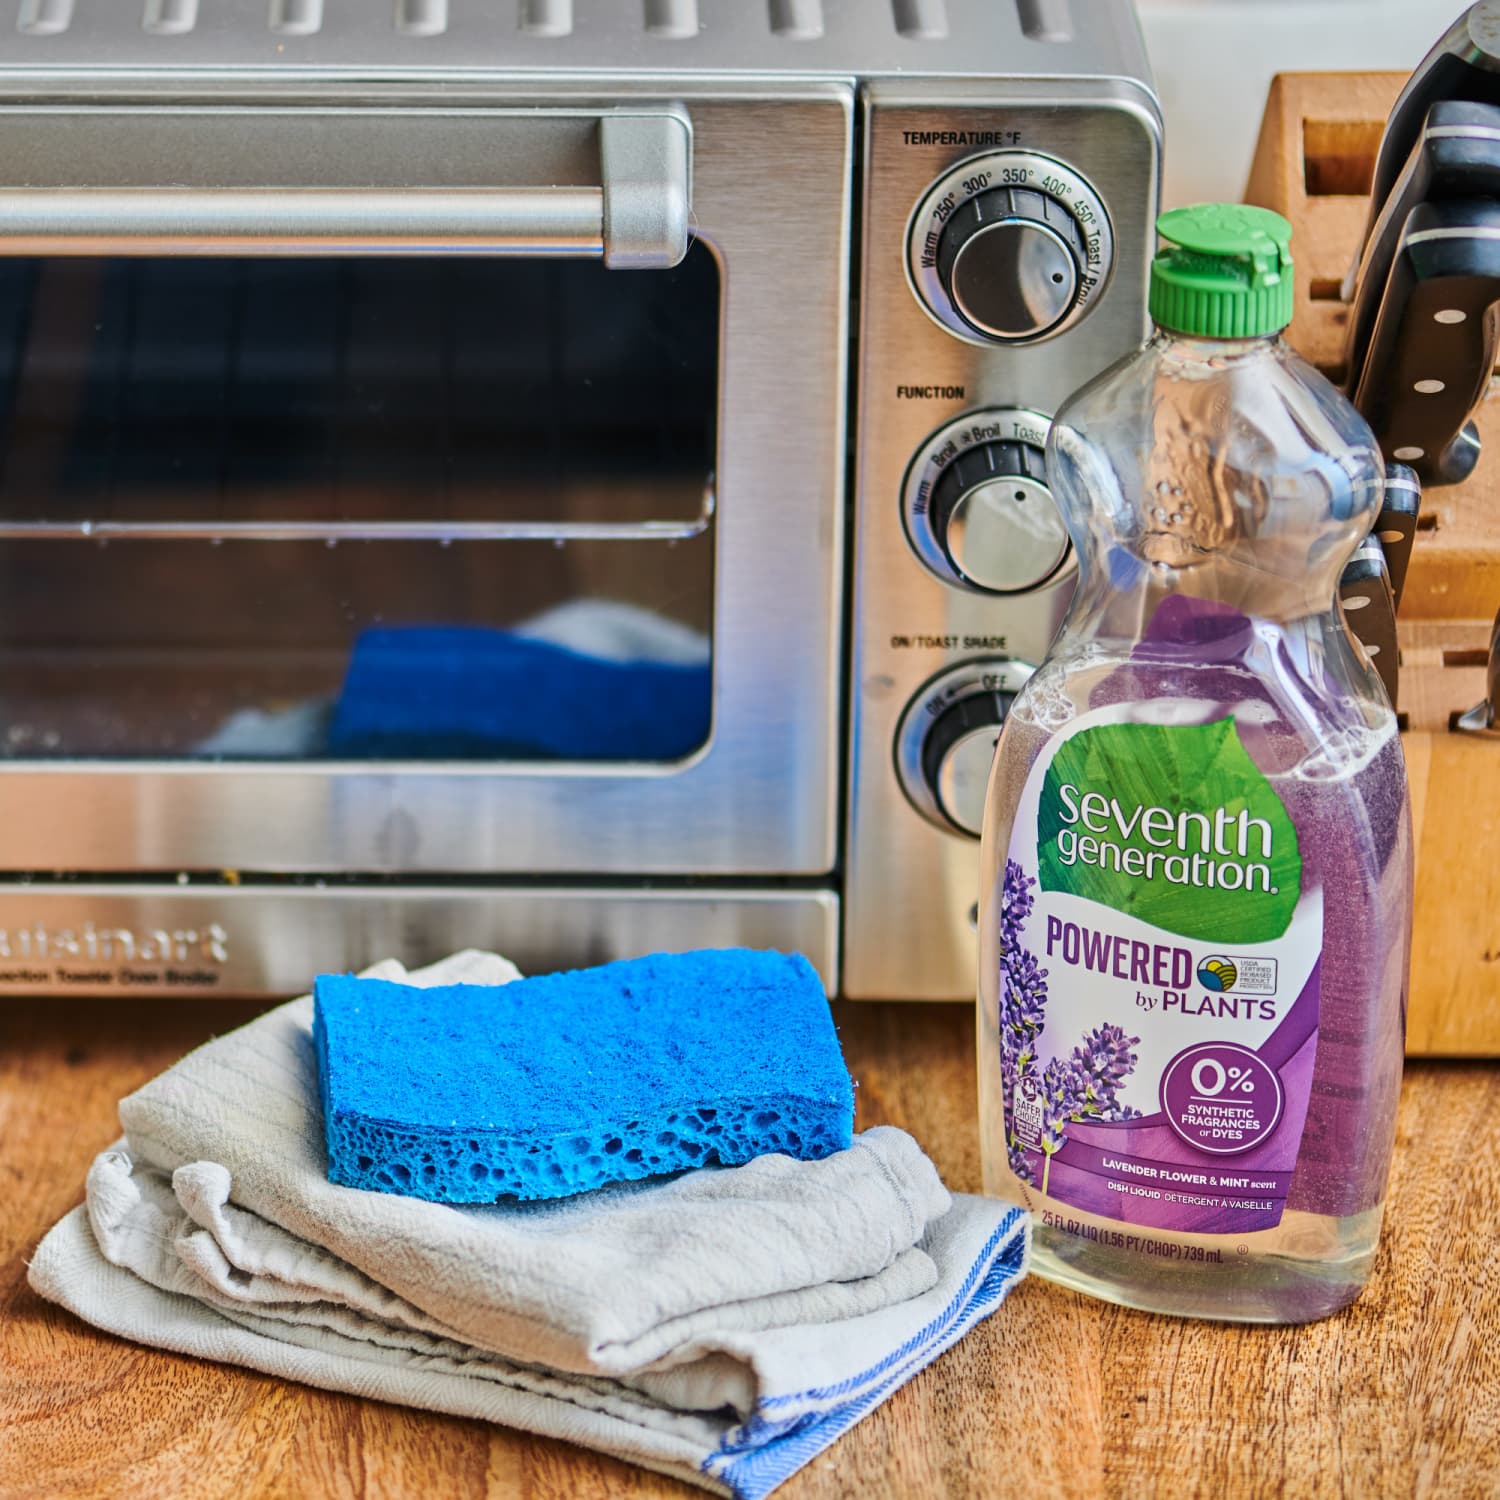
Gather Cleaning Supplies
Next, gather all the necessary cleaning supplies. Having everything you need at hand makes the process smoother. Here’s a list of items you will need:
- Soft cloth or sponge
- Mild dish soap
- Baking soda
- Vinegar
- Old toothbrush
- Microfiber cloth
Fill a small bowl with warm water and add a few drops of mild dish soap. This will be used to clean the interior surfaces. Baking soda and vinegar are great for tougher stains and grease.
Using an old toothbrush helps to reach tight spots and corners. A microfiber cloth is excellent for final wipes and polishing. Make sure all supplies are non-abrasive to avoid damaging your toaster oven.
Once you have unplugged the toaster oven and gathered your supplies, you are ready to start cleaning. The preparation steps are simple but essential for a safe and effective cleaning process.
Removing Crumbs
Keeping your toaster oven clean ensures it functions well and lasts longer. One of the first steps in this process is removing crumbs. This simple task can prevent burning smells and potential fire hazards. Follow these easy steps to effectively remove crumbs from your toaster oven.
Take Out Crumb Tray
Locate the crumb tray at the bottom of your toaster oven. Pull it out gently and place it on a flat surface. This tray collects all the small crumbs that fall during cooking. Removing it will make the next steps easier.
Shake Out Loose Crumbs
Hold the crumb tray over a trash can. Shake it to remove loose crumbs. You can also use a soft brush to get rid of stubborn crumbs. Ensure the tray is completely free of debris before putting it back. This step helps keep your toaster oven clean and safe.
Cleaning The Interior
Keeping the inside of your toaster oven clean is essential for its efficiency. A clean interior ensures better performance and extends the appliance’s lifespan. Let’s explore how to clean the interior effectively.
Wipe Down Walls
First, unplug the toaster oven and let it cool down completely. Remove any racks or trays inside the oven.
Use a damp cloth or sponge to wipe down the walls. For stubborn stains, mix a bit of baking soda with water to create a paste. Apply the paste to the stains and let it sit for 10 minutes. Wipe it away with a damp cloth.
Ensure you clean all corners and crevices. This helps in removing any crumbs or grease buildup.
Clean Heating Elements
Heating elements are delicate. Use a soft brush to gently remove any crumbs or debris. Avoid using water or any cleaning solutions on the heating elements, as this can cause damage.
If there are any tough stains, use a dry cloth to gently scrub them away.
Ensure the heating elements are completely clean before plugging the toaster oven back in.
Credit: www.youtube.com
Cleaning The Racks And Trays
Keeping your toaster oven clean is important for its longevity and your health. One key part of this process is cleaning the racks and trays. These parts can collect a lot of food residue and crumbs. Regular cleaning ensures your toaster oven functions well and remains hygienic.
Soak In Soapy Water
First, remove the racks and trays from your toaster oven. Fill your sink with warm water. Add a few drops of dish soap. Place the racks and trays in the soapy water. Let them soak for at least 15 minutes. This helps to loosen any stuck-on food particles.
Scrub And Rinse
After soaking, use a non-abrasive sponge or brush. Scrub the racks and trays gently. Focus on areas with stubborn food residue. Rinse them thoroughly with clean water. Make sure to remove all soap. Dry the racks and trays with a clean towel. Ensure they are completely dry before placing them back in the toaster oven.
Tackling Stubborn Stains
Cleaning a toaster oven can be tricky, especially with stubborn stains. These stains often result from burnt food and grease. Regular cleaning is crucial. But sometimes, you need extra help. Here’s how to tackle those tough spots and make your toaster oven shine again.
Use Baking Soda Paste
Baking soda is a natural cleaner. It works wonders on stubborn stains. Follow these steps:
- Mix 3 tablespoons of baking soda with 1 tablespoon of water.
- Stir until it forms a paste.
- Apply the paste to the stains inside the toaster oven.
- Let it sit for 15 minutes.
- Scrub with a soft sponge or cloth.
- Rinse with a damp cloth to remove any residue.
Repeat if necessary. This method is safe and effective.
Apply White Vinegar
White vinegar is a powerful cleaner. It can break down tough grease and stains. Here’s how to use it:
- Mix equal parts of white vinegar and water in a spray bottle.
- Spray the solution on the stained areas inside the toaster oven.
- Let it sit for 10 minutes.
- Wipe with a clean, damp cloth.
- Dry with a dry towel.
White vinegar not only cleans but also disinfects. Your toaster oven will be clean and germ-free.
Credit: www.apartmenttherapy.com
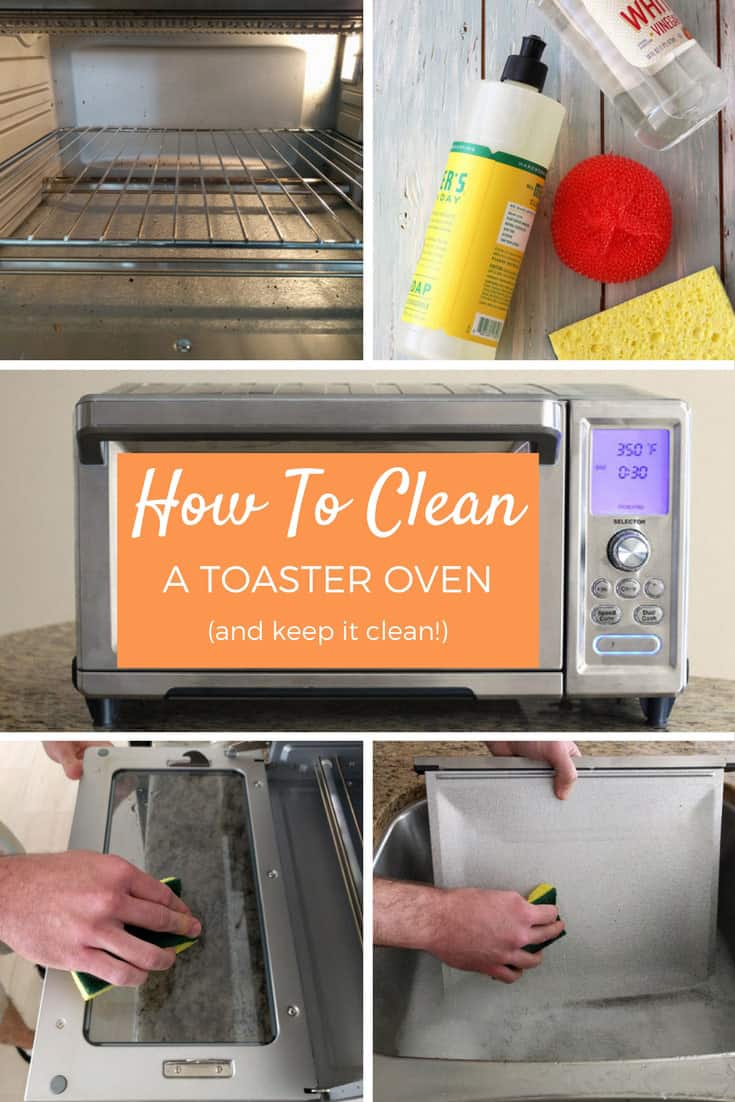
Cleaning The Glass Door
Cleaning the glass door of your toaster oven is essential. It ensures clear visibility and prevents burnt-on residue. A clean glass door also enhances the appearance of your appliance. Follow these steps to maintain a sparkling clean glass door.
Use Glass Cleaner
Start by selecting a good glass cleaner. Spray the cleaner directly onto the glass door. Be sure to cover all areas, focusing on any spots with grime or grease. A glass cleaner helps to break down tough stains.
Wipe With Microfiber Cloth
After applying the cleaner, use a microfiber cloth to wipe the glass. Microfiber cloths are gentle and effective. They remove dirt without scratching the glass. Wipe in circular motions for best results. Make sure to reach all corners and edges. This ensures no residue is left behind.
Reassembling The Toaster Oven
After cleaning your toaster oven, reassembling it correctly is crucial. This ensures it works properly and lasts longer. Follow these steps to put your toaster oven back together.
Dry All Parts
Ensure all parts are completely dry before reassembling. Use a clean, dry cloth to wipe down each part. This prevents rust and other damage. Let them air dry for a few minutes.
Replace Racks And Trays
Start with the bottom tray. Slide it back into its slot. Make sure it fits snugly. Next, place the racks. Position them in their slots, ensuring they are level.
| Part | Action |
|---|---|
| Bottom Tray | Slide into slot |
| Racks | Position in slots |
Check the door. Make sure it closes properly. Test the settings and dials. Ensure they turn smoothly.
Reassembling your toaster oven is simple. Follow these steps to ensure it functions correctly.
Maintenance Tips
Maintaining your toaster oven is essential for its longevity and performance. Regular care keeps your appliance clean and efficient. Follow these maintenance tips to ensure your toaster oven stays in top shape.
Regular Cleaning Schedule
Creating a regular cleaning schedule is crucial. Wipe down the exterior and interior weekly. This prevents grease and food buildup. Remove and wash the crumb tray at least once a week. Use a mild detergent and warm water. Allow it to dry completely before reinserting.
Deep clean your toaster oven monthly. Unplug the appliance first. Remove all detachable parts like racks and trays. Soak them in warm, soapy water. Gently scrub with a non-abrasive sponge. Rinse and dry thoroughly. Clean the interior with a soft, damp cloth. Avoid harsh chemicals. They can damage the coating inside.
Avoiding Messy Spills
Avoiding messy spills saves cleaning time. Use a baking sheet or aluminum foil to catch drips. Ensure the foil does not touch heating elements. Consider using oven-safe dishes with higher sides. They help contain spills and splatters.
Be cautious when cooking greasy foods. Place a drip tray underneath. This prevents grease from sticking to the oven floor. Clean up spills immediately. Warm spills are easier to clean than dried ones. Use a damp cloth to wipe up small spills right away.
| Task | Frequency | Method |
|---|---|---|
| Wipe Exterior | Weekly | Soft, damp cloth |
| Clean Crumb Tray | Weekly | Mild detergent, warm water |
| Deep Clean | Monthly | Soak parts, non-abrasive sponge |
| Remove Spills | Immediately | Damp cloth |
Establishing these habits ensures your toaster oven remains clean and functional. Consistent care extends its life and improves cooking results.
Credit: toasterovenlove.com
Conclusion
Cleaning inside a toaster oven doesn’t have to be difficult. Follow these simple steps to keep it spotless. Unplug the oven first. Remove and wash the trays. Use a soft brush for crumbs. Wipe the interior with a damp cloth.
Avoid harsh chemicals. Reassemble once dry. Regular cleaning ensures it works well and lasts longer. Enjoy a clean toaster oven for delicious meals. Keep these tips handy for easy maintenance.