How to Clean Breville Toaster Oven: Step-by-Step Guide
Cleaning your Breville toaster oven can seem tricky, but it’s simple. Follow a few easy steps to keep it spotless.
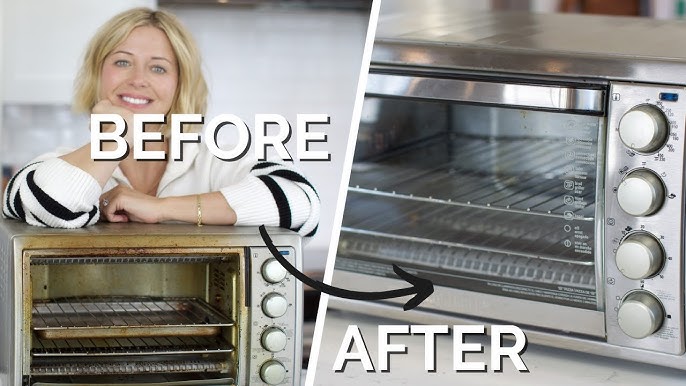
A clean toaster oven works better and lasts longer. Regular cleaning also helps avoid burnt smells and old food residues. In this guide, you will learn how to clean your Breville toaster oven effectively. We will cover the tools you need and the best techniques to use.
By the end, you’ll have a shiny, well-maintained appliance. Let’s dive into the step-by-step process to keep your Breville toaster oven in top shape!
Preparation
Cleaning your Breville toaster oven properly ensures it lasts longer and works efficiently. Before you start the actual cleaning, proper preparation is essential. This step-by-step guide will help you get ready for the cleaning process.
Gather Supplies
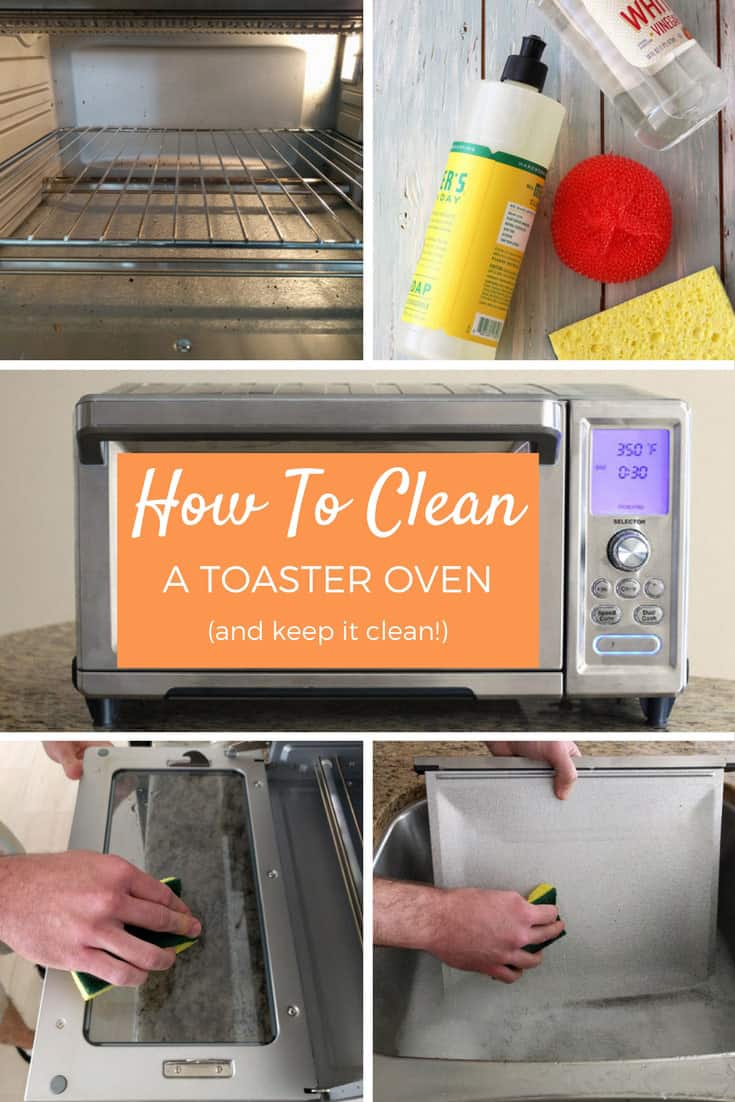
First, gather all the cleaning supplies. You will need a soft cloth, mild dish soap, a soft-bristle brush, and warm water. Make sure you have a sponge or scrub pad. Avoid harsh chemicals or abrasive materials. These can damage the toaster oven’s surface.
Unplug The Oven
Next, unplug the toaster oven. This is crucial for safety. Never clean an appliance while it is plugged in. This prevents any risk of electric shock. Wait until the oven is cool to the touch. Cleaning a hot oven can cause burns. It also makes it easier to handle.
Credit: toasterovenlove.com
Exterior Cleaning
Keeping the exterior of your Breville toaster oven clean ensures it looks good. It also helps maintain functionality. Regular cleaning prevents dust and grime buildup. Focus on two main areas: the surfaces and the control panel.
Wipe Down Surfaces
First, unplug the toaster oven. This is vital for safety. Use a damp cloth to wipe down the exterior. Focus on areas with visible dirt. A mild detergent can help if needed. Rinse the cloth and wipe again to remove soap.
Dry the surfaces with a clean, soft cloth. This prevents water spots. Regularly wiping down the exterior keeps it looking new. It also helps prolong the life of your appliance.
Clean The Control Panel
The control panel needs gentle cleaning. Use a soft, slightly damp cloth. Avoid abrasive materials. They can scratch the surface. Gently wipe the buttons and display. Ensure no water seeps into the panel.
For stubborn spots, use a cotton swab dipped in water. Gently rub the area until clean. Dry the panel with a soft cloth. This prevents moisture buildup. Keeping the control panel clean ensures smooth operation.
Interior Cleaning
Cleaning the interior of your Breville toaster oven is essential. It ensures the appliance works efficiently and lasts longer. Regular cleaning prevents food buildup and keeps your oven looking new.
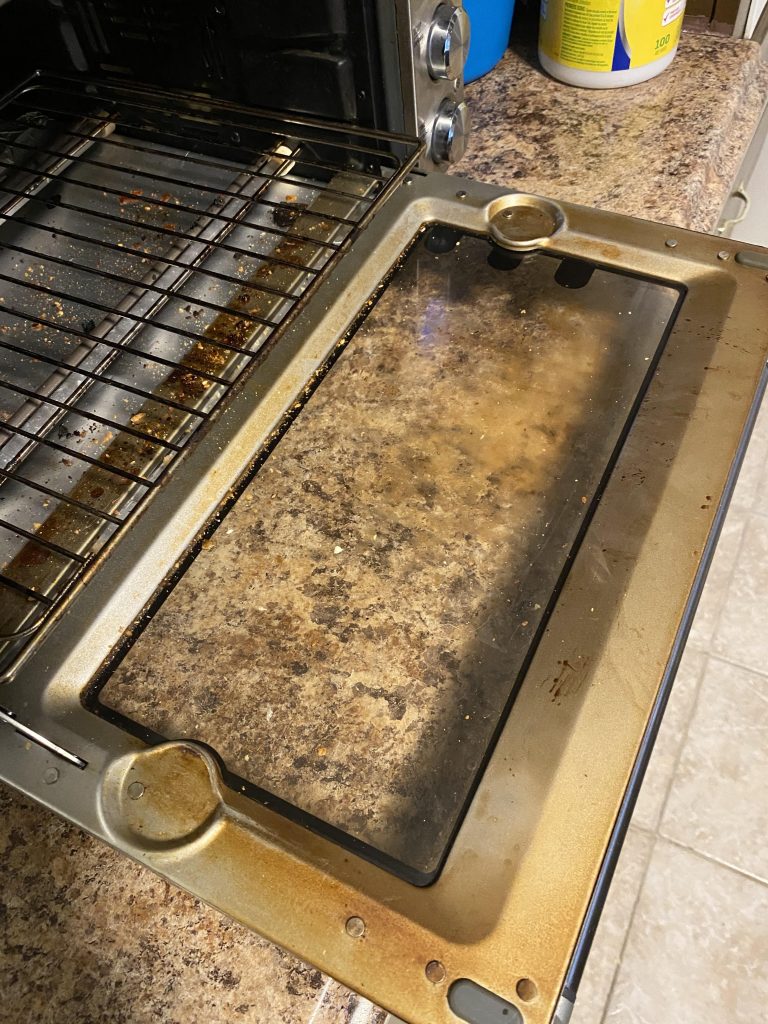
Remove Crumbs
First, unplug the toaster oven. Let it cool down completely. Remove the crumb tray from the bottom. Dispose of any crumbs in the trash. Wipe the tray with a damp cloth. If needed, use mild soap. Rinse and dry the tray thoroughly before placing it back.
Clean The Racks
Next, take out the racks. Soak them in warm, soapy water for a few minutes. Use a non-abrasive sponge to scrub any food particles. Rinse the racks with clean water. Dry them completely with a clean towel. Place the racks back in the toaster oven once they are dry.
Cleaning The Door
Cleaning the door of your Breville toaster oven is essential. It ensures clear visibility and removes grease buildup. This section will guide you through the process step-by-step.
Remove Door
First, unplug the toaster oven. Safety first. Then, locate the screws or hinges holding the door. Use a screwdriver to remove them carefully. Gently lift the door off its hinges. Place it on a flat, clean surface.
Wash Door
Prepare a mixture of warm water and mild dish soap. Soak a soft cloth in the solution. Wipe the door, focusing on greasy areas. For stubborn stains, use a non-abrasive sponge. Avoid harsh chemicals to protect the glass.
| Step | Action |
|---|---|
| 1 | Unplug toaster oven. |
| 2 | Remove screws or hinges. |
| 3 | Lift door off hinges. |
| 4 | Prepare cleaning solution. |
| 5 | Wipe door with soft cloth. |
| 6 | Use non-abrasive sponge for stains. |
Rinse the door with clean water. Dry it with a soft towel. Reattach the door by reversing the removal steps. Ensure screws are tight.
- Unplug the toaster oven.
- Use a soft cloth for cleaning.
- Avoid harsh chemicals.
- Ensure screws are tight after reattaching.
Following these steps will keep your Breville toaster oven door spotless and functional.
Cleaning Heating Elements
Cleaning the heating elements in your Breville toaster oven is crucial. It ensures your appliance works efficiently and safely. Proper care prevents residue buildup and extends the life of your toaster oven. Follow these simple steps to keep your heating elements in top condition.
Gently Wipe Elements
Begin by unplugging the toaster oven. Let it cool completely. Use a soft, damp cloth to wipe the heating elements. Be gentle to avoid damaging them. Avoid using abrasive materials or harsh chemicals. These can scratch or corrode the elements. A gentle touch is all you need to remove dust and light residues.
Avoid Damage
Refrain from applying too much pressure while cleaning. This can bend or break the heating elements. If there are stubborn spots, use a mild detergent. Dampen a cloth with the detergent and gently clean the area. Rinse the cloth with water and wipe again to remove any soap residue.
Always ensure the elements are completely dry before using the toaster oven again. Moisture can cause electrical issues or damage the appliance. Regular cleaning helps maintain the performance and longevity of your Breville toaster oven.
:max_bytes(150000):strip_icc()/resized_Breville-compact-product-shot-d8cf235a2b584e73838baa8e38b27d9a.jpg)
Credit: www.seriouseats.com
Reassembling The Oven
After thoroughly cleaning your Breville toaster oven, it’s time to reassemble it. Proper reassembly ensures the appliance works efficiently and safely. Follow these steps to get your toaster oven back in working order.
Reattach Door
First, carefully reattach the door. Align the door hinges with the slots on the oven. Gently push until you hear a click. This indicates that the door is secure.
If the door has screws, tighten them using a screwdriver. Ensure they are snug but not overly tight. This step helps maintain the door’s proper alignment and functionality.
Place Racks
Next, place the racks inside the oven. Identify the correct slots for each rack.
- Top Slot: Use this for broiling or toasting.
- Middle Slot: Ideal for baking and general use.
- Bottom Slot: Great for slow cooking or larger dishes.
Insert the racks at a slight angle, then straighten them. This ensures they sit securely within the slots. Double-check that each rack is level and stable.
With the door reattached and the racks in place, your Breville toaster oven is ready for use. Enjoy your clean and efficiently reassembled appliance!
Final Steps
Cleaning your Breville Toaster Oven can be a straightforward process. After you have meticulously cleaned all parts, it’s essential to perform the final steps. These steps ensure your appliance is not only clean but also ready for use. Follow the simple steps below to complete the process.
Plug In Oven
First, make sure your hands are dry. Plug the Breville Toaster Oven back into the power outlet. Ensure the cord is not damaged. A damaged cord can be dangerous.
Test Functionality
Turn on the toaster oven. Check all the settings. Ensure the oven heats up correctly. Test the timer and other features. Confirm everything works as expected.
If you encounter any issues, refer to the user manual. The manual can guide you through troubleshooting steps.
| Feature | Action |
|---|---|
| Heating Elements | Ensure they glow evenly |
| Timer | Set and confirm it works |
| Settings | Check each mode (bake, toast, etc.) |
Once you confirm everything is in order, your Breville Toaster Oven is ready for use. Proper maintenance will ensure it performs well for years to come.
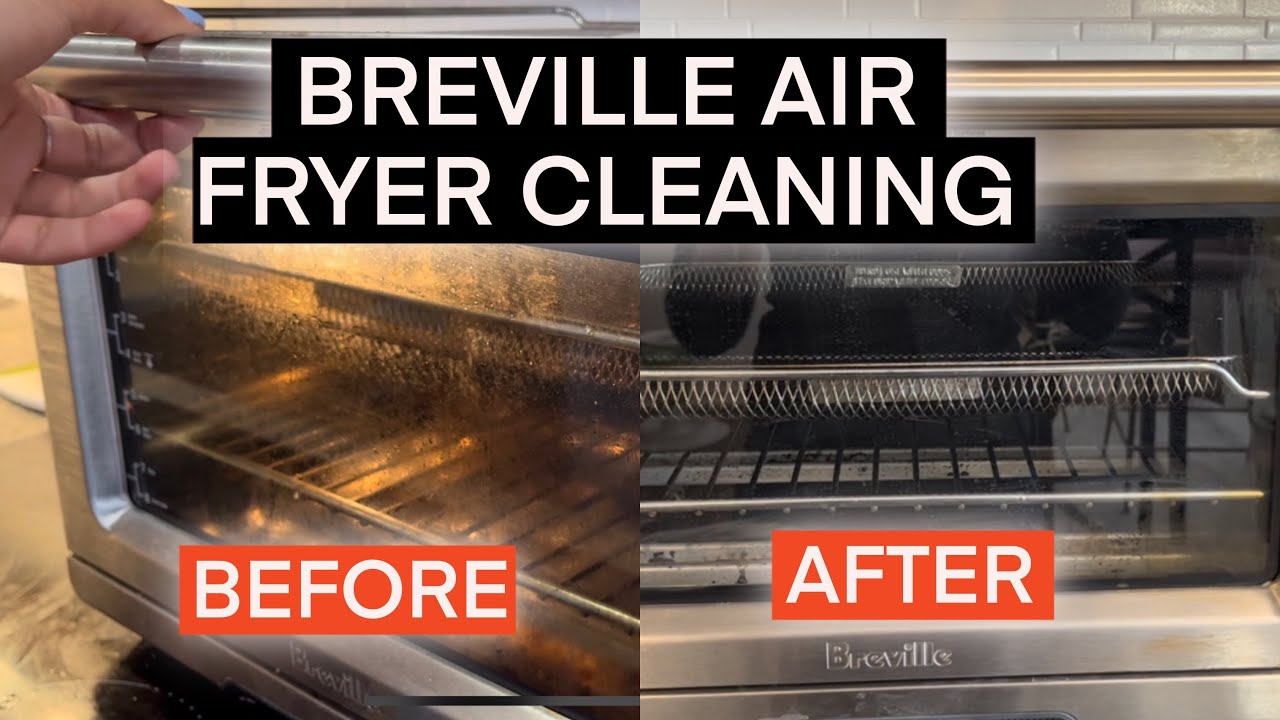
Maintenance Tips
Proper maintenance of your Breville toaster oven ensures it works efficiently. Regular cleaning and avoiding buildup are key. Follow these tips to keep your appliance in top shape.
Regular Cleaning Schedule
Stick to a regular cleaning schedule. Wipe down your toaster oven weekly. This prevents food residue from sticking. Use a damp cloth to clean the exterior. For the interior, remove crumbs and debris. Clean the crumb tray regularly. This prevents unpleasant odors and potential fire hazards.
Avoiding Buildup
Avoiding buildup keeps your toaster oven running smoothly. Don’t let food spill inside. Use a baking sheet or foil to catch drips. Check the heating elements for any food particles. Clean them gently with a brush. Avoid using harsh chemicals. They can damage the surfaces. Use a mild detergent and water solution instead.
Credit: www.youtube.com
Conclusion
Cleaning your Breville toaster oven is simple and important. Regular maintenance keeps it working well and lasting longer. Remove crumbs and grease to avoid bad smells and fire risks. Use mild soap and a damp cloth for the best results.
Always unplug the oven before cleaning. This keeps you safe from electrical shocks. Follow these steps regularly for a spotless oven. Your kitchen will thank you! Happy cleaning!