How Do I Fix the Brakes on My Electric Scooter

To fix the brakes on your electric scooter, adjust the brake lever and check the brake pads for wear. Replace or tighten components as needed.
Electric scooters offer a convenient mode of transportation, but maintaining their brakes is crucial for safety. Over time, brake components can wear out or become misaligned, affecting performance. Regularly checking and adjusting the brake lever ensures optimal functionality. Inspecting the brake pads helps identify any signs of wear that could compromise braking efficiency.
Simple adjustments or replacements can often resolve these issues, keeping your electric scooter in top condition. Proper brake maintenance not only enhances safety but also extends the lifespan of your scooter, ensuring a smooth and secure ride every time.

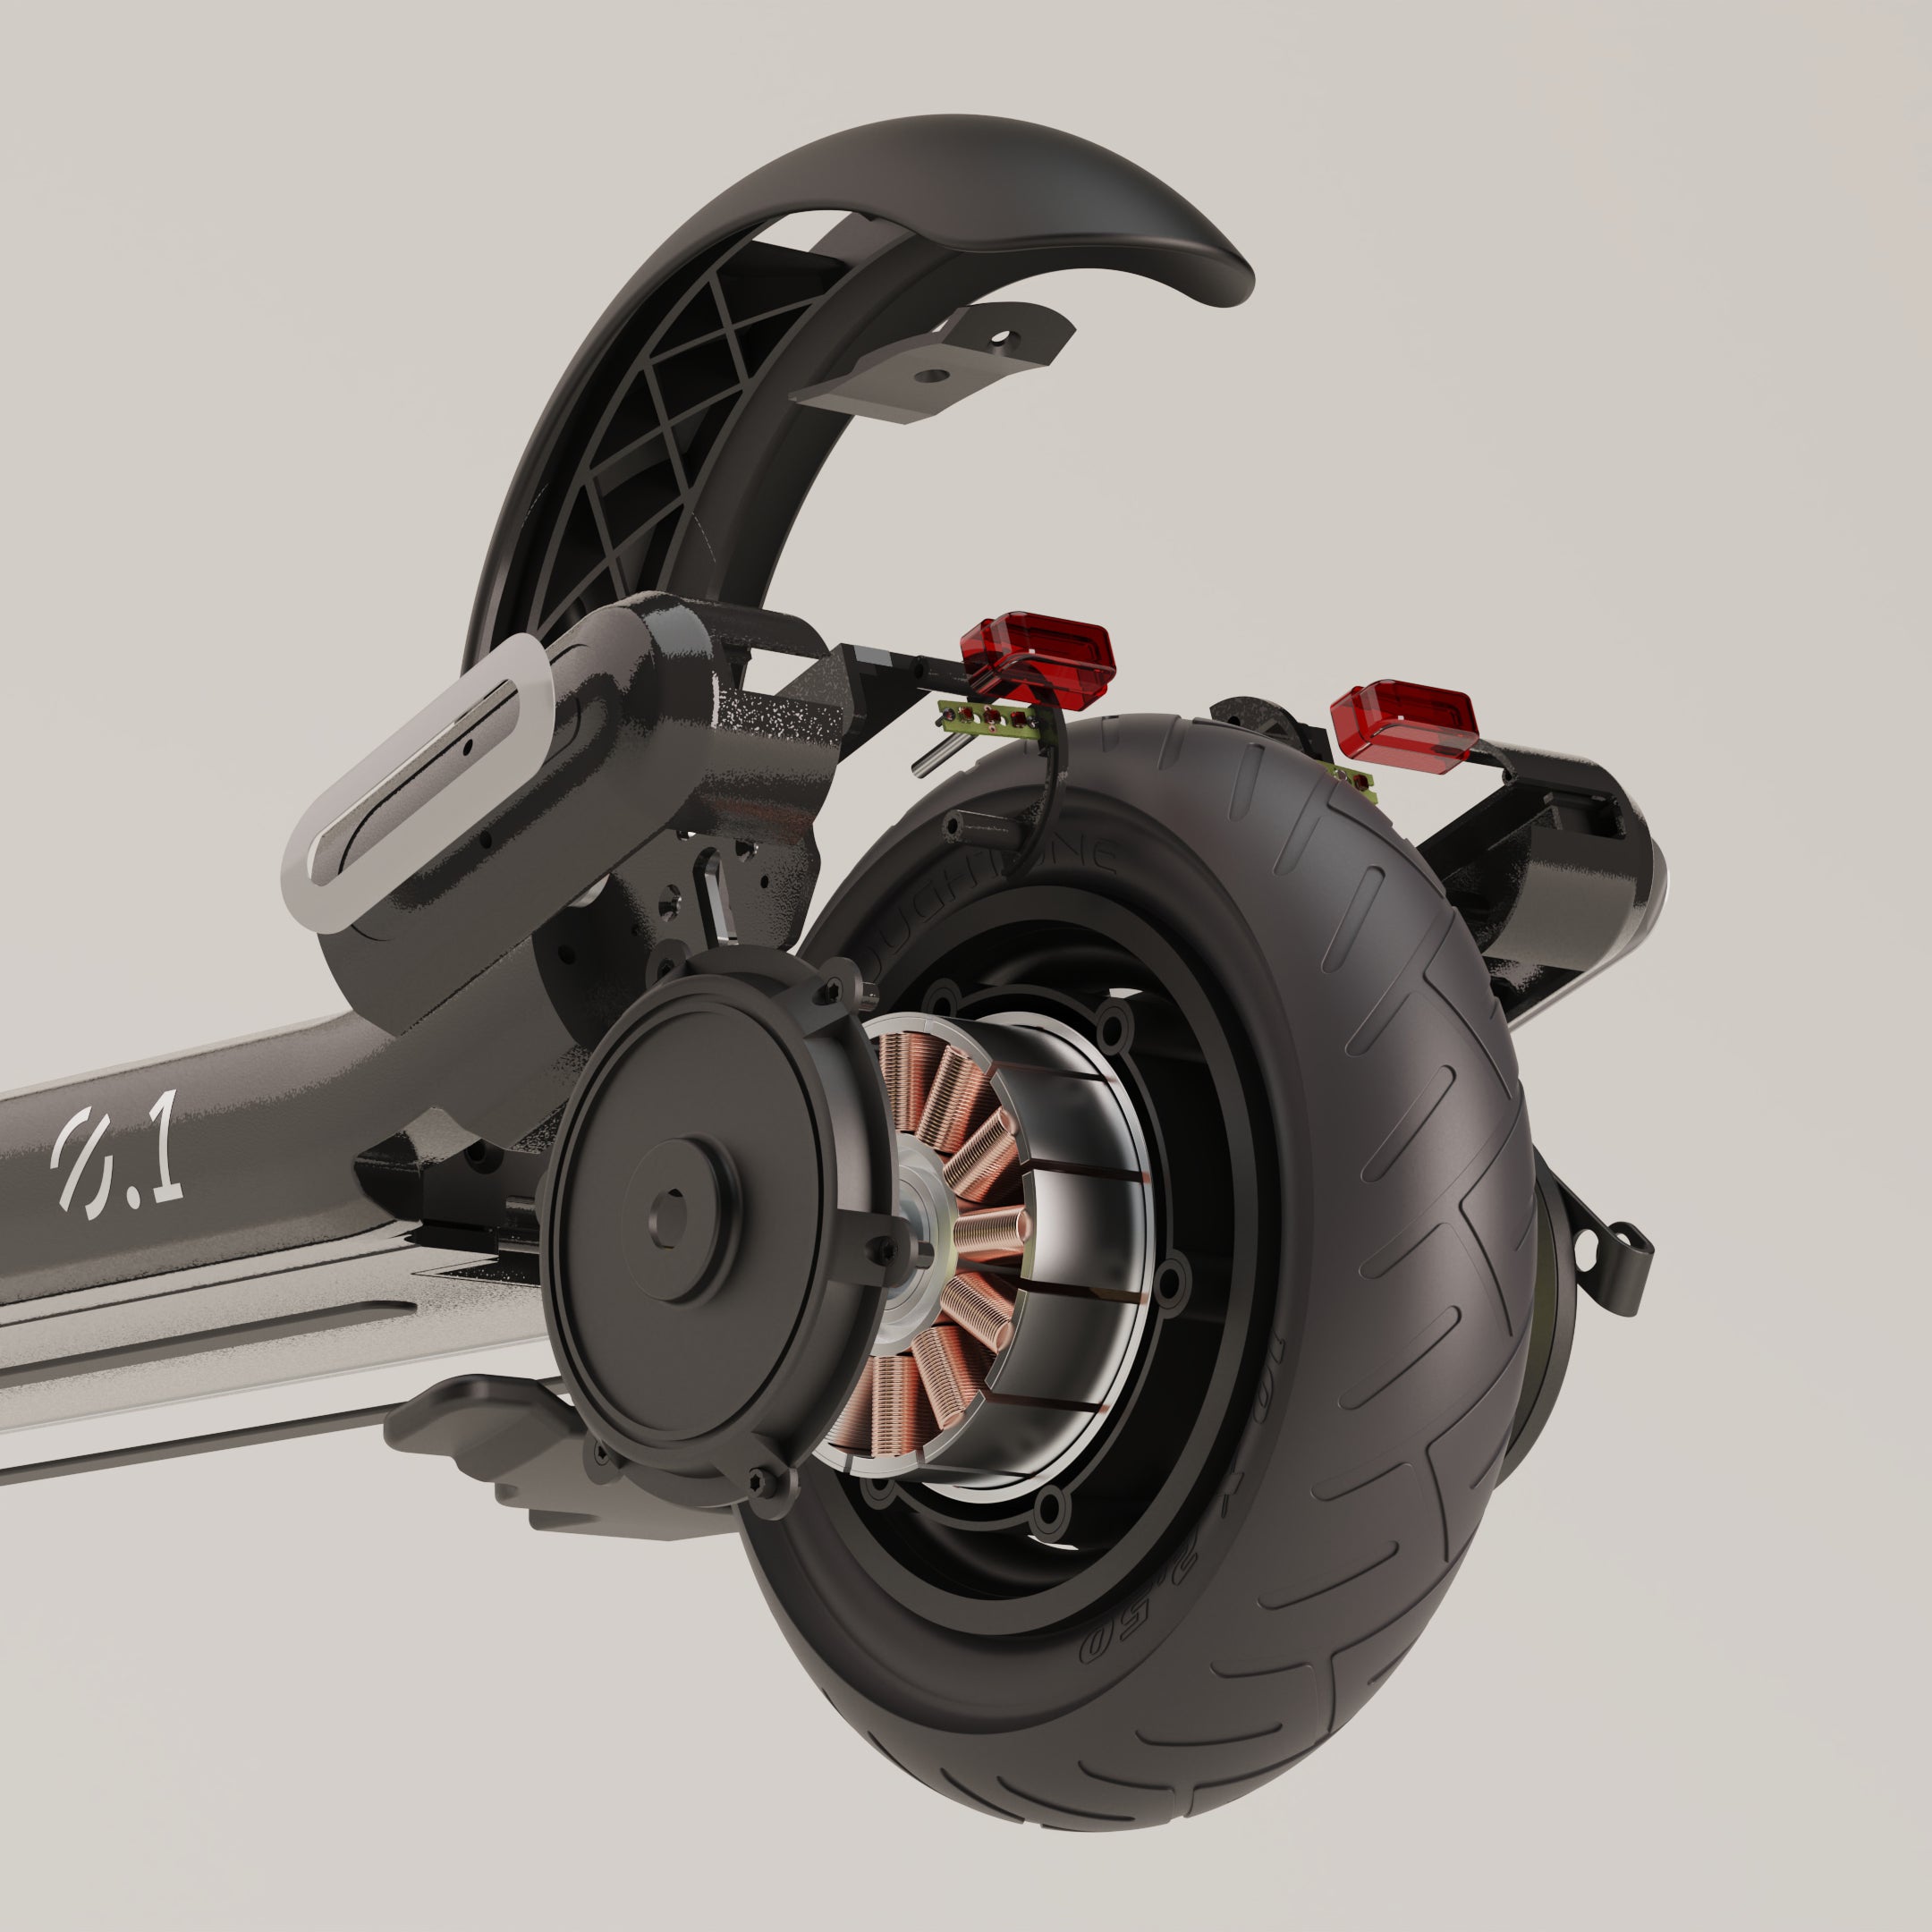
Credit: nought.tech
Introduction To Electric Scooter Brake Maintenance
Wear protective gear before starting. Use gloves and safety glasses to protect yourself. Ensure your scooter is turned off. Remove the battery to avoid accidents. Place the scooter on a flat surface. Keep it stable using a stand or blocks. Make sure the area is well-lit. This helps you see small parts clearly.
| Tool | Purpose |
|---|---|
| Wrench | To loosen and tighten bolts |
| Screwdriver | To remove screws |
| Brake Pads | To replace worn-out pads |
| Lubricant | To reduce friction |
| Cleaning Cloth | To wipe parts clean |
Identifying The Type Of Brakes
Identifying the type of brakes on your electric scooter is crucial for effective repairs. Disc brakes, drum brakes, and electronic brakes each require specific maintenance techniques.
Mechanical Vs. Electrical Braking Systems
Electric scooters use either mechanical or electrical braking systems. Mechanical brakes are found on the wheels. Electrical brakes use the motor to slow down. It’s important to know which type your scooter has. Mechanical brakes can be disc or drum brakes. Electrical brakes include regenerative braking systems.
Disc, Drum, And Regenerative Brakes
Disc brakes are very common and easy to repair. Drum brakes are enclosed and need less maintenance. Regenerative brakes help recharge the battery while slowing down. Each type has its pros and cons. Knowing your brake type helps in fixing them properly.
Common Signs Of Brake Issues
Brakes can make loud noises. This noise can be a squeak or a grind. Dirty brake pads often cause this. Worn-out pads can also be noisy. Clean or replace the pads to fix this.
It takes longer to stop the scooter. This means brakes are not strong enough. Check the brake pads first. Worn pads need replacing. Also, check the brake cables. Loose cables can reduce power. Tighten them to improve stopping.
The brake handle feels loose or stiff. Loose handles mean the brake cables need tightening. Stiff handles could mean the cables are dirty. Clean or replace dirty cables. Ensure the handle moves smoothly.
Routine Brake Inspection Steps
Brake pads should be checked often. Look for thinning or uneven wear. Replace pads if they are less than 1/8 inch thick. New pads ensure better stopping power. Clean the brake pads to remove dust and debris. This helps improve brake performance.
Inspect the brake cables for any fraying or damage. Damaged cables can fail and cause accidents. Make sure all connections are secure and tight. Loose connections reduce braking efficiency. Lubricate the cables to ensure smooth operation. Replace worn or damaged cables immediately.
Adjusting Brake Tension And Alignment
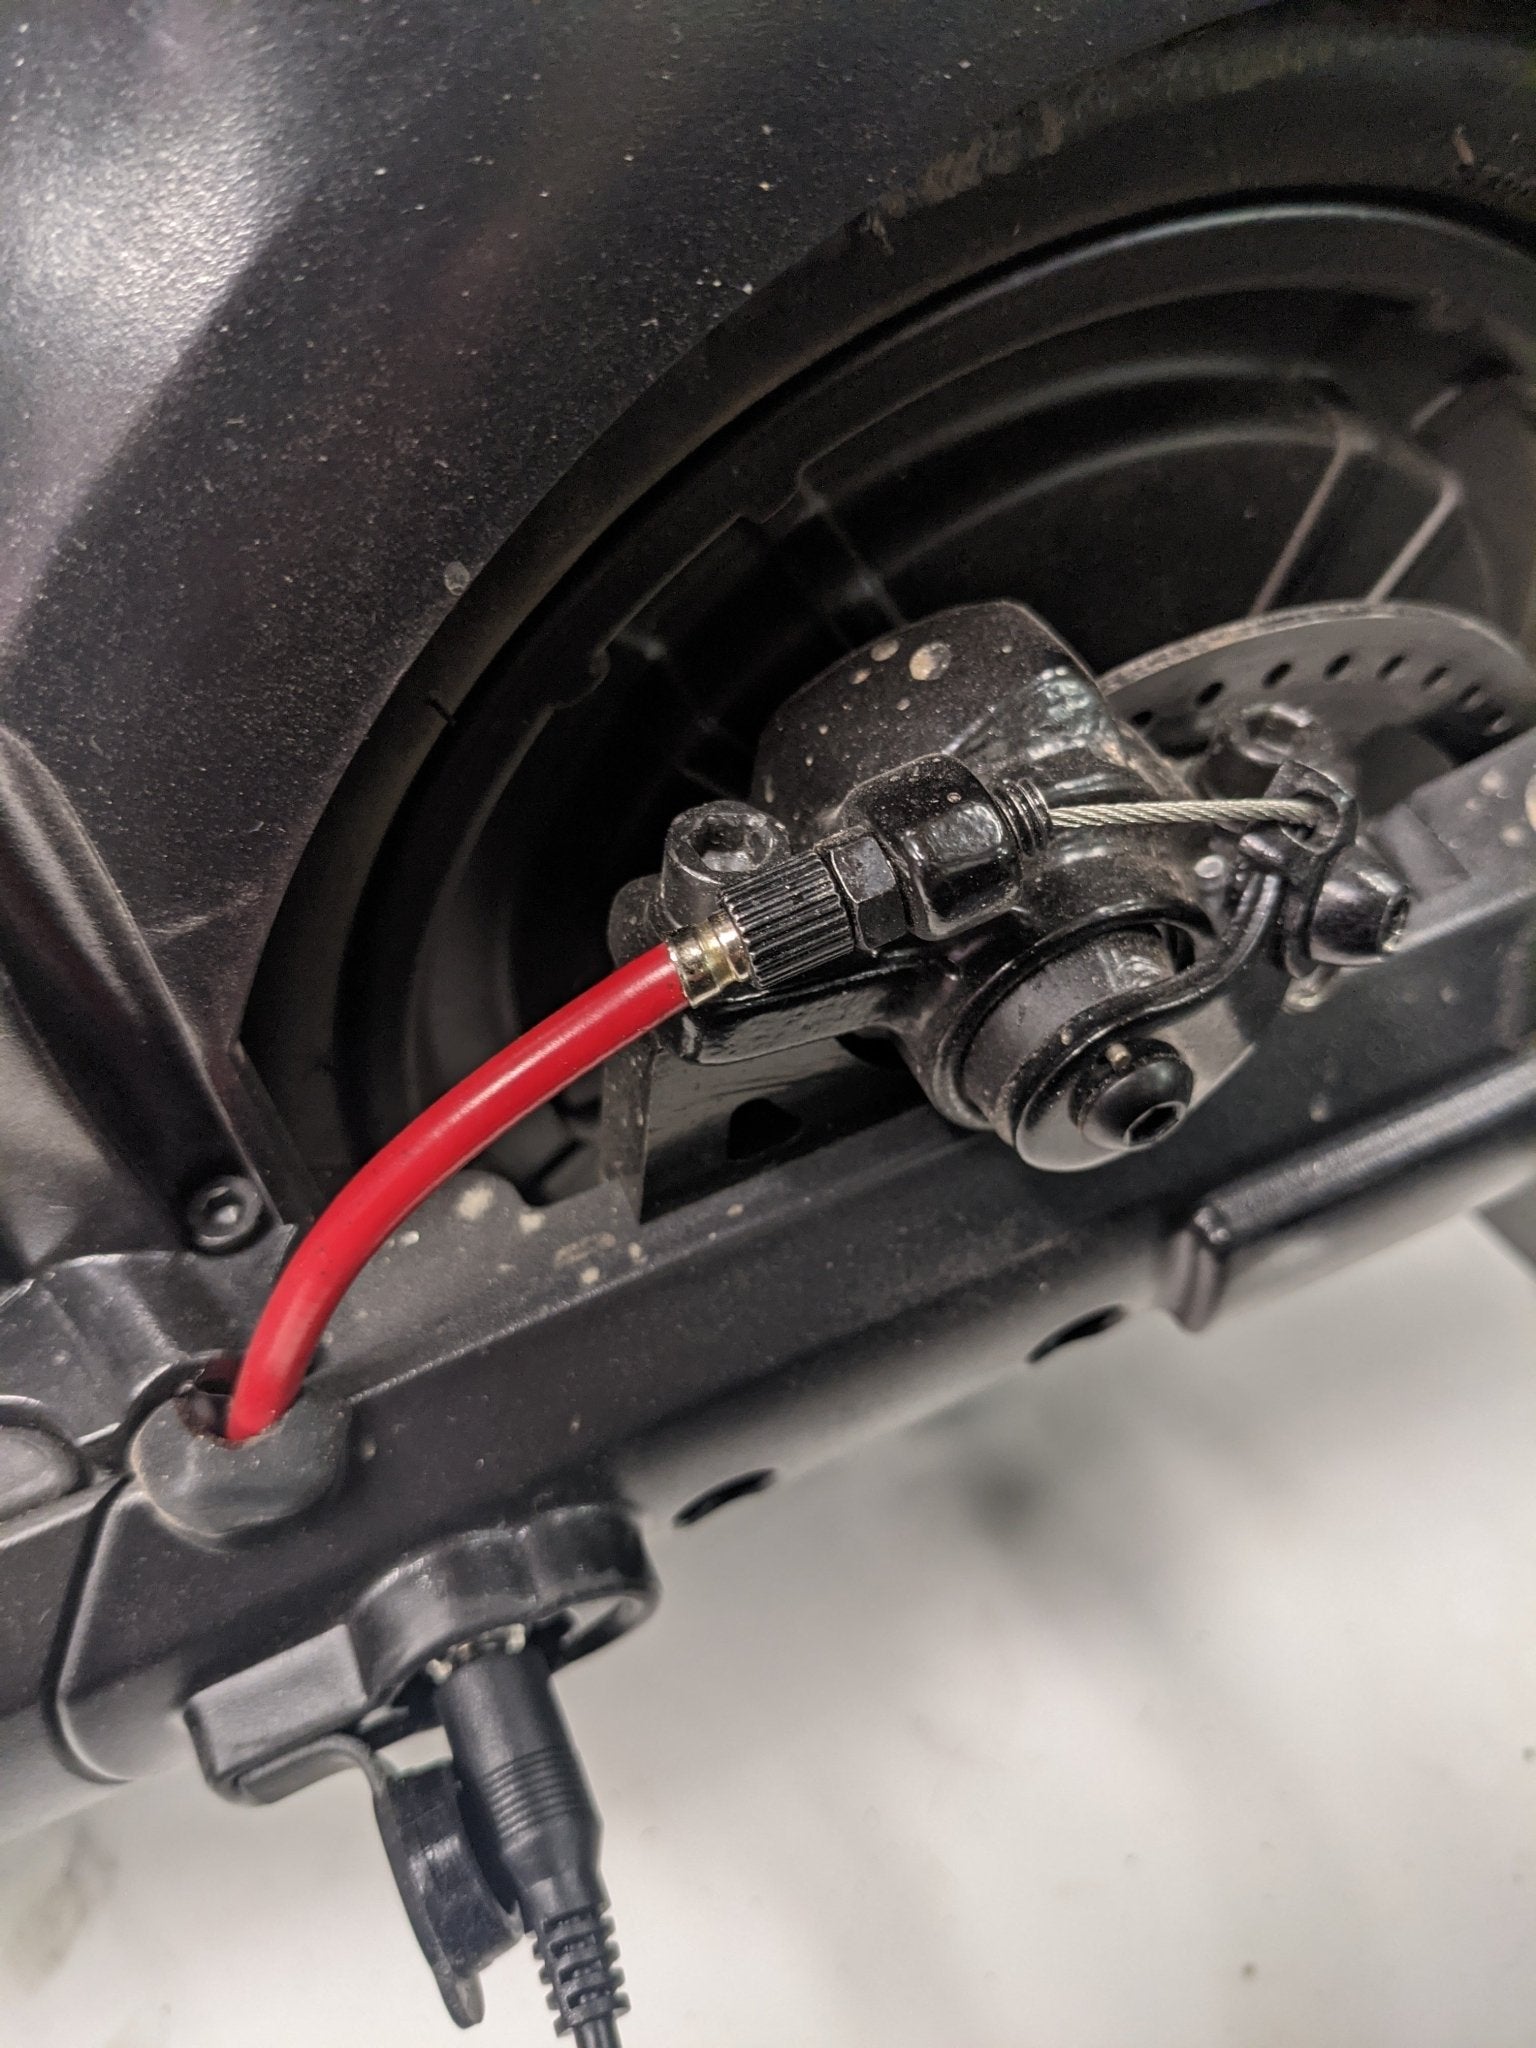
First, locate the brake caliper near the wheel. Use an Allen key to loosen the mounting bolts. Align the brake pads with the disc rotor. Make sure the rotor is centered between the pads. Tighten the mounting bolts to secure the caliper. Check the alignment by spinning the wheel. If the rotor rubs, readjust the caliper position.
Locate the brake lever on the handlebar. Find the barrel adjuster near the lever. Turn the barrel adjuster to increase or decrease cable tension. Test the brake lever for proper tension. Ensure the brake pads contact the rotor evenly. If the lever feels spongy, tighten the cable more. If it’s too tight, loosen it slightly.

Credit: m.youtube.com
Replacing Worn Or Damaged Parts
First, locate the brake pads on your scooter. Unscrew the bolts holding the pads.
Remove the old brake pads carefully. Insert new brake pads into the same position.
Secure the new pads with the bolts. Make sure they are tight. Test the brakes
to ensure they work well.
Check the brake cables for any signs of wear. If the cables are frayed, replace them.
Remove the damaged cable by loosening the connectors. Install a new cable and
secure it properly. If the brake disc is damaged, remove it by unscrewing the bolts.
Attach a new brake disc in the same position. Tighten the bolts to secure the disc.
Test the scooter brakes to ensure everything is fixed.
Testing The Brakes After Maintenance
Testing the brakes after maintenance ensures safety on your electric scooter. Apply the brakes gently to check responsiveness and effectiveness. Adjustments might be needed for optimal performance.
Performing A Static Test
Make sure the scooter is on a flat surface. Engage the brakes fully. Try to push the scooter forward. It should not move. If it moves, the brakes need adjustment. Listen for unusual sounds while testing. Squeaking or grinding means issues. Check the brake pads for wear. Worn pads must be replaced. Ensure all bolts and screws are tight. Loose parts can affect braking.
Conducting A Road Test
Start by riding the scooter at a slow speed. Apply the brakes gently. The scooter should stop smoothly. Increase your speed gradually. Test the brakes again at higher speeds. The scooter should stop without jerking. Test the brakes on different surfaces. Ensure they work on gravel, asphalt, and grass. Avoid busy roads for this test. Safety is the top priority.

Credit: gotrax.com
Maintenance Tips For Long-term Brake Health
Clean your electric scooter’s brakes every week. Dirt and dust can cause brake wear. Use a soft cloth to wipe off any debris. Apply a small amount of lubricant to brake parts. This helps reduce friction and keeps the brakes working smoothly. Make sure not to over-lubricate, as excess oil can attract more dirt. Regular cleaning and lubrication will keep your brakes in top condition.
Sometimes, brakes might need expert care. If you hear grinding noises, it’s time for a check-up. Brakes that feel too soft or too hard can signal a problem. Professionals can adjust or replace parts safely. Regular visits to a professional can ensure your brakes stay reliable. Always prioritize safety by seeking help when unsure.
Conclusion
Fixing the brakes on your electric scooter ensures safety and smooth rides. Follow the steps carefully for best results. Regular maintenance prevents future issues. Always check your brakes before each ride. With these tips, you can confidently handle brake problems.


