How to Fix My Dyson Stick Vacuum: Step-by-Step Guide
Having trouble with your Dyson stick vacuum? Don’t worry, you’re not alone.
Many users face common issues with their Dyson vacuums. Dyson stick vacuums are known for their efficiency and sleek design. But like any appliance, they can encounter problems. From loss of suction to battery issues, these problems can be frustrating.
This guide will help you troubleshoot and fix your Dyson stick vacuum. Whether it’s a simple clog or a more complex issue, we’ve got you covered. Let’s dive into the solutions and get your vacuum back in top shape.
Common Issues
Dyson stick vacuums are popular for their convenience and power. But they can have problems like any other appliance. Knowing common issues helps you fix them quickly. Below are some frequent problems and simple solutions.
Loss Of Suction
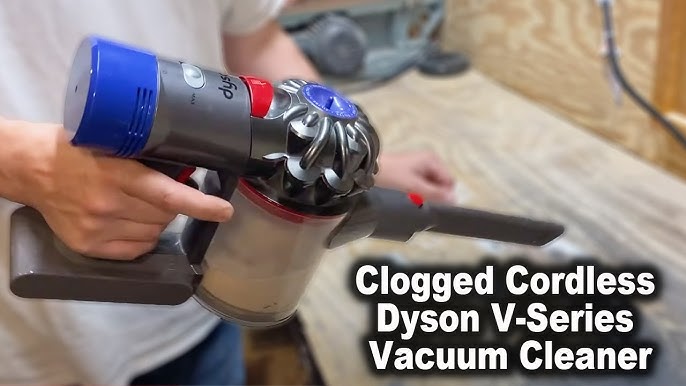
Loss of suction is a common issue. Check for blockages first. Look at the wand, bin, and filter. Remove any dirt or hair you find. Clean the filter if it is dirty. Let it dry completely before putting it back. Also, make sure the bin is not overfilled. Empty it if needed.
Battery Problems
Battery problems can cause your vacuum to stop working. First, check if the battery is charging. Connect it to the charger and see if the light comes on. If not, try a different outlet. The battery might be dead if it still does not charge. You may need a new battery. Make sure to use a genuine Dyson battery for the best results.
Brush Bar Not Spinning
The brush bar might stop spinning. This can happen if hair or debris gets tangled. Turn off the vacuum and unplug it. Carefully remove any blockages from the brush bar. Make sure it can spin freely. If the brush bar is clean but still not spinning, check the settings. Ensure the vacuum is set to the right mode. Sometimes, the brush bar motor might need a reset. Follow the manual instructions for this.

Credit: www.reddit.com
Tools Needed
Having the right tools is essential for fixing your Dyson Stick Vacuum. This guide will help you gather the necessary items. Let’s dive into the tools you need to get started.
Screwdriver
A screwdriver is crucial for disassembling your Dyson stick vacuum. Most Dyson models use Phillips-head screws. Ensure you have a set of screwdrivers with different sizes. This helps you handle various screws in the vacuum. A magnetic screwdriver is also useful. It keeps screws from getting lost during the repair.
Replacement Parts
Sometimes, you need to replace worn-out parts. Here are some common replacement parts for Dyson stick vacuums:
- Filters: Clogged filters reduce suction power.
- Brush bars: These can wear out or get damaged.
- Batteries: Older batteries may not hold a charge.
- Belts: Belts may snap or wear out.
Always buy genuine Dyson parts. They fit perfectly and last longer.
Cleaning Supplies
Proper cleaning supplies are needed to maintain your Dyson stick vacuum. Here is a list of essential cleaning supplies:
- Soft cloths: For wiping down surfaces.
- Compressed air: For blowing out dust and debris.
- Dish soap: For cleaning washable parts.
- Brushes: Small brushes help clean tight spaces.
These supplies help you keep your vacuum in top condition. Regular cleaning extends the life of your Dyson stick vacuum.
Safety Precautions
Before starting any repair on your Dyson stick vacuum, prioritize safety. Taking these precautions ensures you avoid injury and damage to your device.
Unplug The Vacuum
Always unplug your Dyson vacuum from the power source. This step is crucial to prevent electrical shocks. It also stops the vacuum from turning on accidentally. Never skip this step, even for minor fixes.
Wear Protective Gear
Wear protective gear to ensure your safety. Gloves protect your hands from sharp parts and dirt. Safety glasses shield your eyes from dust and debris. Proper gear minimizes risks during repairs.
Cleaning The Filter
Cleaning the filter of your Dyson stick vacuum is essential for maintaining its performance. Over time, dust and debris can clog the filter, reducing suction power. A clean filter ensures your vacuum runs efficiently and extends its lifespan. Follow these steps to clean the filter properly.
Removing The Filter
Locate the filter. It is usually found near the handle or dust bin. Check your manual if unsure. Once found, twist or pull gently to remove it. Be cautious not to damage any surrounding parts. Removing the filter is the first step to a thorough cleaning.
Washing The Filter
Take the filter to the sink. Rinse it under cold water. Avoid using detergent or soap. Squeeze the filter gently to remove excess water. Repeat this process until the water runs clear. Washing the filter removes trapped dust and debris. Let the filter air dry for at least 24 hours. Ensure it is completely dry before reinstalling.
Reinstalling The Filter
Once the filter is dry, place it back into the vacuum. Align it correctly with the vacuum’s opening. Twist or push firmly to secure it in place. Make sure it is snug and properly seated. Reinstalling the filter correctly ensures optimal performance. Your Dyson stick vacuum is now ready for use again.
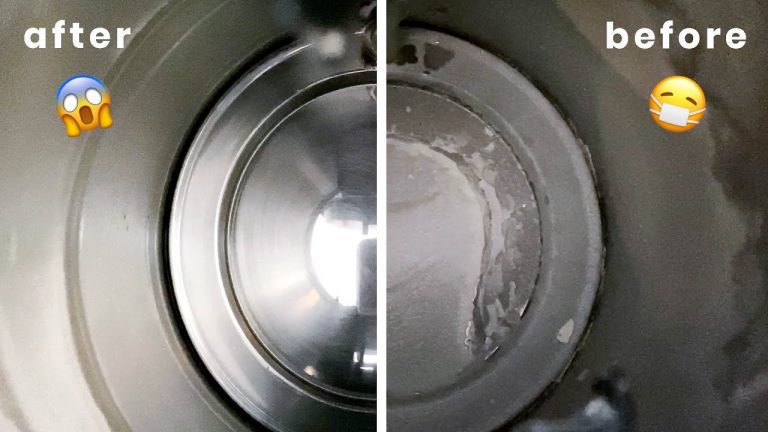
Checking For Blockages
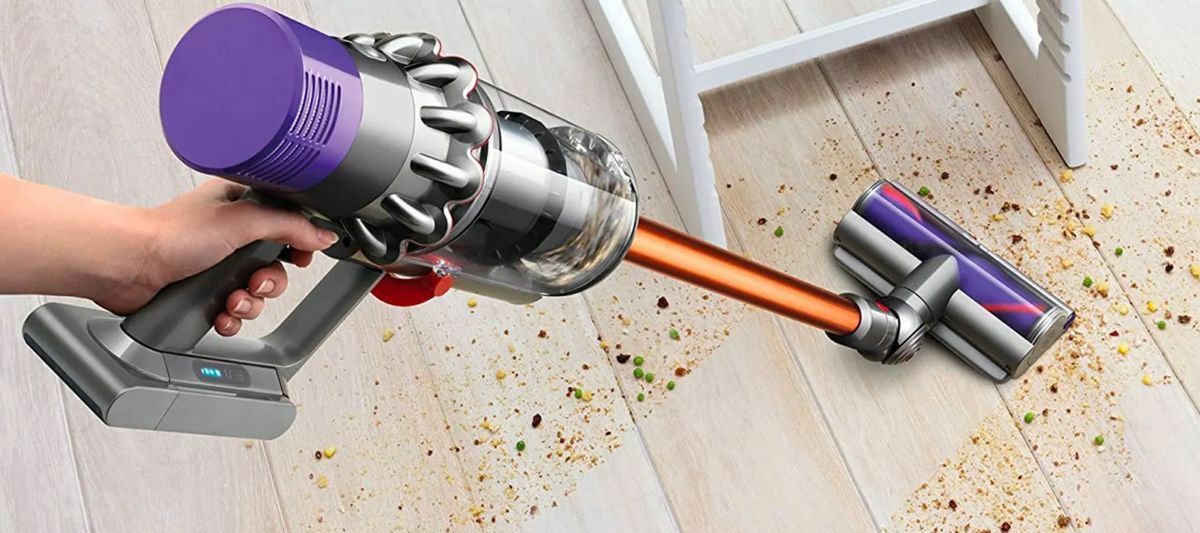
Experiencing a drop in suction power with your Dyson stick vacuum? The issue might be a blockage. Blockages can hinder the vacuum’s performance. Regularly checking and clearing blockages can restore its efficiency. Let’s dive into how to check for blockages in different parts of your Dyson stick vacuum.
Inspecting The Wand
The wand connects the main body to the cleaner head. Detach the wand from both ends. Hold it up to a light source. Look through it to spot any clogs. Use a long, flexible tool to push out any debris. Reattach the wand securely once it’s clear.
Clearing The Hose
Detach the hose from the vacuum. Stretch it out fully. Check for any blockages inside. Sometimes small objects or hair can clog it. Use a broom handle or similar tool to push out the blockage. Reattach the hose firmly once clear.
Checking The Brush Bar
Turn the vacuum upside down. Locate the brush bar. Remove any hair or threads wrapped around it. Use scissors to cut through stubborn tangles. Ensure the brush bar spins freely. Reattach it if you removed it for cleaning.
Battery Maintenance
Maintaining your Dyson stick vacuum’s battery is crucial for its longevity. A well-maintained battery ensures your vacuum performs efficiently. This section covers essential tips for charging and replacing the battery. Keeping these pointers in mind will help you avoid common issues and extend the life of your vacuum.
Charging The Battery
Always use the charger that came with your Dyson vacuum. Plug it into a wall outlet. Avoid using extension cords or power strips. Ensure the charging port is clean and free of debris. It helps maintain a good connection. Charge the battery until it reaches full capacity. Overcharging can reduce battery life. Unplug the charger once fully charged.
Replacing The Battery
If your Dyson vacuum’s battery no longer holds a charge, it may need replacement. Purchase a genuine Dyson battery. This ensures compatibility and performance. Turn off and unplug your vacuum. Remove the old battery by unscrewing it. Carefully insert the new battery and secure it with screws. Ensure the battery fits snugly. Test the vacuum to confirm the new battery works.
Brush Bar Maintenance
Keeping the brush bar of your Dyson stick vacuum clean ensures optimal performance. Regular maintenance of the brush bar prevents clogs and enhances suction power. Follow these simple steps to maintain your Dyson vacuum’s brush bar.
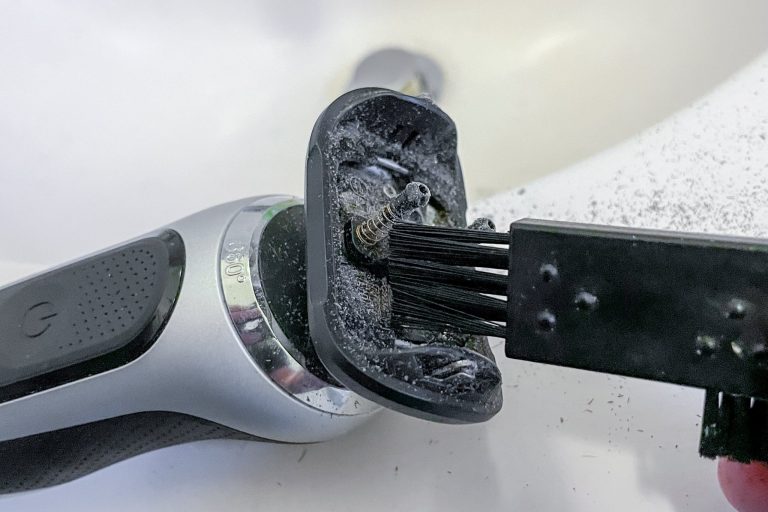
Removing Debris
Turn off and unplug your vacuum. Next, remove the cleaning head from the main body. Look for a small coin slot or a lever. Use a coin to unlock the brush bar. Carefully pull out the brush bar from the cleaning head. Check for hair, string, and other debris wrapped around the bar.
Use scissors to cut through tangled hair and debris. Be careful not to damage the bristles. Gently pull away the debris with your fingers. You can also use a soft brush to remove fine dust. Ensure the brush bar is clean before reinserting it.
Replacing The Brush Bar
Sometimes, the brush bar may be too worn out or damaged. In this case, you need to replace it. Purchase a compatible brush bar for your Dyson model. Remove the old brush bar as explained earlier. Insert the new brush bar into the cleaning head. Ensure it fits snugly and aligns correctly.
Use a coin or the lever to lock the brush bar back in place. Reattach the cleaning head to the vacuum body. Turn on the vacuum to test the new brush bar. If it spins smoothly, your maintenance is successful.
Regular brush bar maintenance ensures your Dyson stick vacuum performs at its best. A clean brush bar improves suction and extends the vacuum’s lifespan. Make this simple task a regular part of your cleaning routine.
Reassembling The Vacuum
Learn how to fix your Dyson stick vacuum by reassembling it properly. Follow these steps to restore your vacuum’s performance. Ensure all parts are securely connected for efficient cleaning.
Reassembling the vacuum is a crucial step after cleaning or fixing your Dyson stick vacuum. Ensure all parts are properly reattached to maintain the vacuum’s efficiency. This section will guide you through the process of reassembling the vacuum.
Reattaching Parts
Start by reattaching the dust bin to the main body. Ensure the bin clicks into place. Next, attach the filter. Slide it back into its slot until it fits snugly. Reconnect the wand to the main body. Align the ends and push firmly until you hear a click. Finally, attach the cleaning head. Make sure it aligns correctly and clicks securely.
Testing The Vacuum
Once reassembled, test the vacuum. Turn it on and listen for any unusual sounds. Move it over different surfaces to ensure it picks up debris. Check if the suction power is consistent. If everything works well, your vacuum is ready for use.
When To Seek Professional Help
Sometimes, fixing your Dyson stick vacuum on your own isn’t enough. There are instances when professional help is necessary. Understanding when to seek expert assistance can save time and prevent further damage to your appliance.
Identifying Major Issues
Certain problems require professional intervention. These issues include:
- Unusual noises
- Persistent loss of suction
- Electrical problems
- Physical damage to parts
Unusual noises could mean internal damage. Persistent loss of suction might indicate a blocked hose or a failing motor. Electrical problems such as sparks or burning smells are serious. Physical damage like broken parts also needs professional help.
Contacting Dyson Support
If you face major issues, contact Dyson Support. They offer expert advice and repair services. You can reach out via:
| Method | Contact Details |
|---|---|
| Phone | 1-800-123-4567 |
| support@dyson.com | |
| Website | www.dyson.com/support |
Before contacting support, have your vacuum’s model number ready. Describe the issue clearly. This helps the support team provide accurate assistance.

Credit: www.youtube.com
Credit: community.dyson.com
Conclusion
Fixing your Dyson stick vacuum can be simple. Follow these easy steps. Identify the issue first. Clean or replace the filters. Check for blockages in the hose. Ensure the battery is charged and functioning. Regular maintenance helps prevent future problems.
Your vacuum should work like new again. Enjoy a clean home with a well-functioning Dyson vacuum.