How to Take Apart a Dyson Stick Vacuum: Step-by-Step Guide
Taking apart a Dyson stick vacuum might seem tricky. But it’s simpler than you think.
With a few steps, you can do it yourself. Dyson stick vacuums are popular for their powerful suction and sleek design. But, like any device, they need maintenance. Sometimes, you need to take them apart to clean or fix them.
Knowing how to do this can save you time and money. In this guide, we’ll show you the steps. You’ll learn how to disassemble your Dyson stick vacuum safely and efficiently. Whether it’s for a deep clean or a minor repair, these instructions will help.
Preparation
Before you start taking apart your Dyson stick vacuum, it’s crucial to prepare adequately. Proper preparation ensures a smooth process and prevents damage to your vacuum. Below are key steps to follow during the preparation phase.
Safety Precautions
Safety is paramount when working with electrical appliances. Follow these safety precautions to avoid accidents:
- Unplug the vacuum from the power outlet.
- Ensure the vacuum is turned off.
- Wear safety gloves to protect your hands.
- Keep children and pets away from the work area.
Always read the user manual for specific safety instructions related to your Dyson model.
Clearing The Work Area
A clean and organized work area makes the task easier and faster. Here are steps to prepare your work area:
- Choose a flat, stable surface, like a table or workbench.
- Lay down an old towel or cloth to catch any small parts.
- Gather all necessary tools such as screwdrivers and pliers.
- Ensure good lighting to see small components clearly.
Having a clutter-free space helps you keep track of the parts and tools.
Credit: community.dyson.com
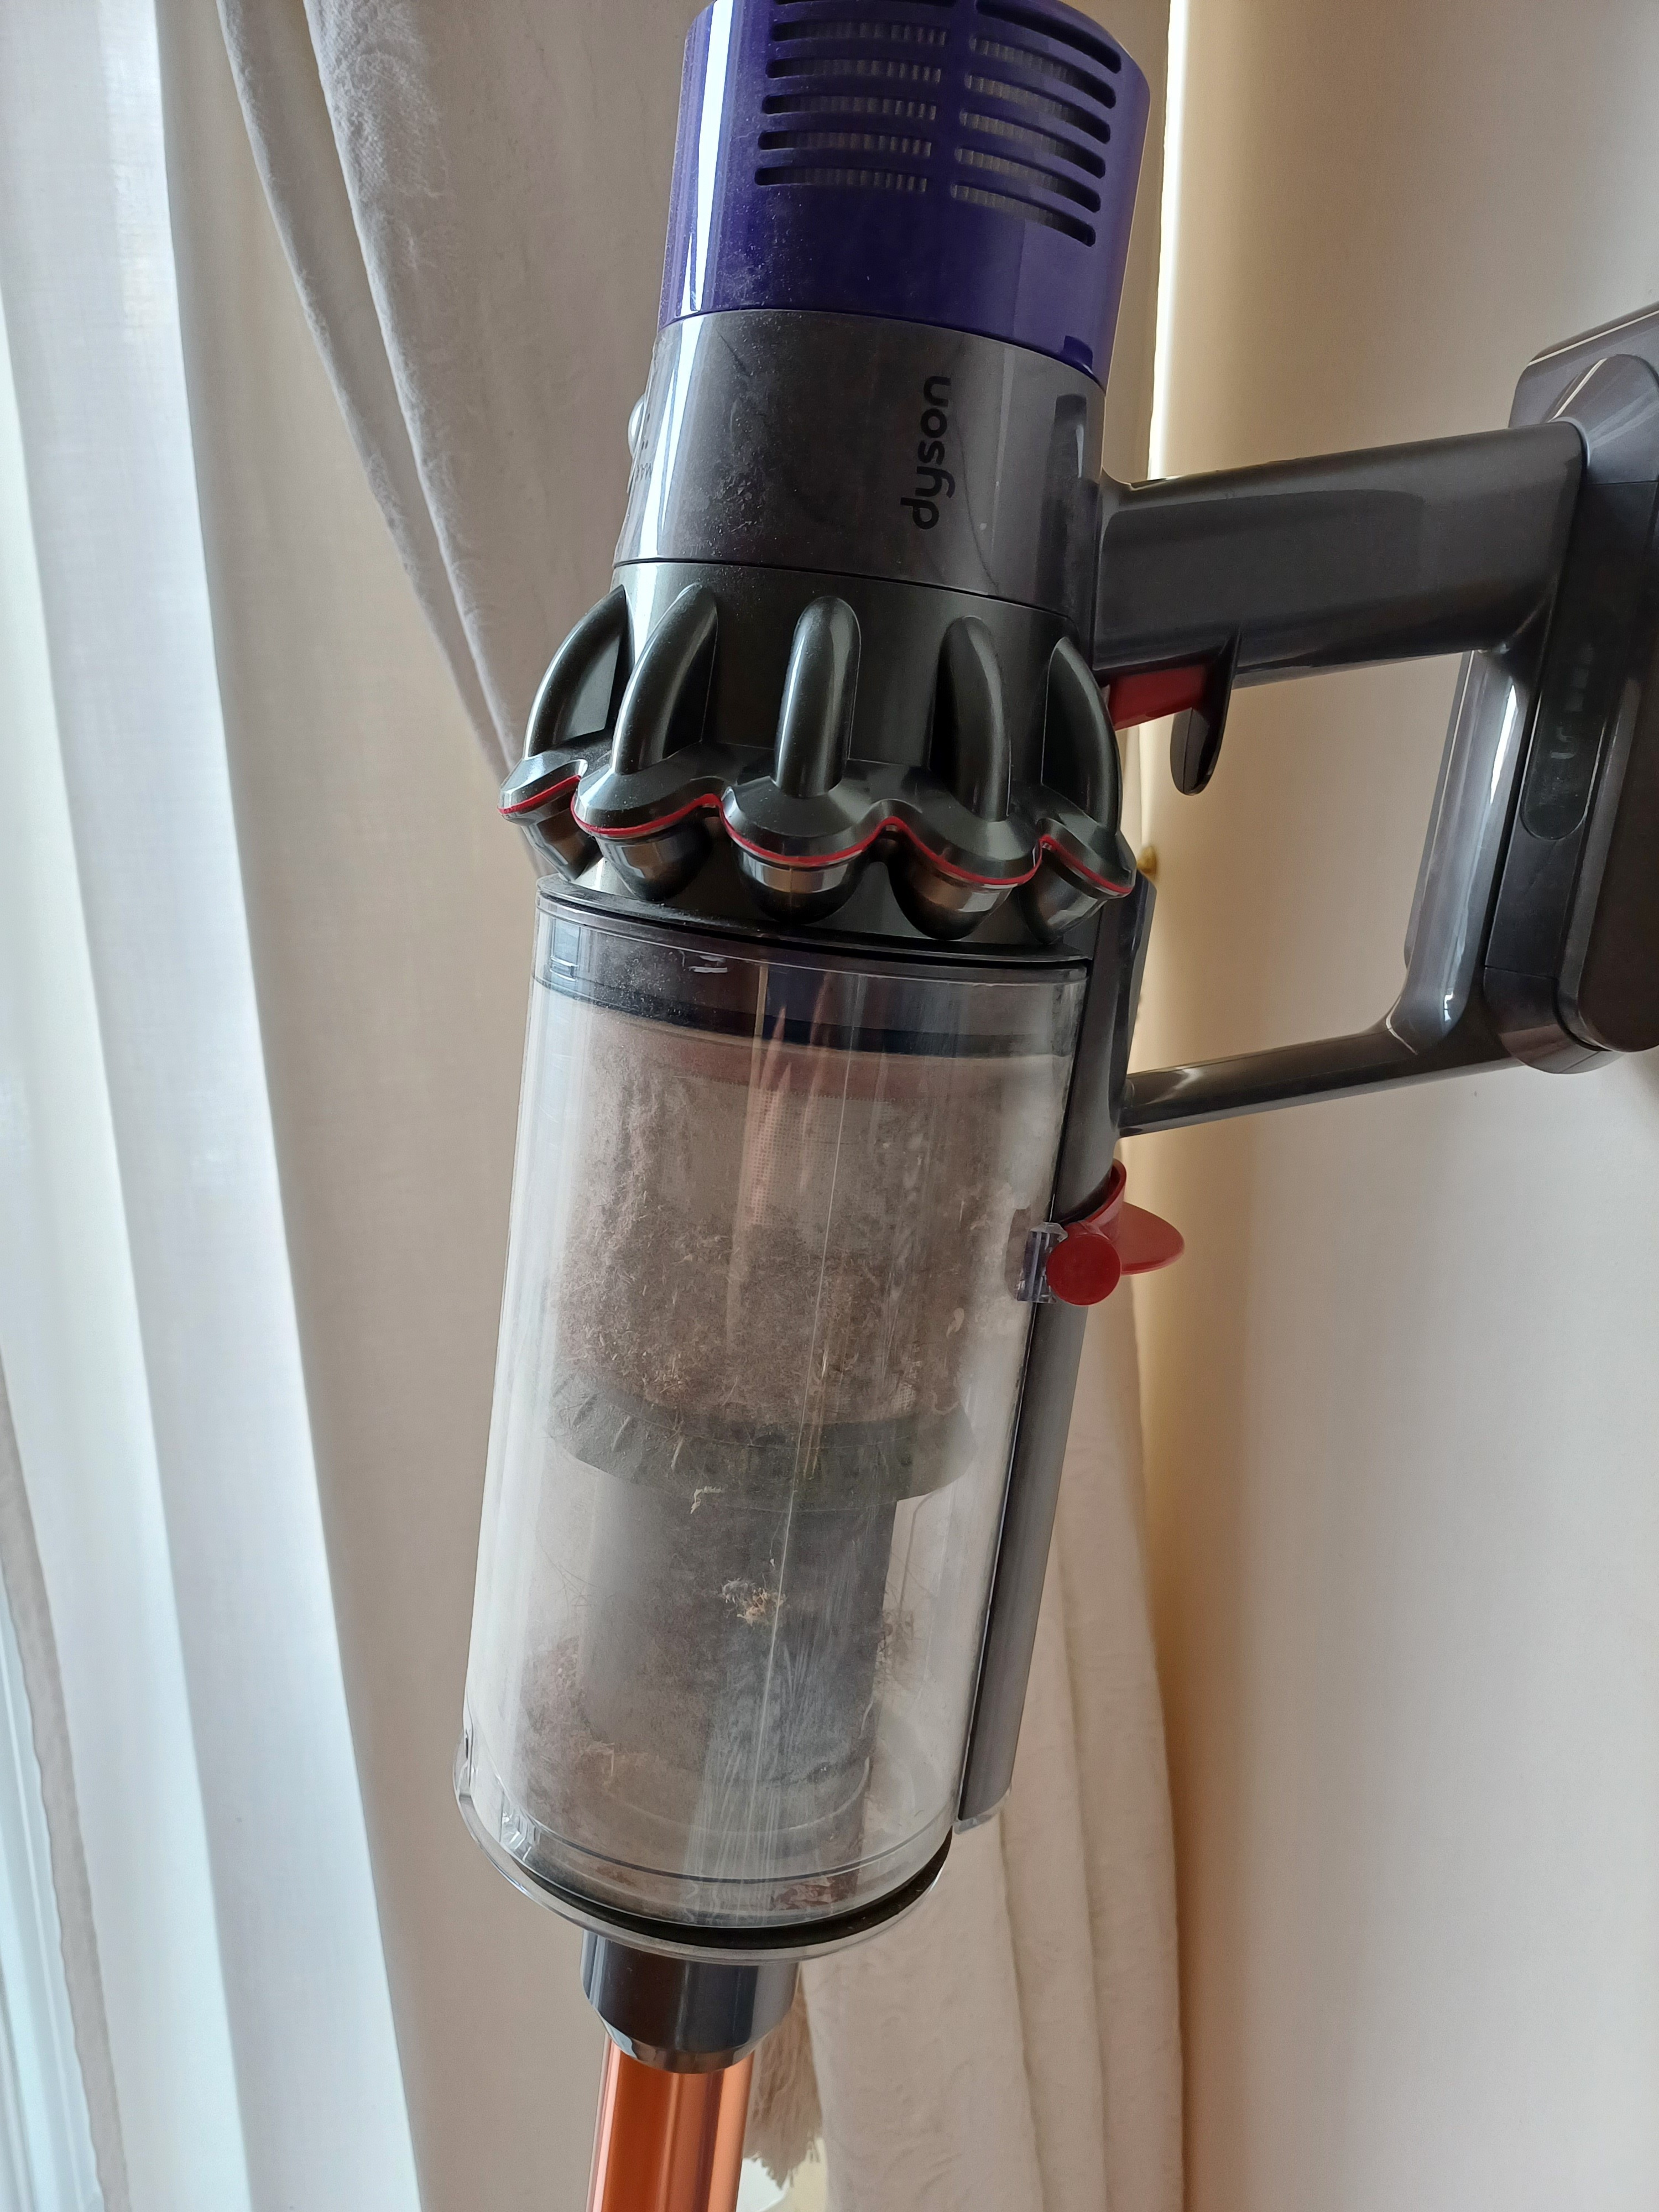
Removing The Dustbin
Removing the dustbin from your Dyson stick vacuum is a simple process. This step is crucial for proper maintenance and cleaning. Follow these easy steps to take apart the dustbin without any hassle.
Locating The Release Button
First, find the release button on your Dyson stick vacuum. It is usually red and located near the handle. This button helps to detach the dustbin safely.
Detaching The Dustbin
Press the release button firmly. You will hear a click. This indicates that the dustbin is ready to be removed. Gently pull the dustbin away from the main body of the vacuum. Ensure you do this over a trash can to avoid spilling any dust or debris.
Once the dustbin is detached, you can clean it thoroughly. Rinse it with water and let it dry before reattaching. This ensures your vacuum performs at its best.
Detaching The Stick
Taking apart your Dyson stick vacuum can seem complex. But detaching the stick is simple. Follow these easy steps to get it done quickly.
Unlocking The Stick
First, make sure the vacuum is unplugged. Safety comes first. Locate the locking mechanism where the stick attaches to the motor.
Most Dyson models have a button or latch. Press or slide it to unlock. You should feel a slight click. This means the stick is ready to detach.
Separating The Stick From The Motor
Now, hold the motor unit firmly. Use your other hand to pull the stick away. Apply gentle force to separate them.
If the stick feels stuck, double-check the lock. Ensure you pressed or slid it completely. Once unlocked, the stick should come off easily.
Store the stick and motor separately. This keeps them safe and makes reassembly easier.
Credit: www.youtube.com
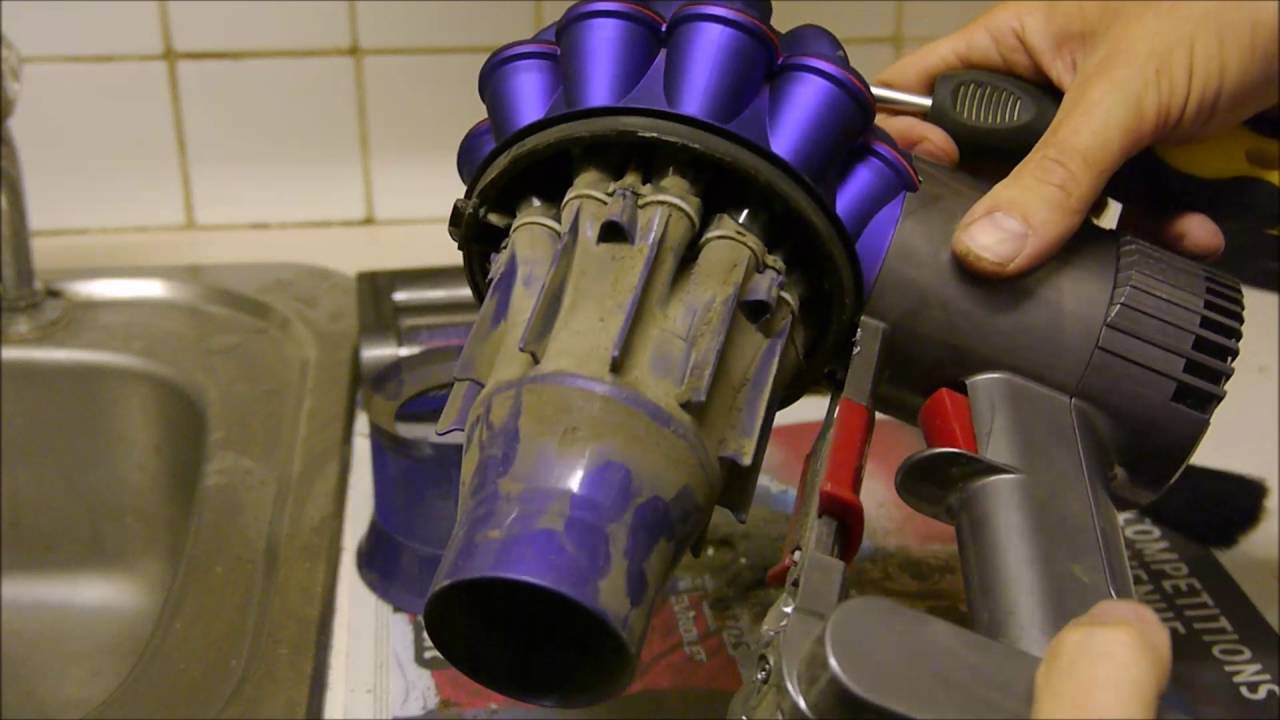
Disassembling The Motorhead
Disassembling the Motorhead of your Dyson stick vacuum can seem daunting. But with a few simple steps, you can easily take it apart. This guide will help you understand the process. Follow along to learn how to unscrew the motorhead and remove the brush bar.
Unscrewing The Motorhead
First, unplug your Dyson stick vacuum. Safety is important. Next, locate the screws on the motorhead. Most Dyson models have multiple screws. Use a screwdriver to remove them. Turn the screws counterclockwise. Keep the screws in a safe place. You will need them later.
Once all screws are removed, gently lift the cover. The motorhead should come apart easily. Be careful not to force it. Forcing can damage the parts. If it feels stuck, check for any missed screws. Remove any remaining screws and try again.
Removing The Brush Bar
With the motorhead open, you can see the brush bar. The brush bar is the rotating part that picks up dirt. To remove it, locate the clips or screws holding it in place. Use a screwdriver or your fingers to release the clips.
Once the clips are released, lift the brush bar out. It may have some resistance. Gently wiggle it if needed. Be careful not to damage the bristles. The brush bar should now be free from the motorhead.
You have successfully disassembled the motorhead. Now you can clean or replace parts as needed. Remember to reassemble everything in the reverse order. Keep your Dyson stick vacuum in good shape by maintaining the motorhead regularly.
Cleaning The Components
Taking apart your Dyson stick vacuum is just the beginning. Keeping the components clean ensures that it runs smoothly and maintains strong suction power. This section will guide you through the essential steps of cleaning the filters and clearing the brush bar.
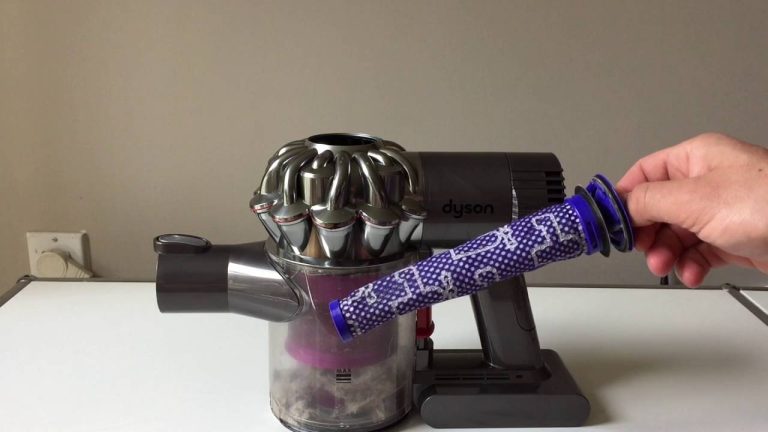
Washing The Filters
The filters in your Dyson stick vacuum play a crucial role in trapping dust and allergens. Cleaning them regularly is essential for optimal performance. Here’s a simple way to do it:
- First, remove the filter from the vacuum. Check your manual for the exact location.
- Rinse the filter under cold water. Avoid using detergents or hot water.
- Gently squeeze the filter to remove excess water. Do not twist or wring.
- Let the filter dry for at least 24 hours. Ensure it is completely dry before reattaching.
Note: Never put the filter back while it is still wet. This can damage the vacuum.
Clearing The Brush Bar
The brush bar can get tangled with hair, threads, and other debris. Clearing it regularly helps maintain the vacuum’s efficiency. Follow these steps:
- Turn off and unplug the vacuum.
- Remove the brush bar from the cleaner head. Refer to your manual if needed.
- Use scissors to cut away any tangled hair or threads. Take care not to damage the bristles.
- Wipe the brush bar with a damp cloth. Ensure it is dry before reattaching.
Tip: Regularly clearing the brush bar prevents buildup and keeps your vacuum working at its best.
Reassembling The Vacuum
Reassembling your Dyson stick vacuum can seem daunting, but it’s straightforward. Once you’ve cleaned or replaced parts, it’s time to put everything back together. Ensure all parts are dry and free of debris before reassembling. Follow these steps to get your vacuum running smoothly again.
Reattaching The Motorhead
Align the motorhead with the stick. Make sure the connectors match. Push the motorhead onto the stick until you hear a click. This means it’s securely attached. Check the connection by gently pulling on the motorhead. It should stay in place firmly.
Connecting The Stick
Take the stick and the main body of the vacuum. Align the connectors of the stick with the main body. Push the stick into the main body until it clicks. This ensures a secure connection. Test the connection by lifting the vacuum. The stick should stay attached without wobbling.
Testing The Vacuum
Testing the vacuum is a crucial step after taking apart your Dyson stick vacuum. This ensures everything is put back properly and the vacuum works as expected. Let’s dive into how to test your Dyson stick vacuum.
Powering On
Before you start testing, make sure the vacuum is fully reassembled. Plug in the charger to ensure the battery is connected correctly. Once charged, press the power button to turn it on. Listen for unusual sounds. These could indicate issues with the motor or internal components.
Checking For Issues
After powering on, it’s time to check for common issues. Follow these steps:
- Check the suction power. Place your hand near the nozzle to feel the suction.
- Inspect the brush bar. Ensure it rotates smoothly without any odd noises.
- Look at the dustbin. Make sure it’s collecting debris properly.
If you notice any problems, refer to the following table for potential solutions:
| Issue | Possible Cause | Solution |
|---|---|---|
| Low suction power | Clogged filter | Clean or replace the filter |
| Brush bar not rotating | Tangled hair or debris | Remove obstructions from the brush bar |
| Unusual noise | Loose parts | Tighten or reassemble parts |
Following these steps will help you ensure your Dyson stick vacuum is functioning properly. Remember, regular maintenance and testing can prolong the life of your vacuum.

Credit: www.youtube.com
Maintenance Tips
Maintaining your Dyson stick vacuum ensures it performs at its best. Regular care can extend its lifespan. Here are some essential maintenance tips to keep your vacuum in top shape.
Regular Cleaning Schedule
Establish a cleaning routine. Empty the dust bin after each use. This prevents clogging and maintains suction power. Remove hair and debris from the brush bar weekly. This ensures smooth operation. Check filters every month. Wash them if they’re dirty. Let them dry completely before reinstalling.
Proper Storage
Store your Dyson stick vacuum in a cool, dry place. Avoid areas with high humidity. This prevents damage to the motor and battery. Use the wall mount provided. It saves space and keeps the vacuum secure. Ensure the vacuum is turned off before storing. This helps maintain battery life.
Conclusion
Taking apart a Dyson stick vacuum is simple with the right steps. Follow each step carefully. Keep track of all parts. Clean components regularly for optimal performance. Regular maintenance extends the vacuum’s lifespan. Always reassemble correctly to avoid damage. This guide ensures a smooth process.