How to Wall Mount a Dyson Stick Vacuum: Step-by-Step Guide
Wall mounting a Dyson stick vacuum saves space and keeps it handy. It’s a great way to organize your cleaning tools efficiently.
Dyson stick vacuums are popular for their powerful performance and sleek design. But finding the right spot to store them can be tricky. Mounting your Dyson on the wall not only frees up floor space but also ensures it’s always charged and ready for use.
Whether you live in a small apartment or a spacious home, a wall-mounted Dyson stick vacuum offers convenience and practicality. In this guide, we’ll walk you through the steps to wall mount your Dyson stick vacuum, ensuring it’s securely placed and easily accessible.
Credit: www.survivingateacherssalary.com
Gathering Tools And Materials
Mounting your Dyson stick vacuum on the wall is a great way to save space and keep your vacuum easily accessible. Before starting, gather all the necessary tools and materials. This preparation ensures the process goes smoothly and efficiently.
Required Tools
To wall mount your Dyson stick vacuum, you need a few basic tools. Here is a list of the required tools:
- Drill
- Phillips screwdriver
- Level
- Measuring tape
- Pencil
These tools help you measure, mark, and drill holes accurately. Using the right tools makes the job easier and ensures the mount is secure.
Necessary Materials
In addition to tools, you need some materials to complete the wall mounting. Here are the necessary materials:
- Wall mount bracket (usually included with the vacuum)
- Screws (provided with the bracket)
- Wall anchors (if mounting on drywall)
The wall mount bracket is designed to hold the vacuum securely. Screws and wall anchors ensure the bracket stays attached to the wall. Proper materials prevent damage to your wall and keep your vacuum safe.
Choosing The Right Location
Choosing the right location for your Dyson stick vacuum wall mount ensures easy access and efficient storage. Consider the following factors for an optimal setup.
Ideal Height And Spacing
Mount your Dyson vacuum at a height that is comfortable for you. Typically, this means placing the mount around 4 to 5 feet from the floor. Ensure there is enough space around the mount for the vacuum and its accessories. Leave at least 12 inches of clearance on both sides.
Accessibility Considerations
Choose a location that is easy to reach and not obstructed by furniture or other items. The vacuum should be near a power outlet for charging. If you have children or pets, ensure the mount is out of their reach. This keeps the vacuum safe and secure.
Preparing The Wall
Mounting your Dyson stick vacuum on the wall can save space and keep your home tidy. Before you start drilling, it’s important to prepare the wall properly. This step ensures a secure and long-lasting mount. Let’s dive into the details of how to prepare your wall.
Marking The Spots
First, you need to mark the spots where you will drill. Hold the Dyson wall mount against the wall at your desired height. Make sure it’s level. Use a pencil to mark the spots where the screws will go. These marks will guide your drilling later.
Checking For Studs
Next, you need to check for studs in the wall. Studs are wooden or metal beams that provide support inside the wall. Use a stud finder to locate these beams. Move the stud finder across the wall until it beeps or lights up. Mark these spots with a pencil.
If your screw marks align with the studs, you’re in luck. Drilling into studs ensures a strong hold. If not, you may need to use wall anchors to secure the mount.
| Step | Description |
|---|---|
| 1 | Hold the mount against the wall |
| 2 | Mark the screw spots |
| 3 | Check for studs |
| 4 | Mark stud locations |
By following these steps, you can ensure your Dyson stick vacuum mount will be secure and stable. Proper preparation is key to a successful wall mount.
Installing The Mounting Bracket
Mounting your Dyson stick vacuum on the wall keeps it out of the way. Follow these steps to install the mounting bracket easily. This guide will help you drill holes and secure the bracket.
Drilling Holes
Choose a suitable wall area. Make sure it’s within reach of a power outlet. Use a pencil to mark the spots for the holes. The bracket will have pre-drilled holes as a guide.
Use a drill to make holes where you marked. Ensure the drill bit matches the size of the screws provided. This step is crucial for a secure fit.
Securing The Bracket
Now, align the bracket with the drilled holes. Insert the screws through the bracket holes. Use a screwdriver to tighten them. Ensure the bracket is firmly attached to the wall.
Check the stability of the bracket. It should not wobble or move. Your Dyson stick vacuum is now ready to be mounted.
Attaching The Docking Station
Attaching the docking station for your Dyson stick vacuum is an essential step. It ensures your vacuum is always charged and ready for use. Let’s break down the process into simple steps.
Positioning The Station
Choose a spot near an electrical outlet. This way, you can easily plug in the charger. The area should be free from obstructions. This ensures easy access to the vacuum. Make sure it’s at a comfortable height. You should be able to reach it without bending or stretching.
Screwing It In Place
Mark the spots for the screws using the station as a guide. Use a pencil for clear, precise marks. Drill pilot holes at the marked spots. This makes screwing easier. Now, align the docking station with the holes. Insert the screws and tighten them. Ensure the station is firmly attached. Tug it lightly to check its stability.

Credit: www.amazon.com
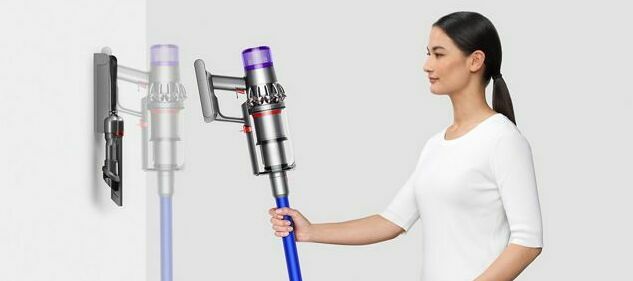
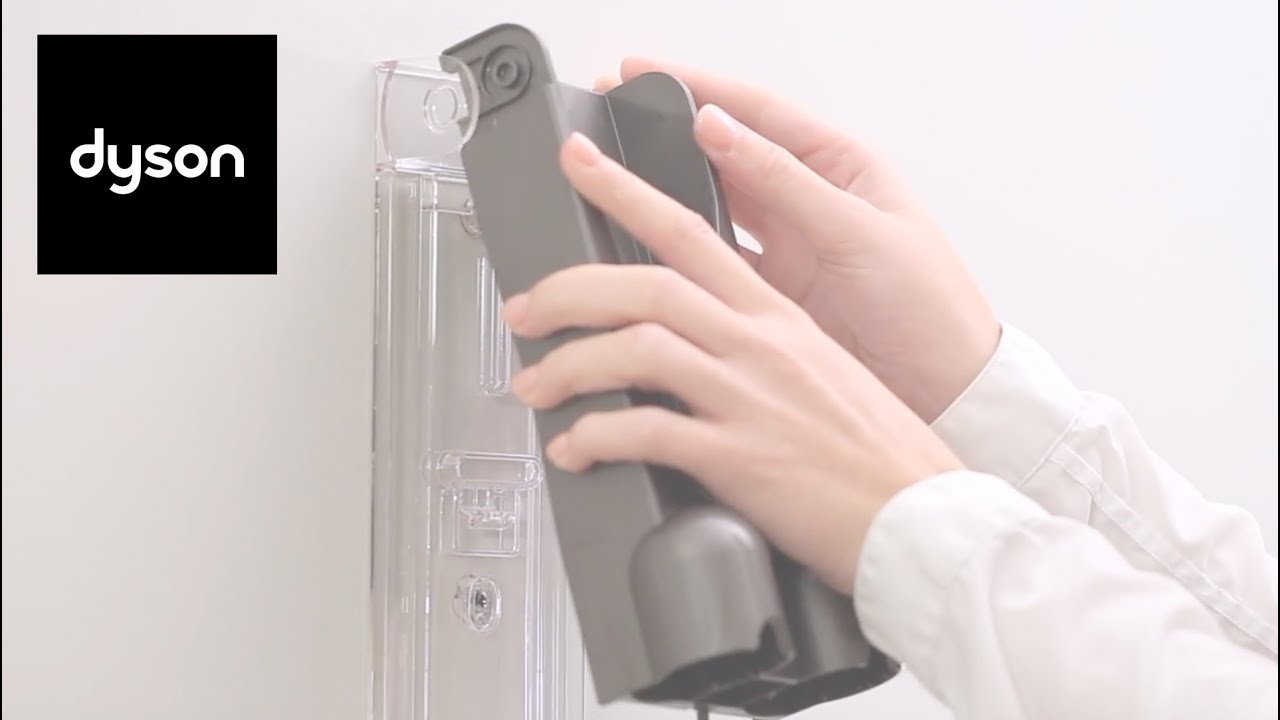
Mounting The Vacuum
Mounting a Dyson Stick Vacuum on the wall is a great way to save space. It also keeps your cleaning tool easily accessible. Follow these steps to mount your vacuum securely.
Placing The Vacuum
First, choose a spot that is near a power outlet. This ensures easy charging of the vacuum. Next, measure the height where you will place the mount. It should be at a comfortable height for regular use. Mark the spots where you will drill holes for the screws.
Use a level to make sure your marks are straight. This will help in mounting the vacuum evenly. Once marked, drill the holes as per the instructions provided with your Dyson wall mount kit. Insert wall anchors if necessary to provide extra support.
Ensuring Stability
After drilling, align the mount with the holes. Insert the screws and tighten them. Make sure the mount is secure. Test by pulling on it gently. It should not move or wobble.
Next, attach the vacuum to the mount. Ensure it clicks into place. It should hold firmly without any risk of falling. Check the stability by placing and removing the vacuum a few times. This ensures it is mounted securely.
Keep the area around the mount clear. This helps avoid any accidental bumps that may dislodge the vacuum.
| Step | Action |
|---|---|
| 1 | Select a spot near a power outlet |
| 2 | Measure and mark the height for the mount |
| 3 | Drill holes and insert wall anchors |
| 4 | Align mount and secure with screws |
| 5 | Attach vacuum and test stability |
Following these steps ensures your Dyson Stick Vacuum is mounted securely. This keeps it ready for use and ensures a tidy space.
Final Adjustments
The final adjustments ensure your Dyson stick vacuum is secure and functional. These steps are crucial to the setup. They help avoid any issues later. Let’s go through the final adjustments step by step.
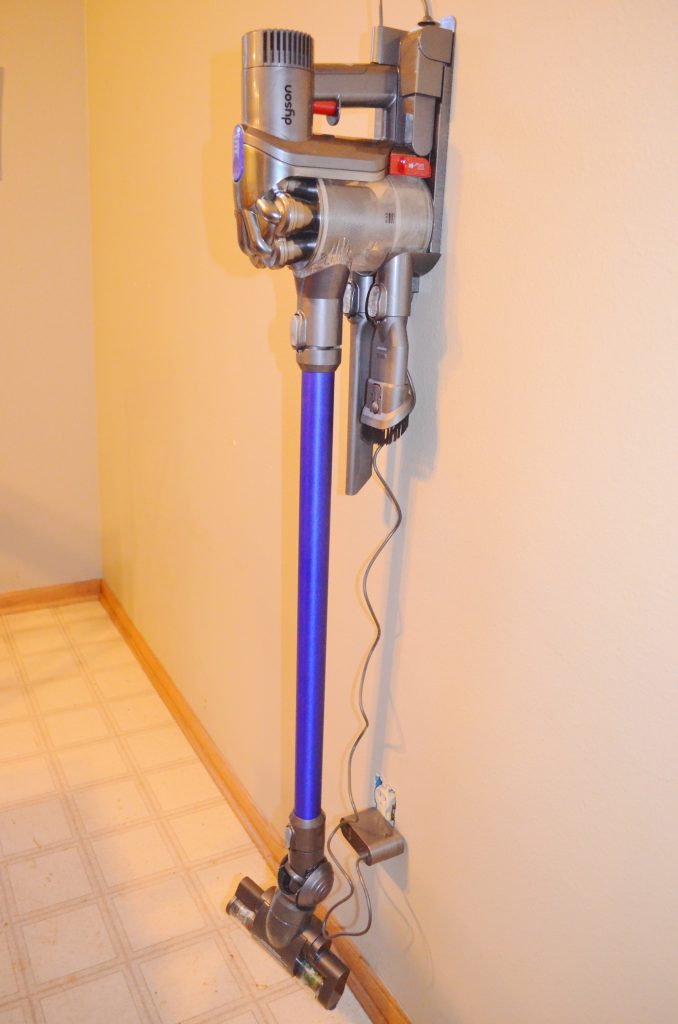
Cable Management
Organize the cables neatly. This prevents any tripping hazards. Use cable clips to secure the cords. Hide them behind the mount if possible. This keeps the area tidy. It also makes it easier to access the vacuum.
Testing The Setup
Test the mount to ensure it’s secure. Gently tug on the vacuum. Check if it holds firmly. Then, turn the vacuum on. Make sure it charges correctly. Listen for any unusual sounds. This helps in identifying any loose connections. Finally, ensure the vacuum is easy to remove and replace. This confirms the setup is user-friendly.
Credit: www.youtube.com
Maintenance Tips
Keeping your Dyson stick vacuum in top condition requires regular maintenance. This ensures it performs efficiently and lasts longer. Follow these tips to keep your vacuum and its dock in great shape.
Regular Checks
Performing regular checks on your Dyson stick vacuum is vital. Ensure all parts are securely attached and in good working order. Check for any blockages or damage that could affect its performance. A simple visual inspection can prevent bigger issues down the line.
Check the battery indicator. This helps you know when to recharge or replace the battery. Always keep the battery fully charged to maintain optimal performance.
Cleaning The Dock
Cleaning the dock is crucial for maintaining your Dyson vacuum. Dust and debris can accumulate over time, causing the dock to malfunction. Use a damp cloth to wipe down the dock regularly. Ensure the connections are free from dust and dirt.
Pay special attention to the charging contacts. Clean them gently to ensure a good connection between the vacuum and the dock. This helps in efficient charging and prolongs the life of your vacuum.
For a more thorough clean, detach the dock from the wall. Remove any debris from behind it. This will ensure that your vacuum charges correctly and remains in top condition.
Conclusion
Mounting your Dyson stick vacuum is simple and efficient. Follow the steps carefully. This will save space and keep your vacuum ready. Ensure you have the right tools for the job. Proper installation ensures your vacuum stays secure. Enjoy a clutter-free, organized space.