How to Open Dyson Stick Vacuum: Step-by-Step Guide
To open a Dyson stick vacuum, follow simple steps. These steps ensure you access and clean your vacuum easily.
Dyson stick vacuums are popular for their powerful suction and sleek design. But, sometimes, you need to open the vacuum for maintenance or to remove blockages. Knowing the right way to open your Dyson stick vacuum can save time and keep your device running smoothly.
This guide will help you with clear, easy-to-follow instructions. Read on to learn how to open your Dyson stick vacuum and keep it in top condition.
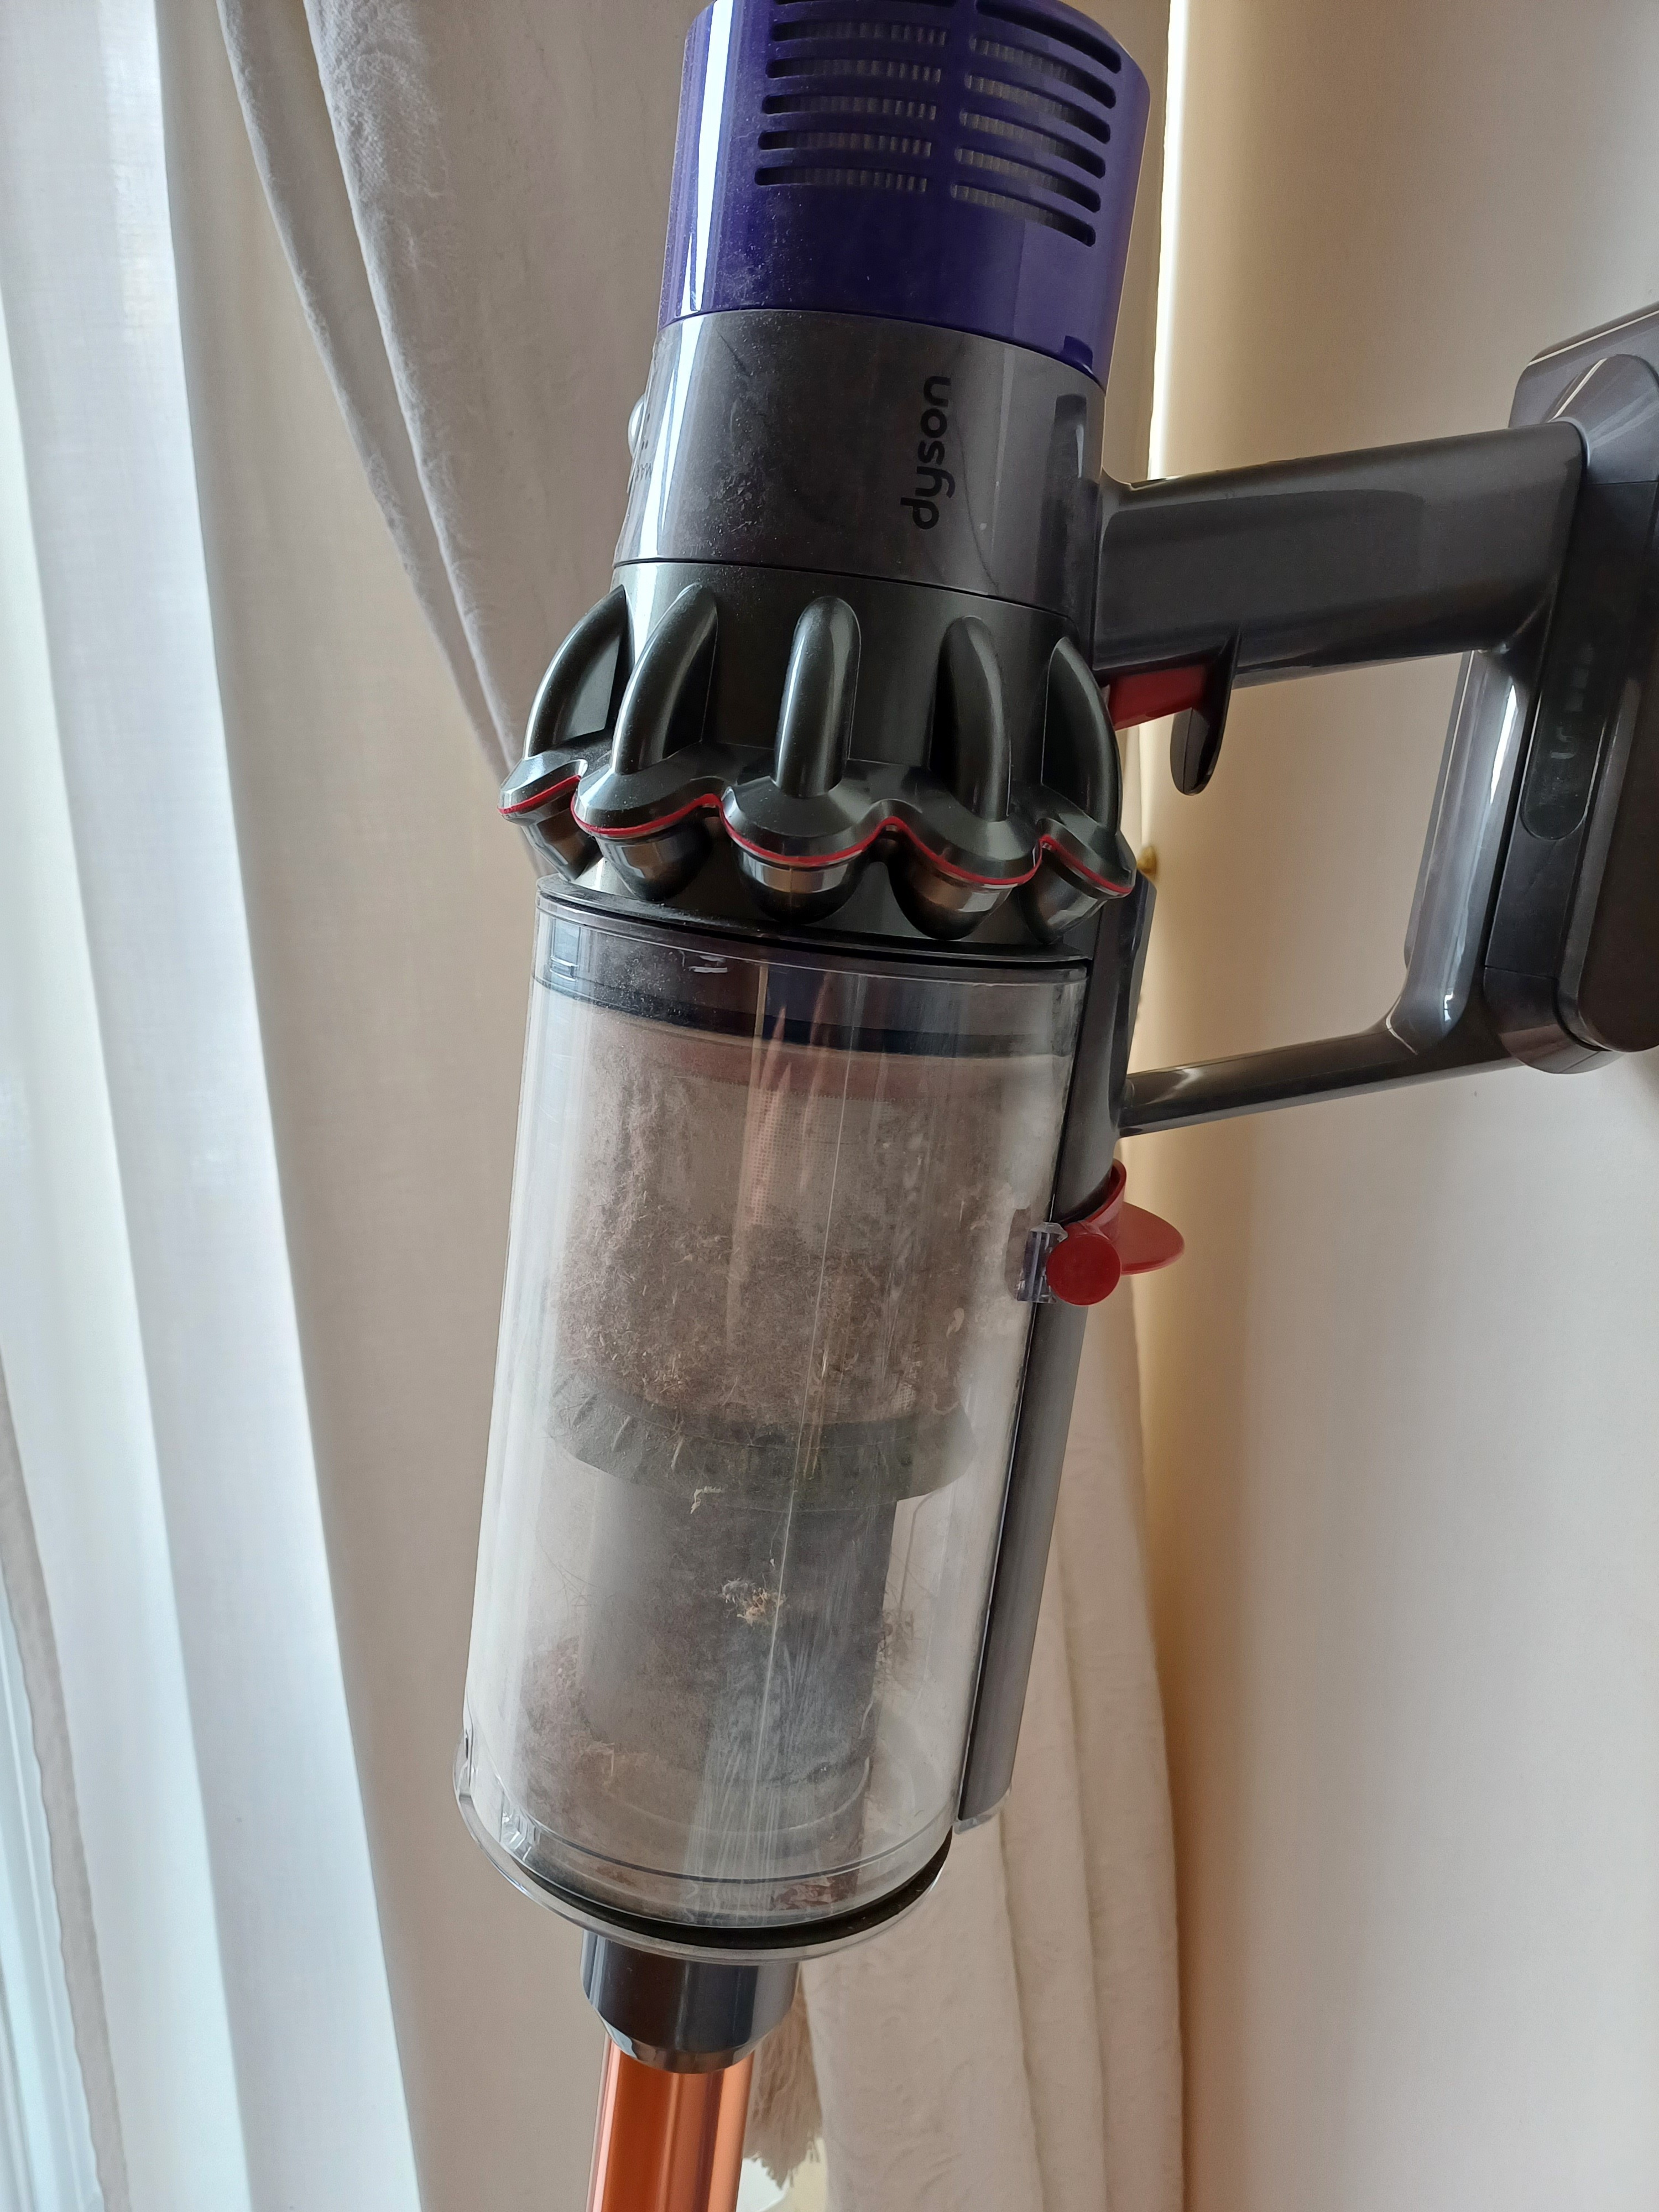
Credit: community.dyson.com
Tools Needed
Opening your Dyson Stick Vacuum doesn’t require many tools. Having the right ones makes the process smooth and straightforward. Here, we list the essential and optional tools you might need.
Essential Tools
These tools are necessary to open your Dyson Stick Vacuum:
- Screwdriver: A Phillips-head screwdriver is essential.
- Cleaning Brush: Use a small brush to clean parts.
- Soft Cloth: A soft, lint-free cloth for wiping.
Optional Accessories
These accessories can make the process easier:
- Compressed Air: Helpful for blowing out dust.
- Replacement Filters: Have spare filters on hand.
- Small Container: To hold screws and small parts.
Preparation
Prepare to open your Dyson stick vacuum by first removing the dustbin. Ensure the vacuum is unplugged for safety.
Before opening your Dyson stick vacuum, it’s important to prepare properly. This ensures your safety and helps you avoid unnecessary damage. Follow these steps to get everything ready.
Safety Precautions
First, unplug the vacuum to avoid electrical hazards. This prevents accidental activation. Wear protective gloves to safeguard your hands from sharp parts. Keep a first aid kit nearby for emergencies. Work in a well-ventilated area to avoid dust inhalation.
Clearing The Work Area
Choose a flat, stable surface to work on. Remove any clutter from the area. This gives you more space to work. Lay down a clean cloth or mat. This helps catch any small parts that may fall. Gather all necessary tools before you start. This includes screwdrivers, pliers, and a soft brush.
Disassembling The Vacuum
Disassembling your Dyson stick vacuum is essential for proper maintenance. This process helps you clean the vacuum thoroughly and ensures it runs efficiently. Here, we’ll guide you through the steps to disassemble your Dyson stick vacuum.
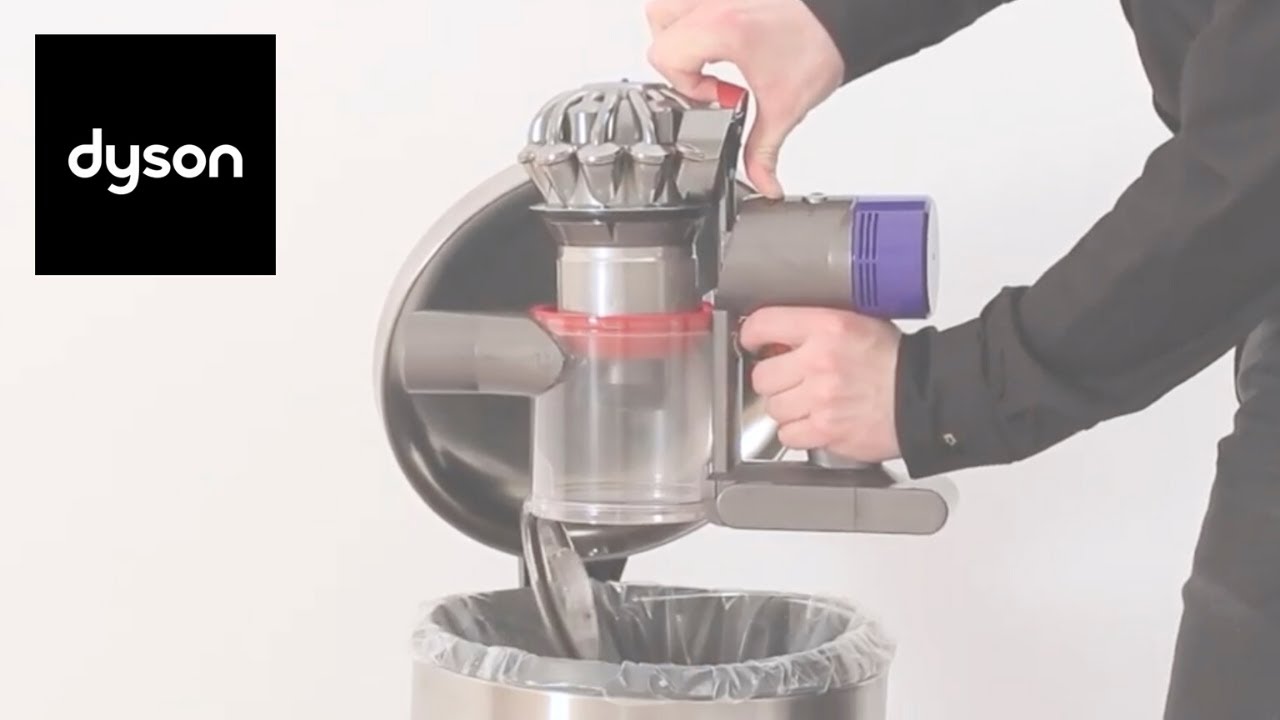
Removing The Dustbin
First, ensure the vacuum is turned off and unplugged. Locate the red release button near the top of the dustbin. Press the button to release the dustbin from the main body. Pull the dustbin away gently to avoid any damage. Empty the contents into a trash can. You can also wash the dustbin with water. Make sure it is completely dry before reassembling.
Detaching The Wand
Next, focus on detaching the wand. Locate the red button where the wand connects to the main body. Press this button to release the wand. Gently pull the wand away from the main body. This will allow you to clean the wand and check for any blockages. Ensure all parts are dry before reattaching.
Opening The Motor Unit
The motor unit of a Dyson stick vacuum is the heart of the machine. Opening it allows you to perform maintenance or troubleshoot issues. Follow these steps to access and open the motor unit safely.
Accessing The Screws
First, ensure the vacuum is unplugged or the battery is removed. Locate the screws on the motor unit. They are usually on the back or underside of the housing. Use a screwdriver to remove these screws carefully. Place the screws in a small container to avoid losing them.
Different models may have different screw placements. Refer to the user manual if needed. Typical screw types include Philips or Torx. Make sure you use the correct screwdriver to avoid stripping the screws.
Separating The Housing
After removing the screws, gently separate the housing of the motor unit. Use a flathead screwdriver if necessary to pry the sections apart. Be careful not to damage the plastic housing.
Once the housing is open, you will see the internal components. Handle them with care. Avoid touching any electrical parts directly. You can now clean or inspect the motor unit as needed.
Reassemble the housing by aligning the parts and replacing the screws. Make sure all parts are secure before using the vacuum again.
Cleaning And Maintenance
Keeping your Dyson Stick Vacuum in good shape ensures it works efficiently. Regular cleaning and maintenance can extend its life and improve its performance. In this section, learn how to clean the filters and check for blockages.
Cleaning The Filters
Clean filters are vital for maintaining suction power. Follow these steps to clean the filters:
- Turn off and unplug the vacuum.
- Remove the filter by lifting it out from the top.
- Tap the filter gently to remove any dust.
- Rinse the filter under cold water. Do not use detergents.
- Let the filter dry completely for at least 24 hours.
- Once dry, replace the filter in the vacuum.
Clean the filters every month for the best results.
Checking For Blockages
Blockages can reduce suction and damage your vacuum. Here’s how to check for blockages:
- Turn off and unplug the vacuum.
- Remove the wand from the vacuum.
- Check the wand and the main body for any debris. Use a flashlight if needed.
- Remove any visible blockages using a long stick or a similar tool.
- Check the brush bar for tangled hair or threads. Cut away any tangles with scissors.
- Reassemble the vacuum and test the suction.
Regularly checking for blockages can prevent overheating and maintain performance.
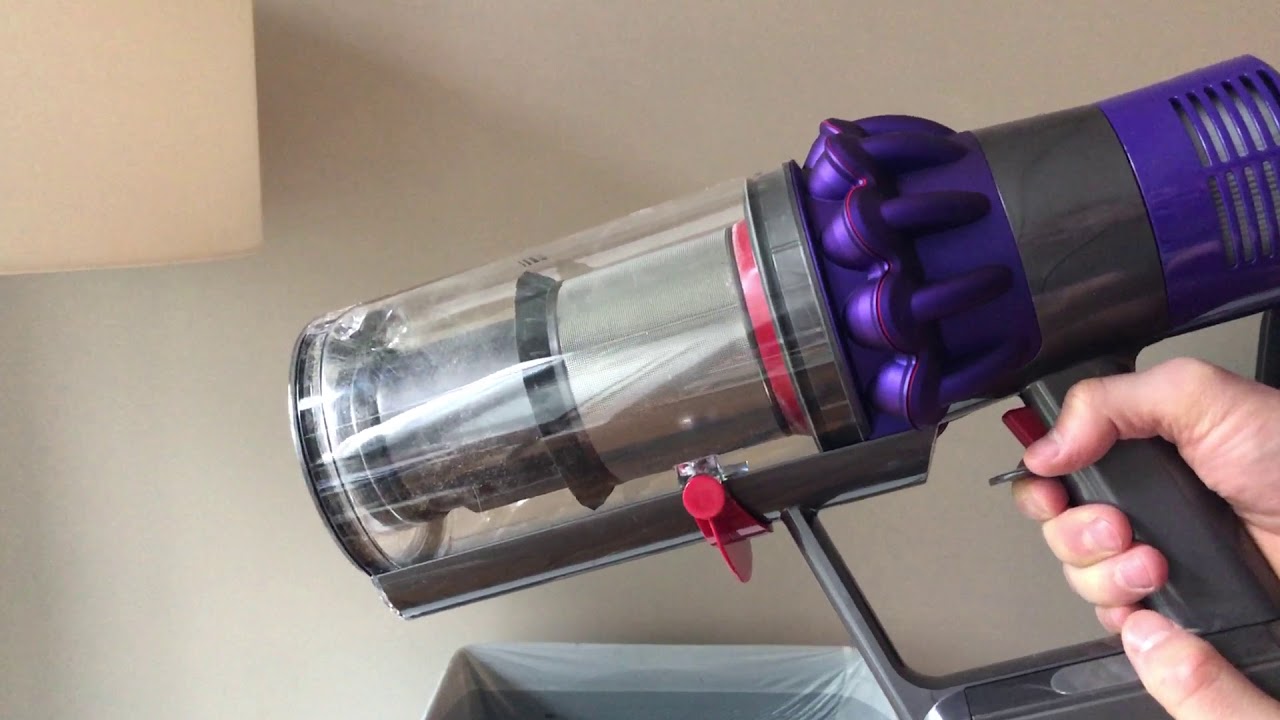
Credit: www.youtube.com
Reassembling The Vacuum
After cleaning and maintaining your Dyson Stick Vacuum, the next step is to reassemble it. Proper reassembly ensures the vacuum functions correctly. This guide will help you through the process.
Reattaching The Housing
Begin by aligning the housing with the main body of the vacuum. Ensure the tabs and slots match perfectly. This ensures a snug fit. Gently press the housing into place.
Listen for a click. This sound indicates the housing is secure. If the housing does not click, double-check the alignment. You may need to adjust it slightly.
Securing The Screws
Next, gather the screws you removed earlier. Place each screw back in its original hole. Using a screwdriver, tighten the screws. Do not over-tighten them. This could damage the threads.
Check all screws to ensure they are secure. A loose screw can cause the vacuum to malfunction. Make sure all screws are flush with the surface.
Here’s a quick overview:
| Step | Action |
|---|---|
| 1 | Align the housing with the main body |
| 2 | Press housing into place until it clicks |
| 3 | Insert and tighten screws |
By following these steps, you ensure your Dyson Stick Vacuum is reassembled correctly. This will help maintain its performance and longevity.
Final Checks
Before you start using your newly opened Dyson Stick Vacuum, it is crucial to perform some final checks. These steps ensure your vacuum works correctly and efficiently. Completing these checks will help you avoid potential problems later. Let’s dive into the important final checks to make your vacuum ready for action.
Testing The Vacuum
Connect the vacuum to a power source. Ensure the battery is fully charged. Press the power button to turn it on. Listen for any unusual sounds. The vacuum should run smoothly without loud or strange noises. Test it on different surfaces. Check the suction power on carpets and hard floors. Make sure it picks up dirt and debris easily.
Ensuring Proper Function
Inspect the attachments to ensure they fit securely. Attach the crevice tool and brush head. Confirm they lock into place and do not wobble. Test each attachment by using it on various surfaces. Check the vacuum’s filters. Ensure they are clean and properly installed. Dirty filters can reduce suction power. If the filters are not clean, wash or replace them as needed. Finally, empty the dustbin. Ensure it clicks back into place securely.
Troubleshooting Tips
Opening a Dyson Stick Vacuum can sometimes be tricky. These troubleshooting tips will help you solve common issues. You will also learn when it’s best to seek professional help.
Common Issues
Sometimes, your Dyson Stick Vacuum may not work as expected. Here are some common issues you might face:
- Loss of Suction: This can be due to a clogged filter or airway. Make sure to clean the filter and remove any blockages.
- Battery Not Charging: Check if the charger is properly connected. Inspect the charging port for any debris.
- Brush Bar Not Spinning: Clear any hair or threads wrapped around the brush bar. Ensure it is properly attached.
When To Seek Professional Help
Sometimes, troubleshooting on your own isn’t enough. Here are situations where you should seek professional help:
- Strange Noises: If your vacuum makes unusual sounds, it may have a mechanical issue.
- Persistent Loss of Suction: If cleaning the filter doesn’t help, there could be an internal blockage.
- Electrical Issues: If the vacuum doesn’t turn on, it might have an electrical fault.
If you encounter any of these issues, contact Dyson customer support. They can guide you through more advanced troubleshooting steps or advise on repairs.
Conclusion
Opening your Dyson stick vacuum doesn’t have to be difficult. Follow the steps outlined, and you’ll succeed. Always handle your vacuum with care. Proper maintenance ensures it lasts longer. Keep your Dyson clean for optimal performance. Regular checks will prevent issues.