How to Assemble Dyson Stick Vacuum: Step-by-Step Guide
Assembling a Dyson stick vacuum is simple and straightforward. Follow these steps to get it ready for use.
Dyson stick vacuums are popular for their powerful suction and convenience. Assembling one might seem a bit tricky at first, but it’s easier than you think. With a few simple steps, you’ll have your Dyson stick vacuum ready in no time.
This guide will walk you through the process, ensuring you can enjoy a cleaner home quickly.

Credit: www.amazon.com
Unboxing The Vacuum
Discover how to assemble your Dyson Stick Vacuum with ease. Follow the step-by-step guide for a quick setup. Enjoy clean floors effortlessly.
Unboxing your Dyson Stick Vacuum is an exciting first step. This moment sets the stage for your cleaning journey. You’re about to see the sleek design and powerful components that make this vacuum special. Let’s take a closer look at what’s inside the box and how to check all components.
What’s Inside The Box?
Inside the box, you’ll find several key items. First, the main vacuum unit. It’s the heart of your Dyson Stick Vacuum. Next, there’s the wand. This long piece connects the main unit to the cleaner head. Look for the cleaner head itself. It’s the part that touches the floor.
You’ll also find various attachments. These include a crevice tool and a combination tool. Each attachment has a specific purpose. Some boxes also include a charging dock. It’s a handy accessory to store and charge your vacuum.
Checking All Components
Before you assemble, check all components. Lay them out on a clean surface. Ensure nothing is missing. Compare each item with the manual. This helps identify any missing parts.
Inspect each component for damage. Look closely at the vacuum unit and wand. Check the attachments, too. They should be intact and functional. If you spot any issues, contact Dyson support. They can help resolve problems quickly.
By carefully unboxing and checking components, you ensure a smooth assembly. This process prepares you for the next steps. Your Dyson Stick Vacuum is almost ready for action.
Preparing For Assembly
Assembling a Dyson Stick Vacuum may seem tricky at first. But with a little preparation, you can make the process smooth and easy. Proper preparation ensures everything goes right the first time. Let’s start with the basics of getting ready for assembly.
Tools You Need
Before you start, gather all necessary tools. Most Dyson Stick Vacuums come with everything you need. Check the box for screws, the main body, and attachments. Keep a small screwdriver handy. A clean cloth can help with wiping parts. Have these tools within reach to save time.
Clearing The Workspace
Find a spacious area to work in. Clear any clutter from your workspace. A tidy area helps you focus better. Spread out all parts and tools. This way, you can see everything you need. Make sure the floor is clean to avoid losing small pieces. Good lighting is also important. It helps you see clearly and avoid mistakes.
Assembling The Main Body
Assembling the main body of your Dyson stick vacuum is easy. This guide will help you put together the vacuum quickly. Follow the steps to ensure proper assembly and optimal performance.
Attaching The Wand
Start by attaching the wand to the main body. Align the wand with the vacuum body. Push it until you hear a click. This click means the wand is secure. Ensure the connection is firm. A loose connection can affect performance.
Connecting The Motor
Next, connect the motor to the wand. Position the motor at the end of the wand. Push it in until it clicks. Check the connection is tight. A secure motor attachment ensures efficient operation. Your Dyson stick vacuum is now ready for use.
Installing The Cleaner Head
Installing the cleaner head on your Dyson stick vacuum is a crucial step. It ensures optimal cleaning performance. Follow these steps to make the process easy and efficient.
Choosing The Right Head
Determine the type of surface you need to clean. Dyson offers different cleaner heads for various surfaces. For carpets, select the motorized brush head. For hard floors, choose the soft roller cleaner head. The right head will make a big difference in cleaning efficiency.
Securing The Head
Once you have chosen the correct head, attach it to the main body. Align the head with the connection point on the vacuum. Push the head until you hear a click. This sound means the head is securely attached. Ensure there is no wobbling or looseness. A secure connection ensures effective cleaning and prevents damage.
Adding Attachments
Adding attachments to your Dyson Stick Vacuum can make cleaning more efficient. These attachments help you reach different surfaces and corners. Let’s explore some popular attachments and how to attach each one.
Popular Attachments
Dyson offers various attachments for their stick vacuums. Here are some of the most popular ones:
- Crevice Tool: Ideal for tight spaces and corners.
- Motorized Brush: Perfect for carpets and rugs.
- Dusting Brush: Great for delicate surfaces like blinds and lampshades.
- Combination Tool: A versatile tool that combines a brush and a nozzle.
- Mini Motorized Tool: Best for pet hair and upholstery.
How To Attach Each
Attaching these tools is simple and quick. Follow these steps for each attachment:
Crevice Tool
- Turn off the vacuum.
- Align the crevice tool with the vacuum’s wand.
- Push until you hear a click.
Motorized Brush
- Ensure the vacuum is off.
- Attach the motorized brush to the main body.
- Push firmly until it clicks into place.
Dusting Brush
- Switch off the vacuum.
- Slide the dusting brush onto the wand.
- Press until you hear a click.
Combination Tool
- Turn off the device.
- Attach the combination tool to the wand.
- Ensure it clicks securely.
Mini Motorized Tool
- Ensure the vacuum is off.
- Align the mini motorized tool with the main unit.
- Push until you hear a click.
Remember to always turn off your Dyson Stick Vacuum before attaching any tools. This ensures safety and prevents damage. Once you hear the click, your attachment is secure and ready to use.
Credit: community.dyson.com
Charging The Vacuum
Properly charging your Dyson stick vacuum is crucial for optimal performance. A well-charged vacuum ensures powerful suction and long-lasting cleaning sessions. Here’s how you can make sure your device is always ready to go.
Connecting The Charger
First, plug the charger into a power outlet. Locate the charging port on your Dyson stick vacuum. It’s usually near the handle or at the base. Insert the charger plug into the port until it clicks.
A light indicator will show the charging status. A solid light means charging is in progress. Once fully charged, the light will turn off or change color.
Optimal Charging Tips
For the best performance, follow these simple tips:
- Charge after each use: This keeps your vacuum ready for the next cleaning session.
- Avoid overcharging: Unplug the vacuum once fully charged to extend battery life.
- Store in a cool place: Extreme temperatures can affect battery health.
These tips ensure your Dyson stick vacuum performs at its best, every time.
Testing The Assembly
You’ve assembled your Dyson stick vacuum. Now, it’s time to test it. Testing the assembly ensures everything works as expected. Follow these steps to make sure everything is in order.
Powering On
First, locate the power button on your Dyson stick vacuum. It is usually near the handle. Press the button to power on the vacuum. Listen for the motor to start. Ensure the lights on the unit are on.
If the vacuum does not start, check the battery. Make sure it is properly connected and charged. A fully charged battery is crucial for the vacuum to operate effectively.
Checking For Issues
Now, check for any potential issues. Here’s a quick checklist:
- Noise: The vacuum should have a consistent sound. Unusual noises can indicate a problem.
- Suction: Check if the vacuum is picking up debris. Run it over a small area with dirt or dust.
- Attachments: Make sure all attachments are secure. Test each one to ensure they work properly.
- Filters: Ensure the filters are in place. A loose filter can affect performance.
If you encounter any issues, consult your Dyson manual. It provides troubleshooting steps. Testing your Dyson stick vacuum is essential to ensure it functions correctly. Happy cleaning!

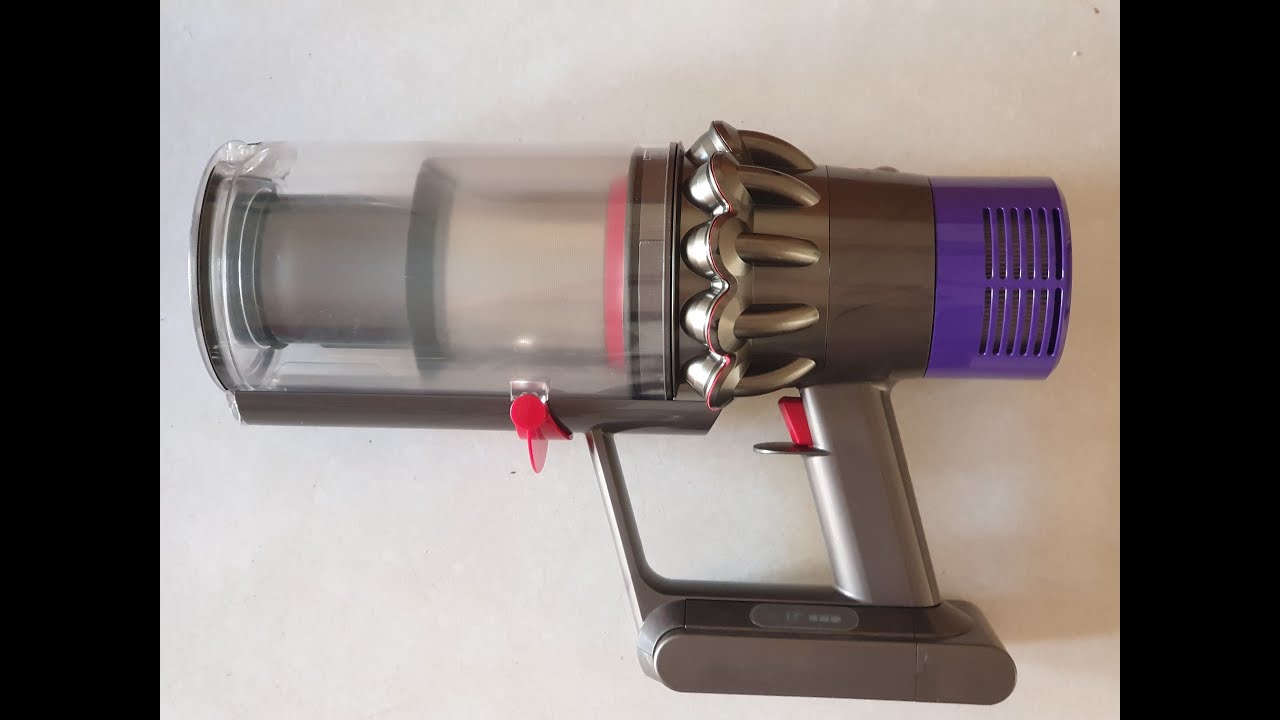
Credit: www.youtube.com
Maintenance Tips
Maintaining your Dyson stick vacuum is essential for its longevity and efficiency. Proper care ensures your vacuum performs at its best. Follow these simple tips to keep your device in top shape.
Cleaning The Filter
The filter in your Dyson stick vacuum needs regular cleaning. This ensures your vacuum works effectively. Follow these steps to clean the filter:
- Turn off and unplug the vacuum.
- Remove the filter from the vacuum.
- Rinse the filter under cold water. Do not use soap.
- Squeeze the filter gently to remove excess water.
- Let the filter air dry completely for at least 24 hours. Ensure it is thoroughly dry before reinserting.
Cleaning the filter regularly helps maintain suction power and prevents blockages.
Storing Your Vacuum
Proper storage of your Dyson stick vacuum can extend its life. Here are some tips for storing your vacuum:
- Store the vacuum in a cool, dry place.
- Keep the vacuum and its accessories together.
- Ensure the vacuum is fully charged if it’s a cordless model.
- Avoid wrapping the cord tightly around the vacuum.
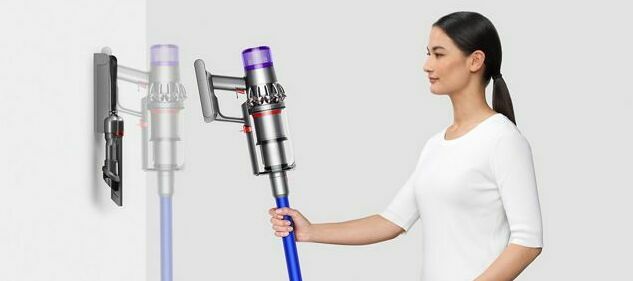
- Use the wall mount provided with the vacuum for easy storage.
Following these storage tips ensures your vacuum is always ready for use.
Troubleshooting
Assembling a Dyson stick vacuum is usually straightforward. Still, you may face some issues. This troubleshooting guide will help you solve common problems. Let’s dive into the most common issues and know when to contact support.
Common Issues
Sometimes the vacuum might not start. Check if it’s fully charged. Ensure the battery is correctly placed. The vacuum may not pick up dirt well. This could be due to a clogged filter. Clean or replace the filter if necessary. The vacuum may stop suddenly during use. This might be a sign of overheating. Let it cool down for 30 minutes.
If the vacuum makes unusual noises, check for blockages. Remove any debris from the brush bar. A flashing light can indicate different issues. Refer to the user manual for specific light codes. If the vacuum loses suction power, inspect the hose for blockages.
When To Contact Support
If the vacuum does not charge, even after trying different outlets, contact support. If you hear a burning smell or see smoke, stop using it immediately. Reach out to Dyson support. Persistent issues with no clear solution need expert help. If you have followed the manual but the problem persists, contact support.
Dyson offers excellent customer service. They can guide you through complex issues. Keep your proof of purchase handy. It helps in getting quick and effective support.
Conclusion
Assembling a Dyson stick vacuum is simple and straightforward. Follow the steps methodically. Ensure all parts click into place securely. Check the manual for any specifics. Take your time to understand each part. The vacuum’s performance depends on correct assembly.
Enjoy a cleaner home with your Dyson stick vacuum. Now you can tackle dust and debris effortlessly.